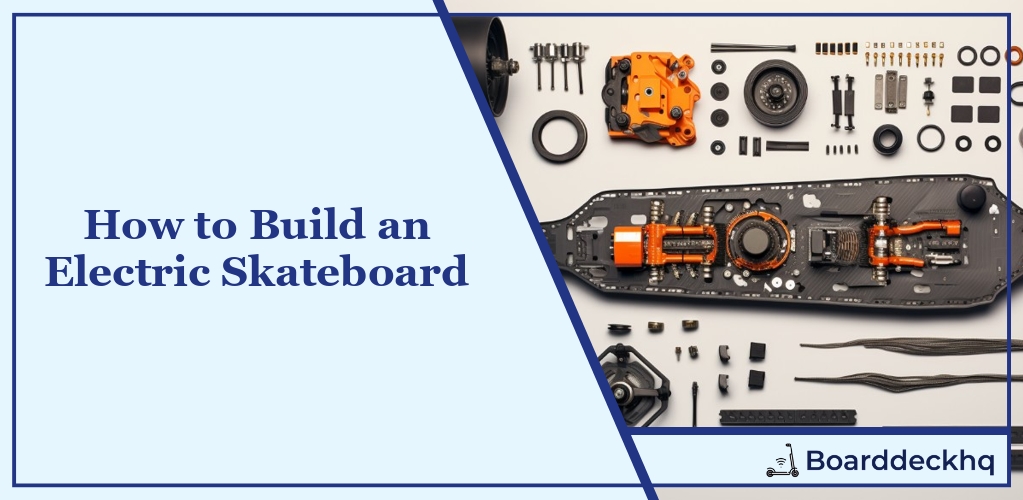
Ever dreamed of gliding through the streets on your very own custom-built electric skateboard? Imagine the exhilaration of cruising on a vehicle crafted by your own hands, tailored to your preferences. This isn’t just about building an electric skateboard, it’s about embracing the freedom and creativity that comes with it. It’s time to turn that dream into a reality.
What we’ll cover
- Basics of E-Skateboard Components
- Pre-Construction Planning
- Step-by-Step Building Guide
- Component Protection Measures
- Post-Construction Enhancements
- Choosing the Ideal Parts
- E-Skateboard Kits: A Shortcut
- Understanding Skateboard Operation
- Types of DIY Electric Skateboards
- Tips for Personalized E-Skateboards
So, are you ready to embark on this electrifying journey? Let’s dive in and find out why your next ride should be an electric skateboard you’ve built yourself!
Understanding the Basic Components
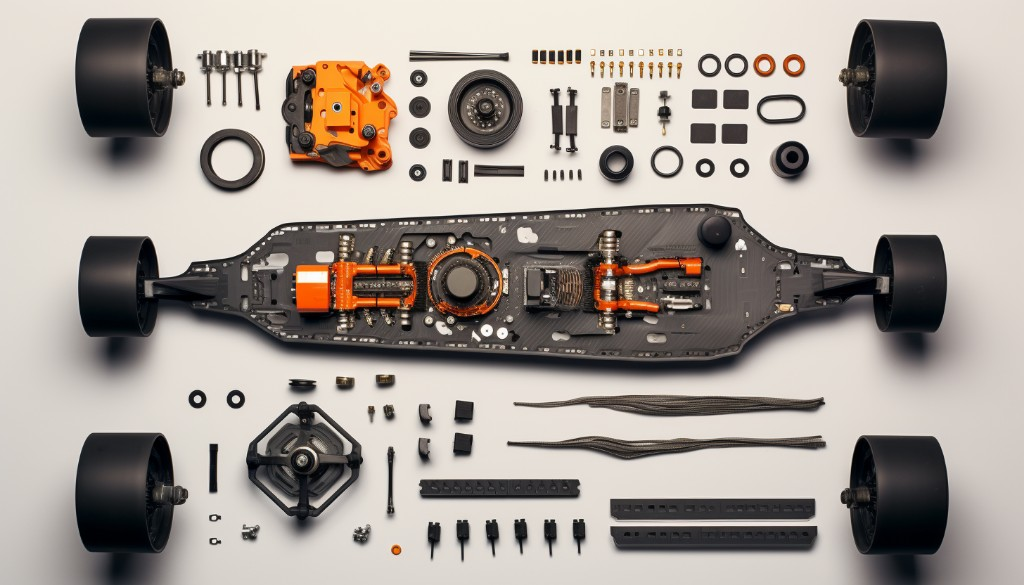
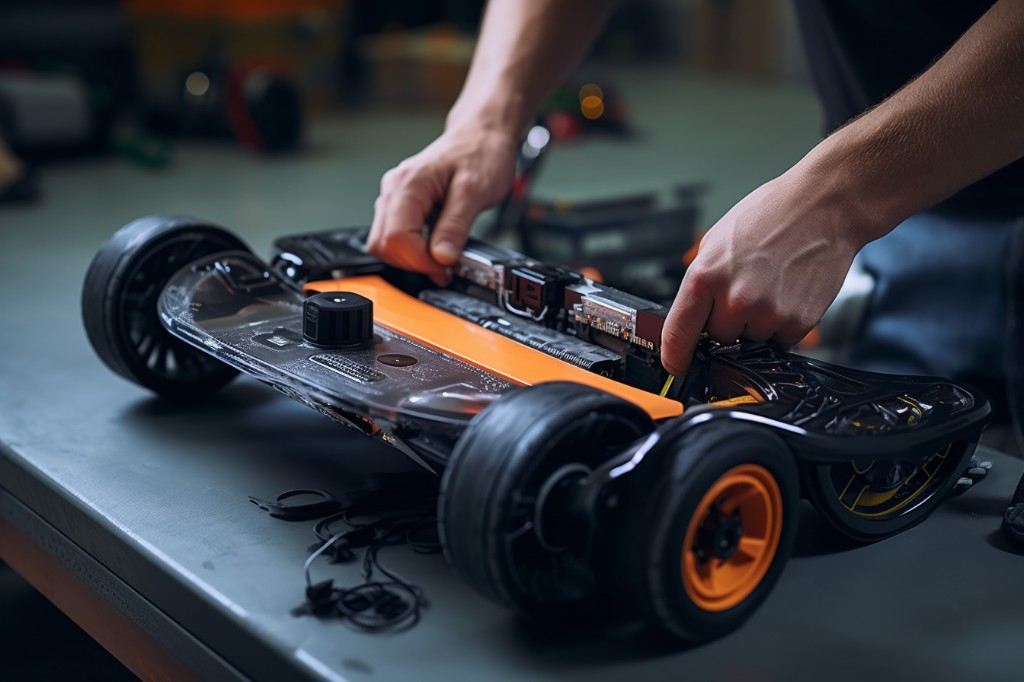
Building an electric skateboard involves putting together four main components: the deck, electronics, drive system, and enclosure. Let’s delve into each of these components to understand their significance.
The Deck Choice
The deck is the part of the skateboard you stand on. It’s the foundation of your e-skateboard, and its size and shape can significantly impact your ride. While there are various types of skateboard decks available, for an electric conversion, a longboard deck is often recommended. Longboard decks provide ample space for the necessary electronics and offer a stable platform for high-speed cruising. When choosing a deck, consider factors such as its length, width, flex, and concave shape to ensure a comfortable ride.
Necessary Electronics
The heart of an e-skateboard lies in its electronics. This includes a speed controller, motor controller, and a battery management system. The speed controller regulates the speed of the electric motor, while the motor controller controls its rotation. The battery management system, on the other hand, safeguards your battery from overcharging or discharging too much.
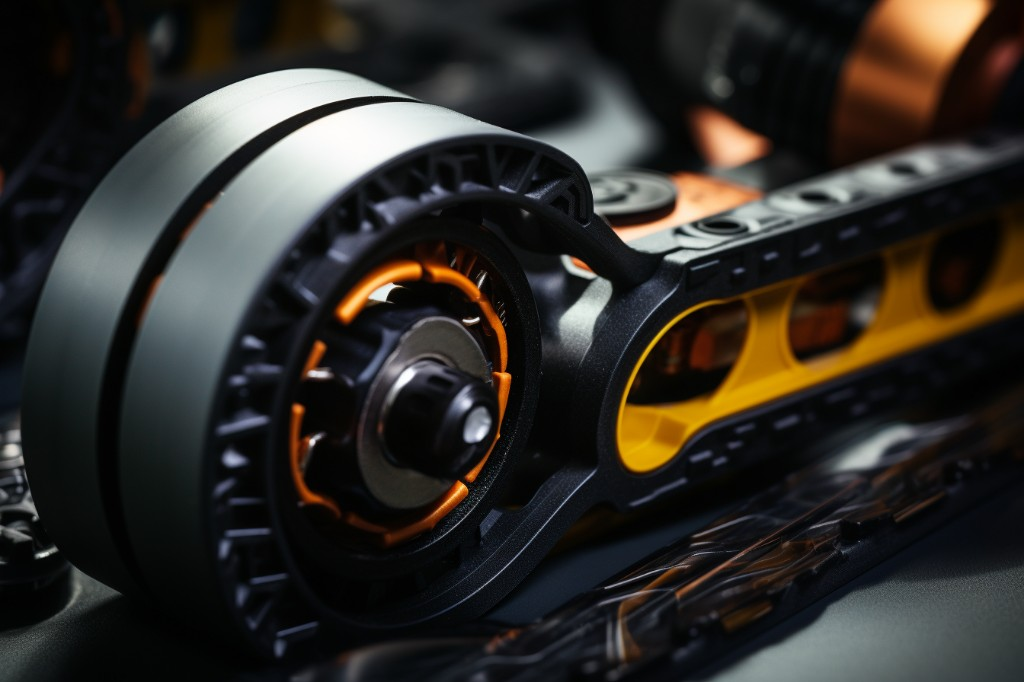
Selection of Drive System
The drive system of an electric skateboard refers to how power from the motor gets transferred to the wheels. There are two main types of drive systems: belt drive and hub motor. A belt drive system uses motor mounts and a belt to connect the motor to the wheels. This system allows for easy maintenance and offers high torque for steep hills. On the other hand, a hub motor system incorporates the motor directly into the wheels. Hub motors offer a quieter ride with fewer parts to maintain but might lack in power when compared to belt drives.
Importance of the Enclosure
Last but not least, is the enclosure. This protective casing houses your battery pack and motor wires, shielding them from external elements. The enclosure keeps your electronics safe from debris, water, and impact damage, ensuring the longevity of your electric skateboard.
Planning for Electric Skateboard Construction
Before you dive into building an electric skateboard, it’s crucial to plan ahead. This involves creating a blueprint, compiling a parts list, and studying the anatomy of a DIY electric skateboard.
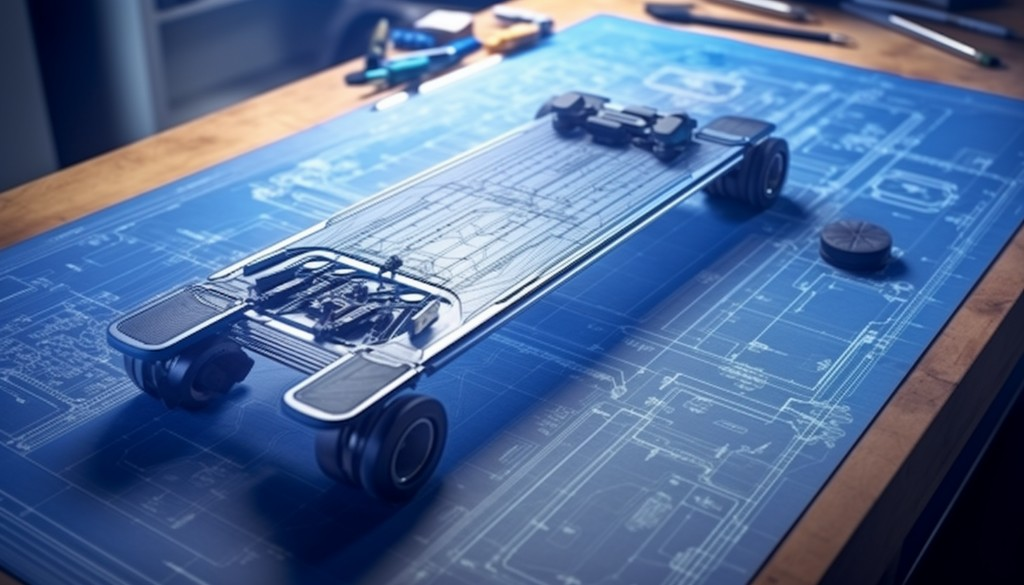
Creating a Blueprint
Creating a blueprint before starting your DIY project can save you a lot of headaches down the line. It helps you visualize how all the components fit together and allows you to make adjustments before you start building. A blueprint can also serve as a guide during the assembly process, ensuring that everything aligns correctly.
Compiling the Parts List
Next up is compiling a comprehensive parts list. This should include everything from the deck to skateboard wheels, bearing spacers, riser pads, screws, and bolts. Make sure to double-check your list against your blueprint to ensure you’re not missing any components. Building a DIY electric skateboard involves a fair bit of investment in terms of both time and money, so it’s worth getting it right from the start.
Studying the Anatomy of an Electric Skateboard
Lastly, take some time to study the anatomy of an electric skateboard and its technical specifications. Understanding how each component works and interacts with others will not only aid in the construction process but also help in troubleshooting any issues that may arise later on. Knowledge is power, and in this case, it’s the power to build a fantastic e-skateboard that will serve you well for years to come.
Building the Electric Skateboard Step by Step
Building an electric skateboard is like constructing a Lego set, you need to connect each piece in the right place, ensuring that they fit together perfectly. The joy of DIY electric projects is that you have the freedom to customize every detail according to your preferences.
Attaching the Pulleys
The first step is to attach the pulleys to the skateboard wheels. To do this, you’ll need a drive belt and motor mounts. Think of the drive belt as the chain on a bicycle, connecting the pedals (the motor) to the wheels. The motor mounts are like the brackets that hold your bicycle pedals in place, providing a sturdy base for your motor. Here’s a step-by-step guide:
- First, fit the pulley onto your wheel, ensuring it’s securely attached.
- Next, attach your motor mount onto your truck (the part of the skateboard that holds the wheels). The motor mounts should be securely fastened to avoid any instability when riding.
- Now, you’re ready to connect your drive belt. This should loop around both your wheel pulley and your motor pulley, which will be attached in the next step.
By now, you should have a clear understanding of how to attach pulleys to an e-skateboard.

Mounting the Motor
The next step in building your electric skateboard is mounting the motor. This is where the motor wires come into play. You first need to decide whether you’re going to purchase an electric skateboard motor or build your own motor. Once you’ve made your choice, you’re ready for the next steps of assembly:
- Secure your motor onto the previously installed motor mount.
- Connect the motor wires from the motor to the electronic speed controller (more on this later).
This process might remind you of plugging in a computer power cord – it’s just as simple!
Installation of Electronics
Now, it’s time for some wiring. Installing the necessary electronics includes the speed controller, battery pack, and connection cables.
- Start by connecting your electronic speed controller (ESC) to your motor wires.
- Next, connect your ESC to your battery pack using the provided cables. It’s crucial to ensure that the battery pack is securely connected to avoid any power issues when riding.
- Lastly, secure all the wiring neatly to prevent any damage or disconnection during rides.
Incorporating an On/Off Button
The on/off button is a critical component of your electric skateboard. This button controls the power flow from the battery pack to the rest of the skateboard.
- Decide where you want your power switch to be located. It should be easily accessible but also out of the way to prevent accidental switches during rides.
- Connect the power switch to your ESC and battery pack following the manufacturer’s instructions.
Wiring the Battery Management System (BMS)
The Battery Management System (BMS) is like the brain of your DIY electric skateboard. It manages the charging and discharging of your battery pack, ensuring it works efficiently and safely.
- Start by connecting your BMS to your battery pack using a soldering iron and heat shrink tubing to protect the connections.
- Then, connect the BMS to your ESC using motor wires. This ensures that the BMS can regulate the power supply to your motor.
Selecting and Installing the Enclosure
Lastly, you need to select and install a protective enclosure for your electronics. This is like choosing a phone case – you want something sturdy that fits well but also looks good.
- Choose an enclosure that fits your skateboard deck and houses all your electronics comfortably. You might find a suitable one in a DIY kit.
- Attach the enclosure to the underside of your e-skateboard deck, ensuring it’s securely fastened.
With these steps completed, you’ve built your very own electric skateboard!
Protecting the Electric Skateboard Components
When building your electric skateboard, one of the key aspects you should never overlook is protecting the electronic components. You want to ensure they are not only well protected from physical damage but also secured from potential electrical issues. The critical components you need to safeguard include the battery, speed controller, and motor.
Remember, a well-protected electric skateboard not only offers you a safe ride but also enhances its longevity and performance.
Ensuring Battery Safety
The battery is the heart of your electric skateboard. It provides the power needed to propel your board, making it one of the most crucial components to protect. Most e-skateboards use lipo batteries or lithium ion batteries due to their high energy density and rechargeability.
However, lipo batteries and lithium ion batteries can pose a risk if not handled properly. They can overheat, cause electrical short-circuits, or even explode in extreme cases. To prevent such scenarios, it’s essential to store these batteries in a protective case or enclosure that can withstand impact and resist heat. You may also want to consider the option of building your own electric skateboard battery.
Moreover, always ensure that the battery is charged using the correct charger and avoid overcharging as this can lead to reduced battery life or even potential hazards.

Designing the Inside of the Enclosure
Now that we’ve ensured our battery’s safety let’s focus on designing the inside of our enclosure. The main aim here is to arrange your components in such a way that they are not only protected but also easily accessible for maintenance or upgrades.
Firstly, ensure there’s enough space for each component. The battery, speed controller, and motor each need their own space for optimal performance and safety. Overcrowding can lead to overheating and damage.
Secondly, consider the placement of each component. Place the battery in a position where it’s less likely to take impact during a ride, typically at the center of the board. The speed controller, on the other hand, can be placed near the rear, close to the motor.
Lastly, consider using padding or foam to further protect your components. This can absorb shock from impacts, further protecting your components.
Finishing and Mounting the Enclosure
Once we’ve designed the inside of our enclosure, it’s time to finish and mount it onto our electric skateboard. The enclosure should be securely attached to the board to prevent it from falling off during a ride.
- Make sure your enclosure is well sealed. This prevents dirt, dust, or water from entering and damaging your components. You can use silicone or rubber seals to achieve this.
- Next, secure your enclosure to the board. You can use screws or brackets for this, ensuring they are tight enough to hold the enclosure but not too tight to crack or damage it.
- Give your enclosure a final check. Ensure all components are secure, wires are well arranged, and there are no loose parts. This final step ensures that your electric skateboard is ready for a safe and enjoyable ride.
Now that we’ve covered how to protect your electric skateboard’s components, we can move on to the next phase of our build: post-construction steps and enhancements.
Post-Construction Steps and Enhancements
At this point, you’ve done an amazing job building your own DIY electric skateboard. But, the journey doesn’t end here. This is just the beginning. In fact, now is when the real fun begins – tweaking your skateboard to perfection. This includes possible future improvements and upgrades, test rides, and making necessary adjustments.
Future Improvements and Upgrades
Just like a smartphone that gets software updates to enhance performance and add new features, your electric skateboard can also be upgraded. Remember, the beauty of a DIY project lies in the fact that there’s always room for improvement.
You can consider upgrading your skateboard’s deck for better stability and comfort. You could also look at beefing up the motor for more power and speed. How about adding some LED lights for night rides? Or perhaps, changing the wheels for better traction and control?
There’s always something you can tweak or add to enhance your riding experience. You can even experiment with different types of batteries for increased range. Plus, you can always swap out components from various DIY kits to find what works best for you.
Remember, the goal here is to make your e-skateboard better, safer, and more enjoyable to ride.
Test Rides and Adjustments
Once you’ve built your electric skateboard, it’s time to take it for a spin. But wait! Don’t just hop on and zoom off into the sunset. It’s crucial to conduct test rides in a controlled environment first.
Why? Well, think of it like this – you wouldn’t buy a car without test driving it first, would you? The same principle applies here. Test rides help you understand how your e-skateboard performs under various conditions. You get to feel how it accelerates, brakes, and handles corners.
These test rides are not just about having fun (although they are incredibly fun), they’re about ensuring optimal performance and safety. You might find that the skateboard is too fast or too slow, or maybe it doesn’t handle corners as well as you’d like. This is where your DIY kit comes in handy again.

Based on your observations during the test rides, you can make the necessary adjustments. Maybe you need to tighten or loosen the trucks for better control. Perhaps, the motor needs to be calibrated for smoother acceleration and braking. Or possibly, the battery isn’t secured properly and needs to be fixed.
The key here is to remember that building your own electric skateboard is a process. It’s about constantly learning, experimenting, and improving. The journey doesn’t end when you put together all the parts. It’s an ongoing process that only gets more exciting with each ride. So, go ahead and start tweaking your skateboard to perfection!
Remember, the end goal is to have an e-skateboard that’s not just a means of transport, but a reflection of your personality and craftsmanship. And that’s something worth striving for.
Closing Thoughts
Building an electric skateboard requires understanding the basic components and careful planning. The construction process is a step-by-step journey, involving assembling the parts and ensuring they function seamlessly together. It’s equally important to protect these components to prolong the e-skateboard’s life.
Once the construction is complete, there are several post-construction steps and enhancements that can optimize performance and personalize your electric skateboard. This process can be a thrilling adventure, combining creativity, engineering, and the anticipation of riding your creation. The result is not just a functional electric skateboard but also the satisfaction of having built it yourself.
Frequently Asked Questions
What are the main components needed to build an electric skateboard?
The main components needed to build an electric skateboard are the deck, trucks, wheels, motor, electronic speed controller (ESC), battery, and remote control.
What are some safety precautions when building an electric skateboard?
Safety precautions when building an electric skateboard include using the right tools, following instructions carefully, and using protective gear such as gloves and safety glasses. Always ensure that the electrical connections are secure and correct to prevent short circuits or fires.
How can I ensure optimal performance of my DIY electric skateboard?
To ensure optimal performance of your DIY electric skateboard, regularly check and maintain all components, keep the battery fully charged, and adjust the settings on your ESC to suit your riding style.
What are some potential improvements and upgrades I can make to my electric skateboard?
Potential improvements and upgrades to your electric skateboard can include installing larger wheels for a smoother ride, upgrading the battery for longer range, or adding LED lights for visibility during night rides.
Are there DIY kits available for building an electric skateboard?
Yes, there are DIY kits available for building an electric skateboard. These kits typically include all the necessary components and instructions, making it easier for beginners to get started.