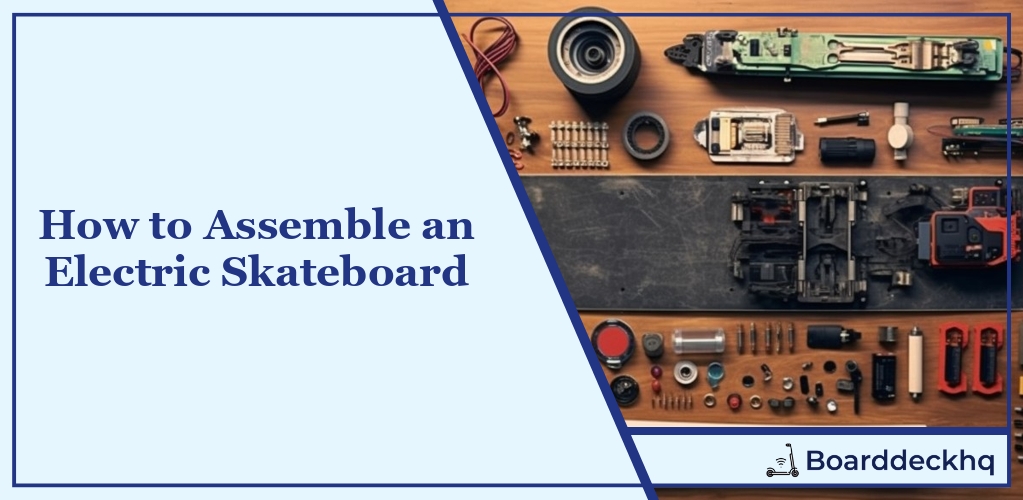
Have you ever dreamed of gliding down the street on your very own electric skateboard, conquering the concrete beneath you? Well, your dream is about to become a reality! This hands-on guide will walk you through every step of assembling an electric skateboard from scratch, ensuring you have the knowledge and confidence to undertake this exciting DIY project.
What we’ll cover
- Necessary Component Collection
- Step-by-step Assembly
- Different Electric Skateboard Varieties
- Testing Your New Ride
- Future Upgrades and Enhancements
- Customization Tips
- DIY vs Conversion Kits
Now, let’s dive right in and start our journey towards creating your ultimate riding machine!
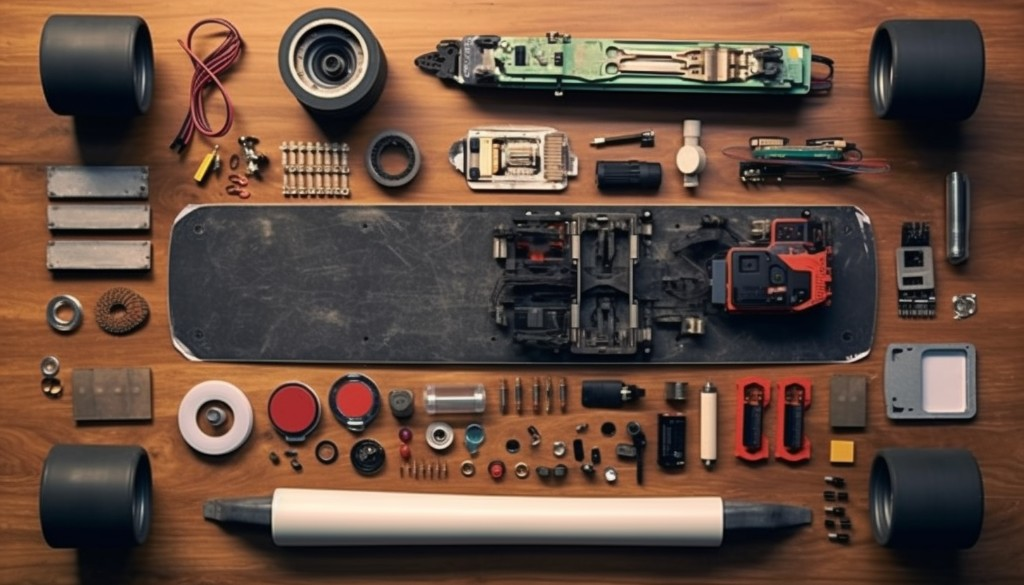
Gathering Necessary Components
Assembling an electric skateboard from scratch can be a thrilling endeavor. The first step is to gather all the necessary components for your DIY electric skateboard project. From decks to drive systems, your skateboard’s performance will largely depend on the quality of the parts you choose.
Electric Skateboard Deck Selection
The heart of any skateboard, electric or otherwise, is the deck. The deck is where you’ll be standing and controlling the board from, so it’s crucial that it suits your needs. When selecting a deck for your DIY electric project, consider factors such as length, width, material, and shape. The length and width will affect your riding style and stability, while the material and shape can impact the overall durability and performance of your electric skateboard.
Identification and Selection of Electronics
The next step is to select the electronics that will power your board. This includes the motor, battery, and speed controller. Your motor wires will connect these components, and a remote control will help you manage the speed and direction of your skateboard. When choosing these parts, keep in mind that they must be compatible with each other to ensure a smooth ride. Also, consider their quality and durability as these components will be subjected to a lot of stress and strain.
Choosing the Drive System
The drive system is another critical component of your electric skateboard. The two main types of drive systems are belt drive and hub motors. Belt drive systems offer more torque and are generally better for hilly areas, while hub motors are quieter and require less maintenance. Your choice between these two options will depend on your riding style and environment. For instance, if you’re planning to use your skateboard mostly in flat areas, a DIY kit with a hub motor might be a better choice.
Optimal Wheel and Truck Choices
Now, let’s move on to the wheels and trucks. The wheels of your skateboard DIY project should be durable and capable of withstanding high speeds. Look for larger wheels if you’re after a smooth ride, while smaller ones can provide better control.

Similarly, the trucks of your street board should be sturdy enough to handle the added weight of the electronic components. Also, they should be wide enough to provide stability but not so wide that they cause wheel bite (when the wheel touches the deck during a turn, causing a sudden stop).
Deciding on the Best Motor
The motor is the powerhouse of your electric skateboard. When choosing a motor, you’ll need to consider factors like power, speed, and efficiency. A high-powered motor can provide faster speeds, but it may also drain your battery quicker. Conversely, a more efficient motor may offer slower speeds but longer battery life. It’s all about finding the right balance based on your specific needs.
Belt Drive or Hub Motors
To delve deeper into the debate between belt drive and hub motors, each has its pros and cons. Belt drives offer more torque and better hill-climbing ability, but they can be noisier and require more maintenance. On the other hand, hub motors are quieter and require less upkeep, but they might not perform as well on steep inclines. Again, your choice will depend on your personal preferences and riding conditions.
As you can see, there are several components to consider when assembling an electric skateboard. Each part plays a vital role in the overall performance of the board. Therefore, it’s essential to invest time in selecting high-quality components that cater to your specific needs. The next step is putting it all together, but we’ll dive into that in the next section.
Detailed Assembly Process
Building an electric skateboard is akin to assembling a jigsaw puzzle. Each piece has its place, and when combined correctly, the result is a smooth, efficient, and thrilling ride. Here’s a step-by-step guide to help you build your DIY electric skateboard.
Understanding the Anatomy of an Electric Skateboard
Before we dive into the assembly, it’s crucial to understand what makes up an e-skateboard. The primary components include the deck, wheels, trucks, motor, battery, electronic speed controller (ESC), and the remote control. The deck serves as the platform on which you stand. The wheels and trucks facilitate movement, while the motor wires provide the power. The ESC is the brain of the operation, controlling speed and direction based on input from the remote control.
Attaching the Pulleys
Now that we’ve got the basics covered, let’s start by attaching the pulleys. In your DIY kit, you’ll find two types of pulleys – one for the motor and one for the wheel. Attach the motor pulley to the motor shaft and secure it with a set screw. The wheel pulley goes onto the wheel and is typically held in place by the wheel’s bolts. Be sure to apply some grip tape to the wheel pulley for extra traction.
Mounting the Motor
Next up is mounting the motor onto the skateboard deck. This process involves attaching the motor to a motor mount and then fixing this assembly to the skateboard truck. Make sure to align your electric skateboard motor correctly so that it meshes well with the wheel pulley. Secure everything tightly to avoid any wobbles while riding.
Installing the Electronics
The electronics installation is where your e-skateboard starts to come alive. Begin by mounting the ESC onto the deck, ideally under a protective case. Then, connect the motor wires from the ESC to the motor.

This process is a bit like putting batteries into a remote control; you need to ensure that the positive and negative terminals match up. Next, connect the battery to the ESC, taking care to follow the same rules with the terminals. If your DIY electric kit includes additional components like lights or a horn, now’s the time to install those as well. Don’t forget to secure everything with some grip tape to keep things in place while riding.
Adding an On/Off Button
An on/off button might seem trivial, but it’s an essential part of any electric skateboard. Not only does it make turning your board on and off a breeze, but it also helps conserve battery life when you’re not riding. To install it, connect the button to the power line between the ESC and the battery, and mount it in an easily accessible spot on the deck.
Wiring the Battery Management System (BMS)
The last step in the assembly process is wiring the BMS. The BMS serves as a gatekeeper for your battery, ensuring it doesn’t overcharge or discharge too much, both of which can be harmful. Connect the BMS to your battery following the instructions provided with your kit. This step is crucial for a safe and efficient e-skateboard experience.
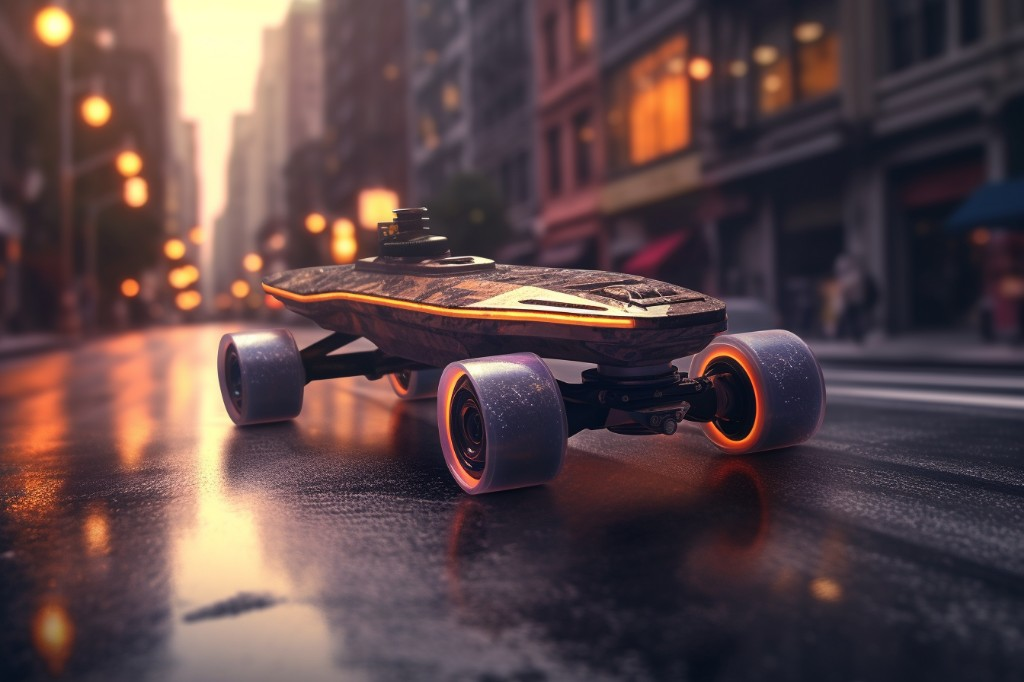
And voila! You’ve built an electric skateboard from scratch! Now, all that’s left is to give it a test ride. But before we get to that, let’s take a look at some of the different types of electric skateboards out there in the next section.
Types of Electric Skateboards
When you’re putting together your electric skateboard, it’s essential to keep in mind that not all e-skateboards are created equal. There are different types of boards, each designed for a specific type of ride. Depending on your skateboarding style, location, and personal preferences, you might opt for an urban electric skateboard, a street skateboard, an all-terrain board, or even a downhill/uphill racer.
Urban Electric Skateboard
Ah, the urban electric skateboard. Now, this is a personal favorite of mine. It’s your best friend if you’re a city dweller who needs to navigate through crowded streets and bustling sidewalks daily. This type of board is known for its agility and maneuverability. It’s compact and lightweight, making it easy to carry around when you’re not riding.
The urban electric skateboard usually comes with smaller wheels and a shorter deck, which provides a tight turning radius – perfect for those sharp corners and sudden changes in direction. Plus, it’s equipped with a powerful motor that can easily handle the city’s hilly terrains.
If you’re someone who commutes short distances, loves weaving through traffic, or just enjoys a quick and nimble ride around town, building an urban electric skateboard would be a great choice.
Electric Street Skateboard
Next up is the electric street skateboard. If the urban board is your agile city friend, then the street skateboard is its adrenaline-fueled cousin. This type of board is designed for speed and smoothness on flat, paved surfaces – think wide suburban streets or large parking lots.
The street skateboard often features larger wheels for increased speed and a longer deck for stability. This setup allows for some exhilarating high-speed rides while maintaining control and balance. Also, it’s not uncommon to see street skateboards equipped with high-torque motors for those thrilling accelerations.
If you’re a speed junkie who loves to zip around on flat surfaces or someone who appreciates a smooth and stable ride, the street skateboard would be your ideal build.

Electric All-Terrain Skateboard
Now, let’s talk about the beast of the bunch – the electric all-terrain board. This board laughs in the face of rough, uneven surfaces. From gravel paths to grassy hills, this e-skateboard can conquer them all. It’s designed with large, robust wheels and a powerful motor that can handle the challenges of off-road terrains.
The all-terrain board often features a flexible deck and shock absorption systems for a comfortable ride, even on bumpy trails. Also, it usually comes with a higher ground clearance to avoid obstacles.
So, if you’re an adventurer at heart, someone who loves to explore the unbeaten paths, or simply live in an area with rough terrains, building an all-terrain electric skateboard would be right up your alley.
Electric Downhill/Uphill Racer
Last but not least, we have the electric downhill/uphill racer. This type of board is built for thrill-seekers who enjoy the rush of racing down steep slopes or the challenge of climbing uphill. It’s equipped with a high-performance motor that provides powerful acceleration and high top speeds.
The downhill/uphill racer often features large wheels for stability at high speeds and a longer deck for better weight distribution. Also, it usually comes with a robust braking system for safety during high-speed descents.
So, if you’re someone who loves to feel the wind in your hair as you zoom down hills or enjoys the challenge of conquering steep climbs, building a downhill/uphill racer would be your perfect match.
Remember, the type of electric skateboard you choose to build should align with your riding style, location, and personal preferences. So choose wisely and have fun building!
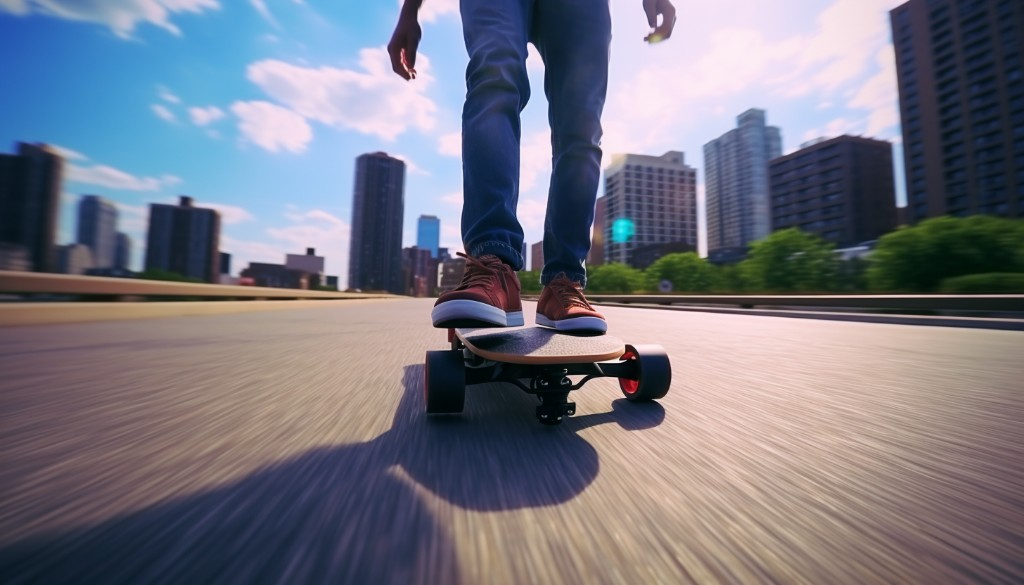
Testing Your Electric Skateboard
Once you’ve successfully assembled your electric skateboard, the next crucial step is testing it. You might be eager to jump on and start cruising, but I can’t stress enough the importance of this step. From personal experience, taking the time to thoroughly test your board can save you from potential accidents and damage down the line.
Start by checking all the nuts and bolts. Make sure everything is tightened properly and in its rightful place. Then, turn on the skateboard and check if all electrical components are working as expected. Your remote should be able to control the speed and direction of the skateboard without any delay or hiccups.
Next, give it a dry run. Stand beside your electric skateboard and slowly increase the speed using the remote. Watch out for any unusual noises or movements. If everything checks out, it’s time to hop on. But remember to start slow. Ride it at a low speed and test out the brakes and steering. Once you’re confident that everything is working as it should, feel free to take your electric skateboard for a proper spin.
Future Improvements and Upgrades
Like any piece of tech, your e-skateboard isn’t immune to wear and tear. Over time, you may need to replace parts or make improvements to keep it running smoothly. Regular maintenance is a must, but there are also plenty of upgrades you can make.
Consider swapping out the wheels for ones better suited to your riding style or terrain. For instance, larger wheels provide better stability and are great for cruising at high speeds, while smaller wheels offer quicker acceleration and are ideal for tricks.
The battery is another component you might want to upgrade in the future. A higher-capacity battery will give you longer rides, and trust me, there’s nothing worse than your board dying midway through a ride.

Tips for Customizing Your Electric Skateboard
Now that you’ve got your electric skateboard up and running, it’s time to make it truly your own. There are tons of ways to customize your board to reflect your personality and style.
One of the easiest ways is by adding stickers. You can find all sorts of designs online, from brand logos to cool graphics. Just make sure they’re weather-resistant so they won’t peel off in the rain or fade in the sun.
Lights are another popular addition. Not only do they look cool, but they also increase visibility, making your rides safer. I’ve added LED strip lights under my board, and it definitely turns heads when I ride at night.
Last but not least, consider changing the grip tape. It comes in various colors and designs, so you can choose one that suits your aesthetic. Plus, it’s an excellent opportunity to replace worn-out grip tape, ensuring you maintain good traction on your board.
Customizing your electric skateboard can be as fun as riding it. So don’t be afraid to get creative and show off your unique style.
Closing Thoughts
Assembling an electric skateboard is a process that involves gathering the necessary components, understanding the detailed assembly process, and finally testing your creation. This journey not only grants you a functional mode of transportation but also provides a sense of accomplishment. Whether you’re working with DIY or conversion kits, the versatility of electric skateboards allows for future improvements and upgrades. The experience doesn’t end once your skateboard is assembled; you can always customize it to your heart’s content. Remember, the true essence of this endeavor lies in the learning and creativity involved. As you cruise on your electric skateboard, you’re not just riding a vehicle, but a testament to your skills and passion.
Frequently Asked Questions
What tools do I need to assemble an electric skateboard?
To assemble an electric skateboard, you’ll need basic tools like a screwdriver, wrench, and pliers. It’s also beneficial to have a soldering iron if you’re doing any electrical work.
How long does it take to assemble an electric skateboard?
The assembly time can vary based on your experience and the complexity of the board. However, on average, it takes about 2-3 hours to assemble an electric skateboard.
Can I use any skateboard deck for my electric skateboard?
Yes, you can use any skateboard deck for your electric skateboard. However, it’s recommended to use a sturdier one to support the weight of the motor and battery.
What’s the difference between a belt drive and a hub motor?
A belt drive system uses a belt to connect the motor to the wheels, while a hub motor is built directly into the wheel of the skateboard. Each has its own advantages and disadvantages in terms of performance and maintenance.
How can I customize my electric skateboard?
You can customize your electric skateboard in many ways – from choosing different types of wheels and decks to adding LED lights or custom grip tape. The possibilities are endless!