Have you ever imagined cruising around the city on your very own electric skateboard, built from scratch? The feeling of freedom and thrill is incomparable, but it all starts with understanding how to put together that perfect ride. This comprehensive guide will take you on a journey, transforming you from a novice to an adept builder, teaching you everything you need to know about creating your very own electric skateboard kit.
What we’ll cover:
- Essential Skateboard Components
- Understanding Skateboard Functionality
- Buying a DIY Kit
- The Assembly Process
- Using Conversion Kits
- Testing and Tuning Your Board
- Customizing Tips
So, are you ready to take the first step towards crafting your unique ride? Let’s jump right in, and convince you why building your own electric skateboard kit is an exhilarating experience you wouldn’t want to miss!
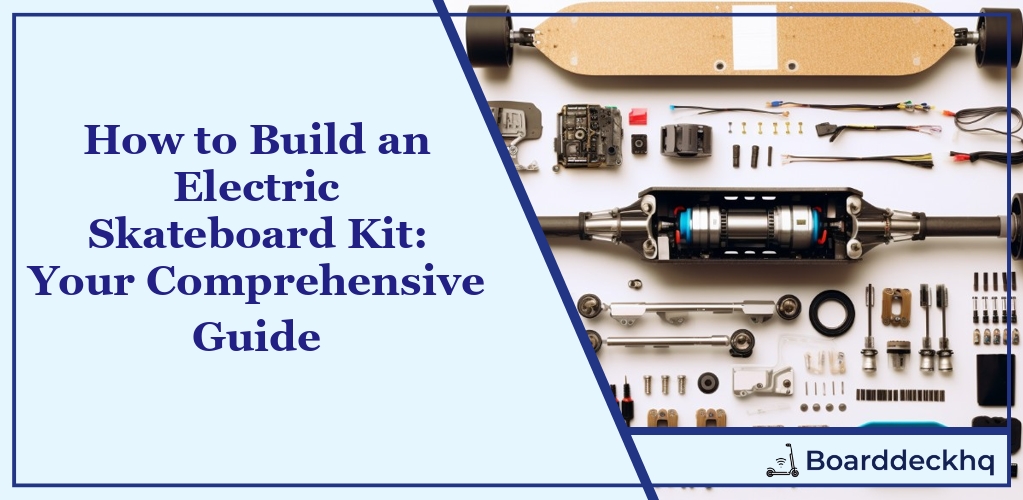
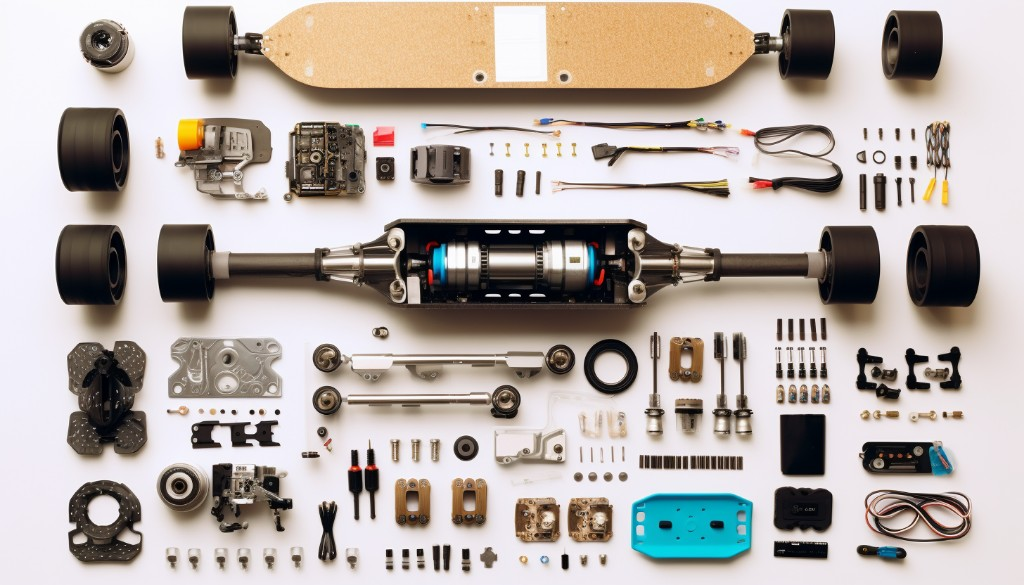
Essential Components for Electric Skateboard Kit
An electric skateboard kit comprises several key components, each playing a pivotal role in transforming an ordinary deck into an electric skateboard. The heart of a DIY electric skateboard kit lies in the harmony of these elements working together.
Selecting the Appropriate Deck
A common misstep is underestimating the importance of the deck in an electric skateboard build. The deck sets the stage for your ride, influencing stability, maneuverability, and overall comfort. Whether you’re turning a skateboard or longboard into an electric thrill ride, the deck is your first point of contact with the board.
When choosing a deck for your DIY electric skateboard, consider the shape, size, and material. A longboard deck typically offers more stability and is perfect for cruising at high speeds. On the other hand, a traditional skateboard deck provides greater agility for navigating urban environments.
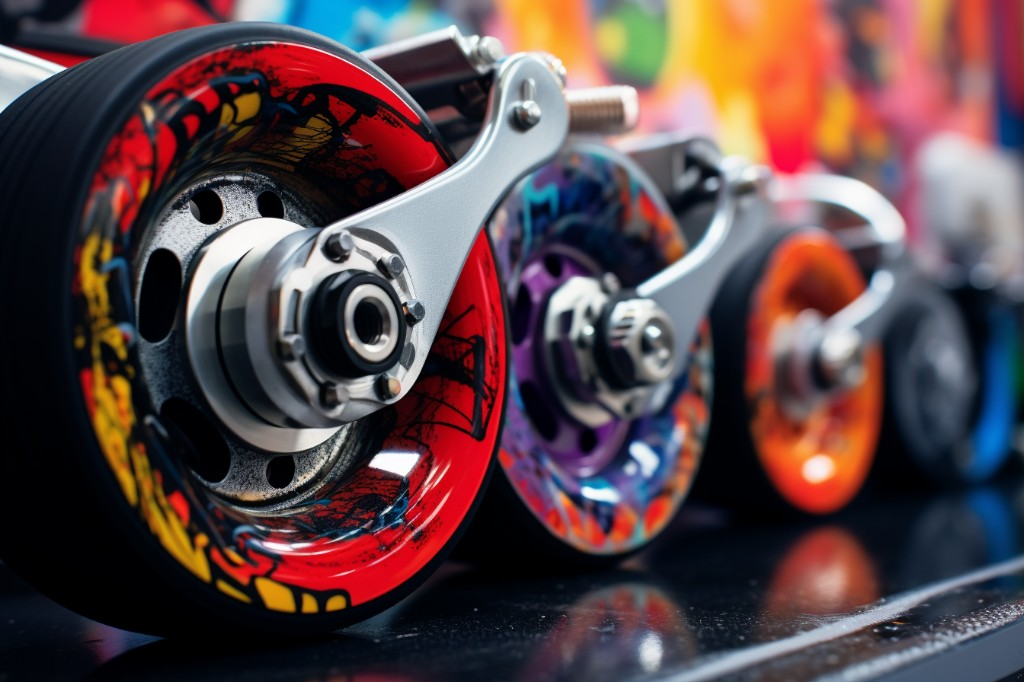
Choosing the Right Wheels and Trucks
Next in line are the wheels and trucks. They’re like the shoes and legs of your electric skateboard – they dictate how smoothly you’ll roll over different terrains and how well you’ll turn corners. The size and hardness of your wheels, along with the width and geometry of your trucks, should be compatible with your deck and riding style.
The trucks attach to the underside of the deck and hold the wheels in place. They affect how well your board turns, so make sure they match your deck’s width. When it comes to wheels, larger ones allow for higher top speeds, while smaller wheels offer quicker acceleration.
Finding the Best Motor for Your Skateboard
No electric skateboard kit would be complete without a motor – it’s the engine that drives you forward. There are two main types: hub motors and belt-driven motors. Hub motors are integrated into the wheels, making them sleek and quiet, but they might compromise ride comfort due to less shock absorption. Belt-driven motors, on the other hand, deliver more torque for climbing hills and allow for easier wheel customization.
When selecting a motor for your DIY electric skateboard, consider your desired speed, range, and terrain. A high-wattage motor offers more power, but it will also drain your battery faster.
Choosing the right components is a critical step in building an electric skateboard that meets your specific needs and preferences. With a solid understanding of these essential parts, you’re well on your way to transforming a regular deck into an exhilarating electric ride.
Next up, we’ll delve into understanding electric skateboard functionality and selecting the best DIY kit for your project.
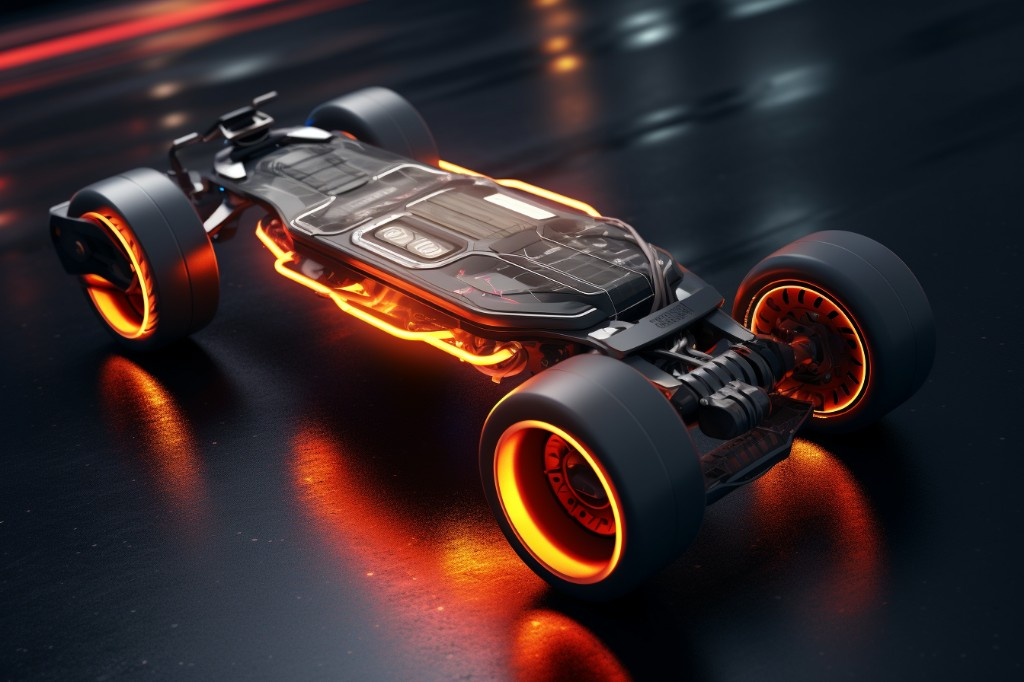
Understanding Electric Skateboard Functionality
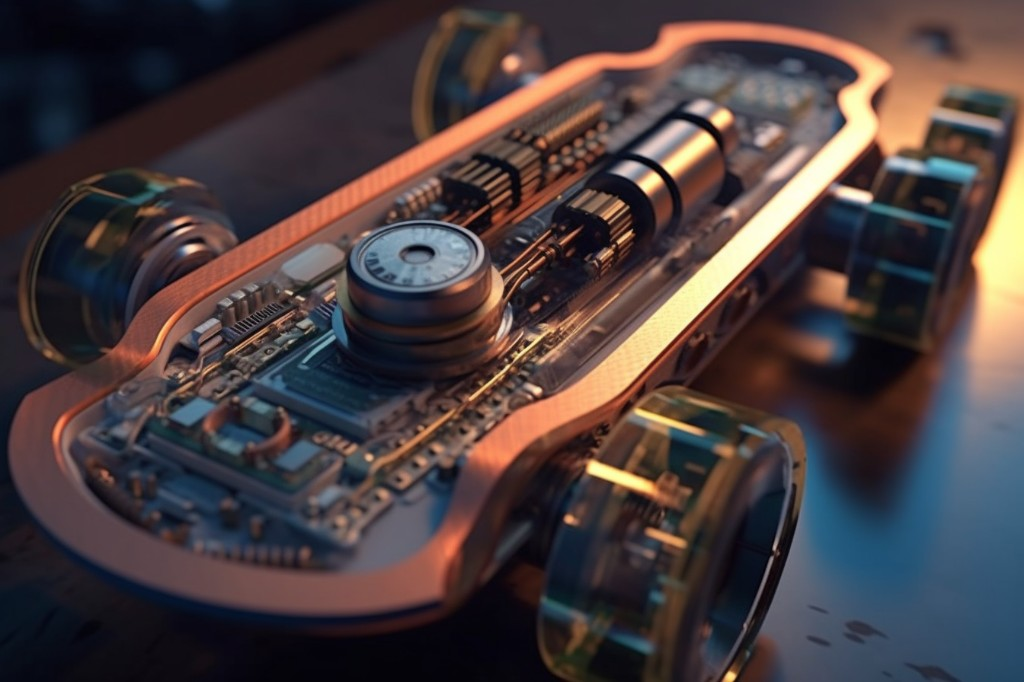
Diving headfirst into the world of electric skateboards, it’s crucial to comprehend how these fantastic devices operate. The primary mechanics of an electric skateboard function in a relatively simple, yet intriguing manner. An electric skateboard, or e-skateboard as it’s often referred to, primarily consists of a deck, wheels, motors, battery, and a remote control.
The deck is the base where you stand, and the wheels enable smooth movement. The motors, which are usually brushless for better efficiency and longevity, are responsible for the actual propulsion of the skateboard. These are powered by a battery that is typically mounted beneath the deck. The remote control allows you to regulate the speed and direction of your ride.
The magic happens when you press the throttle on your remote control. This sends a signal to the electronic speed controller (ESC) which in turn tells the motors how fast to spin. If you want to slow down or stop, the remote also activates the braking system. It’s quite exhilarating to experience the seamless harmony between these components when riding an electric skateboard.
When you decide to embark on a DIY electric skateboard project, understanding this basic functionality will serve as your foundation. It will guide your choices as you select each part of your electric skateboard kit.
Purchasing an Electric Skateboard DIY Kit
Choosing the right DIY kit is an exciting but critical step in building your electric skateboard. There are several factors to consider when purchasing a DIY kit.
Firstly, consider the quality of the components. Remember that you’ll be riding this board at high speeds and any component failure could lead to an accident. Always opt for reliable and reputable brands.
Secondly, think about your specific needs. Are you planning to ride your e-skateboard on smooth city streets or rough off-road trails? This will influence the type of wheels, deck, and motor you choose.
Thirdly, pay attention to the power and range offered by the battery. Your rides will be limited by the distance your board can travel on a single charge.
Lastly, but equally important, consider the ease of assembly. Some electric skateboard conversion kits are more user-friendly than others. Look for kits that come with clear instructions and require minimal technical expertise.
Advantages of DIY Conversion Kits
DIY conversion kits offer several advantages that make them a popular choice for many electric skateboard enthusiasts. For starters, building your skateboard using a conversion kit provides a unique sense of accomplishment. There’s something deeply satisfying about cruising around on a board you’ve built yourself.
Additionally, DIY kits offer more flexibility and customization. You’re not restricted to the components provided in a pre-assembled board. You can choose parts based on your personal preferences and needs. Whether you want a faster motor, a longer-lasting battery, or a particular deck design, you have the freedom to make those choices.
Another benefit is that DIY kits tend to be more cost-effective than buying a pre-assembled electric skateboard. You’re paying for components, not branding or labor costs associated with assembly.
Furthermore, when you build your own electric skateboard from a DIY kit, you gain a better understanding of its mechanics. This knowledge can be invaluable for troubleshooting or upgrading components in the future.
Building your e-skateboard using a DIY kit isn’t just about getting from point A to B. It’s about the journey and learning experience that comes with assembling your ride. It’s about the thrill of personalizing your board and knowing it inside out. So why not dive into this adventure and experience the satisfaction of riding an electric skateboard built with your own two hands?
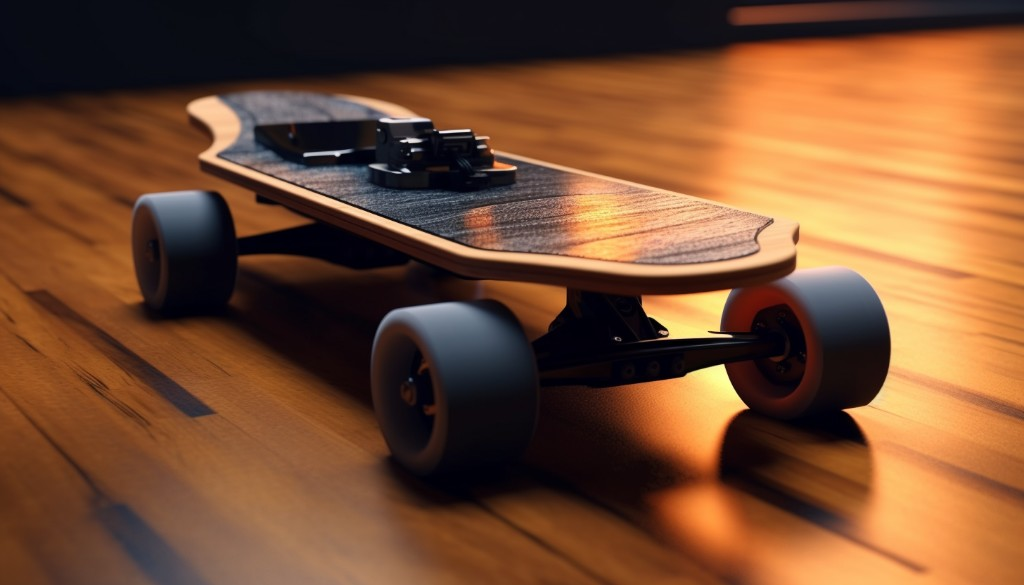
Assembling Your Electric Skateboard
As someone who has built a few DIY projects, I can tell you that there’s nothing quite like the sense of accomplishment when you complete a project successfully. The process of transforming a simple skateboard into an electric one is no different. Let’s dive right in and start assembling your electric skateboard.
Preparing the Deck
The first step in transforming your deck into an electric skateboard involves preparation. You need to ensure your deck is clean and dry before beginning any assembly. Remove any dirt or debris with a damp cloth and then dry it thoroughly.
Next, inspect the deck for any signs of damage or wear. If there are cracks, splinters, or other signs of wear, it may not be suitable for converting into an electric skateboard. You might want to consider getting a new deck if this is the case.
Once your deck is clean and in good condition, you’re ready to start assembling your electric skateboard kit.
Setting Up the Electronics
Setting up the electronics for your electric skateboard can seem daunting at first, but it’s easier than you think. The electric skateboard kit should come with all the necessary components and a detailed instruction manual to guide you through the process.
- Start by mounting the motor on the underside of your deck. The motor should be securely fastened to the deck, ensuring it doesn’t move during rides.
- Next, install the electronic speed controller (ESC). This is the brain of your electric skateboard, controlling how fast and how far you go. The ESC should be placed close to the motor and securely fastened.
- Then, connect the motor to the ESC using the provided cables. Make sure to follow the instruction manual closely to ensure correct installation.
- Now it’s time to install the battery. The battery should be securely mounted on the underside of your deck, preferably towards the center for optimal weight distribution. Connect the battery to the ESC using the provided cables.
- Finally, connect the ESC to the remote control. This will allow you to control the speed and direction of your electric skateboard.
- The next step is to install the wheels. Most electric skateboard conversion kits come with wheels that are specially designed for electric skateboards, offering better grip and stability. Make sure the wheels are securely fastened and rotate freely.
At this point, your DIY electric skateboard should be fully assembled and ready to ride. But before you hit the pavement, make sure to test everything thoroughly. Check that all components are securely fastened and working properly. It’s also a good idea to do a few test rides in a safe and controlled environment before taking your new electric skateboard out for a real spin.
Remember, safety should always be your top priority when riding an electric skateboard. Always wear a helmet and protective gear, and be aware of your surroundings at all times.
Using Electric Skateboard Conversion Kits
Assembling an electric skateboard is like building a Lego masterpiece – fun, challenging, and ultimately rewarding. Once you’ve got your basic board and the essential components, it’s time to dive into the magical world of electric skateboard conversion kits. These kits are your gateway to transforming a regular board into a supercharged e-skateboard. Among the popular ones on the market are BKB Build Kit Boards, Revel Kit, and the Maxfind M5 Drive Kit.
BKB Build Kit Boards
Just like how a wizard’s wand chooses its owner in Harry Potter, electric skateboard conversion kits need to be chosen with precision and thoughtfulness. One of my personal favorites is the BKB Build Kit Boards. Their kits are like the Swiss army knife of skateboard conversion kits, offering versatility and flexibility.
What sets BKB apart from the rest is their commitment to quality and performance. Their kits come with high-torque motors that can propel you to exhilarating speeds, without compromising on safety or stability. Plus, they include everything you need to convert your board into an electric powerhouse – from the motor mount and wheels to the electronic speed controller (ESC) and remote. It’s like getting a whole pizza with all the toppings, rather than just the base.
Having personally used BKB electric skateboard conversion kits, I can vouch for their durability and power. The ride is smooth, the speed thrilling, and the assembly process is as easy as pie. If you’re new to the world of e-skateboards, BKB is a fantastic place to start your journey.
Maxfind M5 Drive Kit
Next up on our list is the Maxfind M5 Drive Kit, another gem among skateboard conversion kits. The Maxfind M5 is a plug-and-play solution, meaning it’s perfect for those who aren’t too keen on tinkering with multiple parts. It’s like using a cake mix to bake a cake – simple, quick, and effective.
One of the standout features of the Maxfind M5 is its lightweight design. This means your board won’t feel like a ton of bricks under your feet. Instead, it retains the feel of a traditional skateboard, but with the added bonus of electric power.
Another major advantage is its water-resistant properties. This means you can ride your e-skateboard even when the weather decides to throw a tantrum. It’s like having an umbrella that keeps you dry while you enjoy the thrill of skateboarding in the rain.
To sum up, the Maxfind M5 Drive Kit offers ease of use, lightness, and resilience. It’s an excellent option if you’re looking for a fuss-free conversion kit that doesn’t compromise on performance or fun.
With your newly assembled e-skateboard and the right conversion kit, you’re all set to hit the streets. But remember, like any powerful machine, an electric skateboard needs regular testing and tuning to keep it at peak performance. That’s what we’ll be diving into in the next part of our journey into the electrifying world of e-skateboards.
Testing and Tuning Your Electric Skateboard
After all the sweat and toil you’ve put into building your electric skateboard kit, it’s finally time for the moment of truth – testing and tuning. The exhilaration of riding your DIY electric skateboard for the first time is unparalleled, but it’s crucial to ensure it’s perfectly tuned for optimal performance. From achieving the top speed to effortlessly climbing hills, there are a few checks you need to run through.

Tuning the Motor
The heart of your electric skateboard is its motor. Tuning the motor properly will make a world of difference in your ride, helping you reach your desired top speed and making those hill climbs a breeze.
- Test the Motor Rotation: First, you need to ensure that your motor is rotating in the correct direction. If it’s not, your board will go backwards when you want it to go forwards! Simply run a quick test by turning on your skateboard and nudging the throttle. If the wheels spin in the wrong direction, you’ll need to swap two of the motor wires to correct this.
- Set the Motor Timing: This determines how quickly the motor responds to throttle changes. A higher timing setting will give you faster acceleration and better hill climb performance, but it may drain your battery quicker.
- Adjust the Motor Current: This controls how much power the motor draws from the battery. Higher current will give you more torque for those tough hill climbs, but be careful not to set it too high or you might risk overheating the motor.
Remember, tuning the motor is all about finding a balance between speed, power, and battery life that suits your personal riding style.
Adjusting the Wheels and Trucks
Your electric skateboard’s wheels and trucks are like its feet and legs – they need to be well-adjusted for balance, control, and stability.
- Check Wheel Alignment: Misaligned wheels can slow you down and make steering difficult. Ensure your wheels are properly aligned by placing your skateboard on a flat surface and checking if it rolls straight when given a gentle push.
- Tighten or Loosen the Trucks: The trucks connect the wheels to the board and play a major role in steering and stability. If you’re new to e-skateboarding, tighter trucks will give you more stability but less turning flexibility. As you gain more confidence and want to reach a higher top speed, you can gradually loosen them for more maneuverability.
- Inspect the Wheel Bearings: These tiny components have a big impact on your ride’s smoothness and top speed. Make sure they’re clean, well-lubricated, and rotate freely.
- Test the Grip Tape: This is what keeps your feet firmly on the board, especially during those adrenaline-fueled hill climbs. If it’s worn out or not sticky enough, you might need to replace it.
Just like a musician tuning his guitar before a performance, taking the time to fine-tune your electric skateboard will ensure a safe and thrilling ride. So go ahead, put on your helmet, hop on your board, and feel the rush of the wind against your face as you zoom down the road.

Closing Thoughts
Building an electric skateboard kit is a rewarding experience that combines the thrill of skateboarding with the innovative world of DIY electronics. It requires a clear understanding of the essential components involved and how they contribute to the overall functionality of the skateboard. Purchasing a DIY kit simplifies this process, providing all the necessary parts in one package and guiding you through the assembly process. Alternatively, using electric skateboard conversion kits can offer a different route to achieve the same end result. Once assembled, testing and tuning your e-skateboard ensures it performs at its peak, providing an exhilarating ride that mirrors your personal preferences and riding style. This venture not only enhances your knowledge of electronics and mechanics but also provides a personalized mode of transport that is eco-friendly and fun to use.
Frequently Asked Questions
What is the best electric skateboard kit?
The best electric skateboard kit depends on your personal preferences, such as the type of board you prefer, your budget, and your skill level. However, some popular options include the Mellow Boards Surfer Kit and the Ownboard W2 Pro Kit.
How do I assemble my DIY electric skateboard kit?
Assembling a DIY electric skateboard kit involves several steps. First, you will need to attach the trucks to your skateboard deck. Next, install the motor, battery, and electronic speed controller. Finally, connect all components together, secure them in place, and test your board.
What are the best electric skateboard conversion kits?
The best electric skateboard conversion kits are those that offer high-quality components, ease of installation, and good value for money. The Boosted 2nd Gen Dual+ Standard Range Electric Skateboard Conversion Kit and the Mellow Boards Surfer Conversion Kit are often highly recommended.
How do I tune my DIY electric skateboard for top speed and hill climb?
Tuning your DIY electric skateboard involves adjusting the settings on your electronic speed controller (ESC). You can adjust the throttle curve for better acceleration, tweak the braking strength for safer descents, and even alter the motor timing for higher top speeds.
What are the benefits of building your own electric skateboard?
Building your own electric skateboard allows you to customize it to your liking, including choosing the deck style, wheel size, and motor power. Additionally, it can be a cost-effective option as you can upgrade or replace parts as needed rather than buying a whole new board. Plus, the process of building it provides a great learning experience in electronics and mechanics.