Ever dreamed of cruising the streets on your very own electric skateboard, but balked at the hefty price tag? What if you could make one at home, tailored to your unique style and needs? Imagine the thrill of assembling your own high-performance electric skateboard, understanding its inner workings, and then feeling the wind rush past as you glide on your creation. It’s not just about saving money; it’s about the pure satisfaction that comes from creating something with your own two hands.
What we’ll cover:
- Gathering Essential E-Skateboard Parts
- Assembly Process
- Functioning of an Electric Skateboard
- Varieties of DIY Electric Skateboards
- Electric Skateboard Programming
- Testing Your Electric Skateboard
- Future Improvement Ideas
- Customizing Your E-Skateboard
- Understanding Different Electric Skateboards
- Final Thoughts on DIY E-Skateboards
Ready to roll up your sleeves and dive into the world of DIY electric skateboards? Let’s jump right in, and discover the exciting journey of crafting your very own electric skateboard!
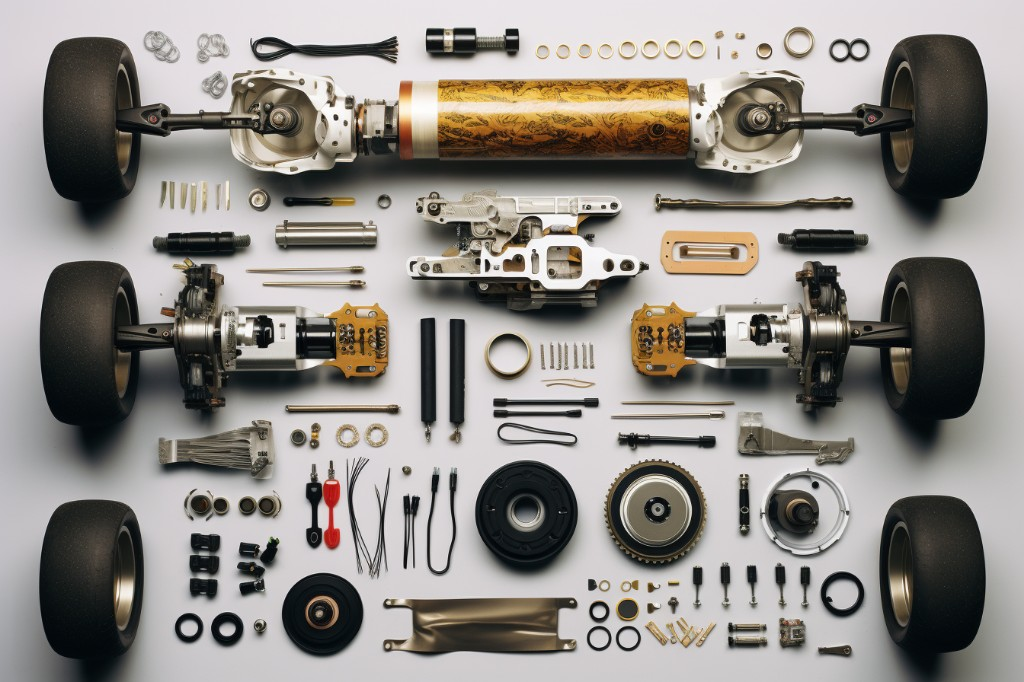
Essential Parts for Electric Skateboard
Building a DIY electric skateboard requires a series of key components, each with its specific role in the final assembly. Let’s walk through each one of them.
Choosing the Deck
The heart of your electric skateboard is the skateboard deck. It serves as the platform on which all other components are mounted and determines your riding comfort. While choosing a deck, consider its length, width, and shape, which can affect your stability and maneuverability. The material also matters. Maple wood decks are durable and offer excellent flexibility. But if you’re after a lighter option, bamboo might be the way to go.
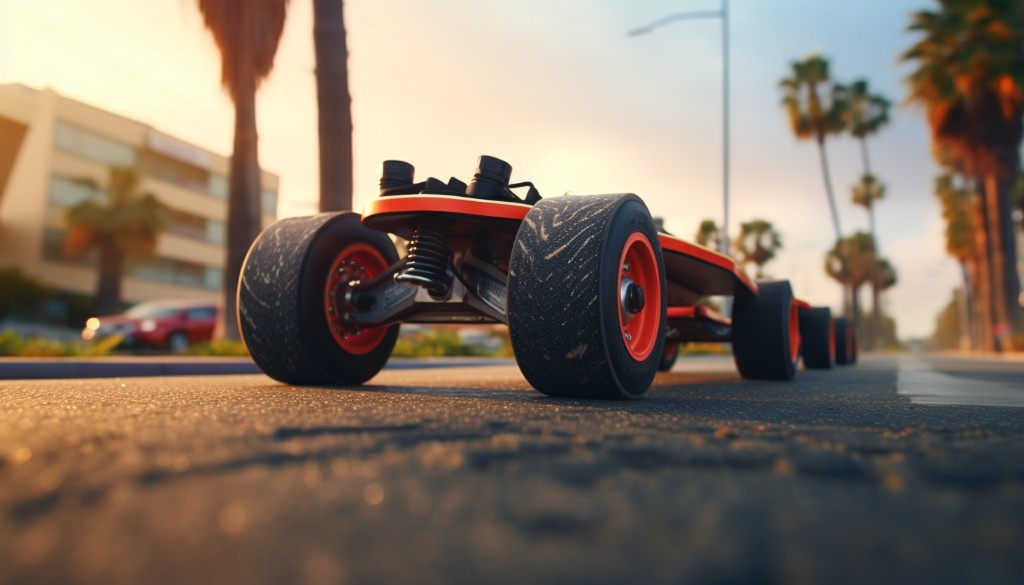
Selecting the Wheels and Trucks
The wheels and trucks of your DIY electric skateboard play a vital role in determining your ride’s smoothness and control. When choosing wheels, think about their diameter and durometer (hardness). Larger wheels will allow you to ride faster and smoother over rough surfaces, while smaller ones offer more acceleration and agility. The hardness can affect grip and durability — softer wheels provide more grip but wear out faster.
The trucks hold the wheels in place and allow you to steer the board by leaning. They come in different widths to match your deck’s width. Remember, wider trucks give more stability but less responsiveness, and vice versa.
Buying the Right Motor
The motor is the power source of your electric skateboard, so choosing the right one is critical. There are two main types: outrunner motors and hub motors. Outrunner motors are external and usually used in belt-driven boards, while hub motors are built into the wheel itself.
When purchasing a motor, consider its wattage — the higher it is, the more powerful your board will be. Also, check its compatibility with your chosen wheel size and trucks.
Understanding Motor Types: Belt Drive vs Hub Motors
Comparing belt drive and hub motors can help you make an informed decision. Belt drive motors are typically more powerful and efficient than hub motors, offering better hill climbing and braking capabilities. However, they require regular maintenance as the belts can wear out.
On the other hand, hub motors are maintenance-free and offer a more streamlined look as they’re built into the wheels. They also provide a more authentic skateboard feel as they allow for free wheeling when not powered. However, they may not perform as well on steep hills or offer the same braking power.
Deciding on the Battery
The battery powers your electric skateboard, so it’s crucial to choose the right one. There are different types of batteries available, but lipo batteries are common in DIY electric skateboard projects due to their high energy density and discharge rates.
Consider a battery pack’s voltage and capacity when making your choice. The voltage determines the board’s top speed, while the capacity affects the range. Also, ensure the battery fits comfortably on your chosen deck without adding too much weight.
Understanding Electronic Speed Control (ESC)
The ESC is an essential component of an electric skateboard. It acts as the bridge between the motor and the battery, controlling the speed and direction of the motor based on input from a wireless remote control. The ESC also regulates power distribution to ensure your motor doesn’t burn out.
Choosing an ESC for your DIY project can be tricky as it must match your motor’s voltage and current specifications. Some ESCs come with additional features like regenerative braking and programmable acceleration curves for a custom riding experience.
By understanding these key components, you’re now ready to start assembling your electric skateboard. In the following section, we’ll delve into the detailed process of putting everything together to bring your e-skateboard to life.
Detailed Process of Assembling Electric Skateboard
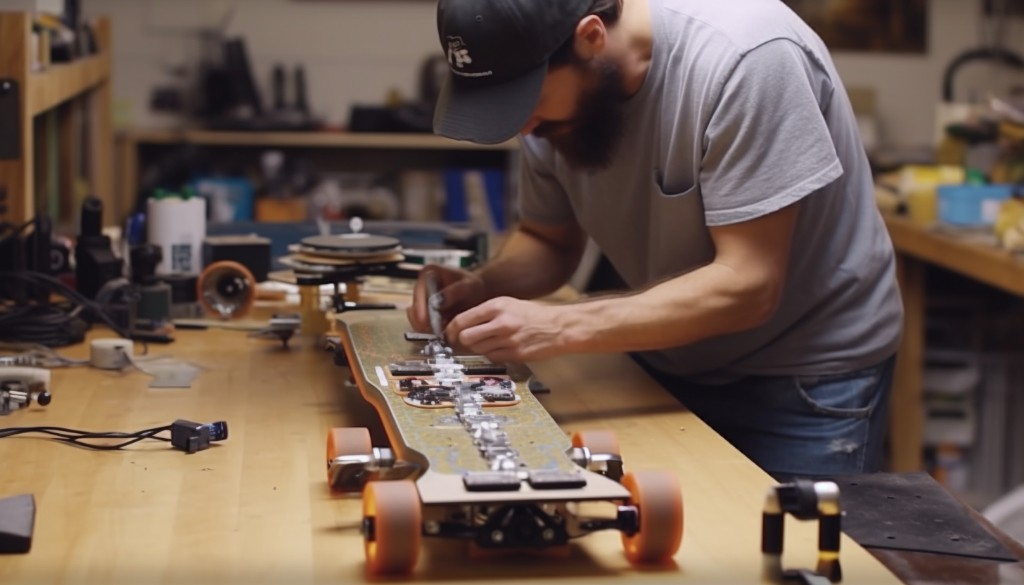
When I set out on my DIY electric skateboard journey, I discovered that meticulous preparation was the cornerstone to a successful build. Let’s break it down.
Preparation and Planning
Imagine building your skateboard like cooking a gourmet meal. You wouldn’t start without having all your ingredients ready, would you? Similarly, before you dive into the assembly process, ensure all the necessary components are at hand. It helps to keep the workspace clean and organized, with a designated area for each part. It’s also crucial to have a clear understanding of how the components interact. I remember going through countless tutorials and videos to familiarize myself with the process.
Attaching the Pulleys
With preparation done, it’s time to roll up your sleeves and get started. First off, the pulleys. They are crucial for transmitting power from the motor to the wheels. The motor pulley should be attached directly to the motor shaft while the wheel pulley goes onto the wheel. Remember, a tight fit is essential here for efficient power transmission.
Mounting the Motor
Mounting the motor was a task that required precision. The motor is attached to the electric skateboard deck using a motor mount. It’s important to ensure the motor wires are safely tucked away to avoid any mishaps while riding.
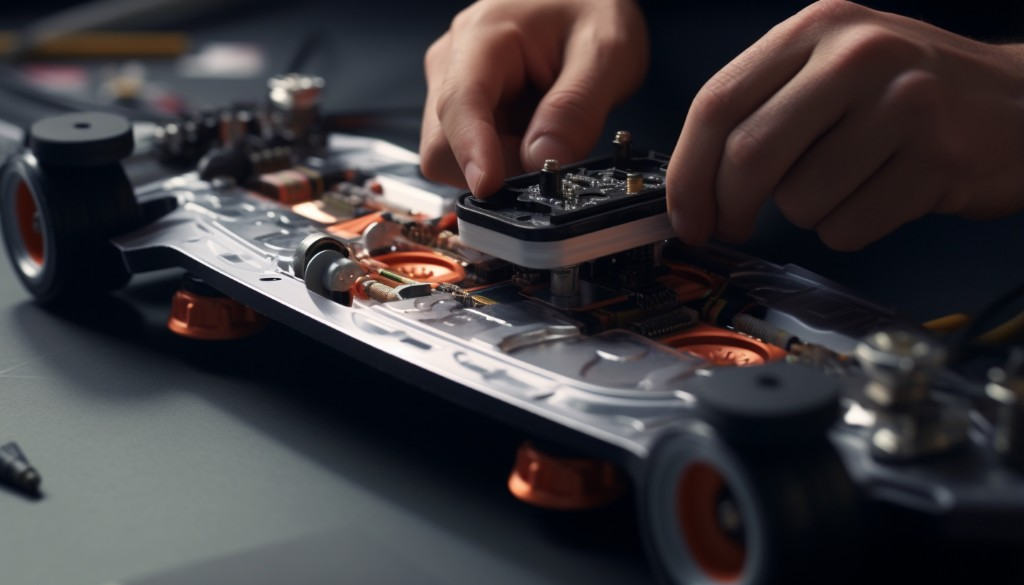
Installing the Electronics
After securing the motor, it was time to install the electronics. This includes the speed controller and the battery pack. The speed controller connects to both the motor and battery pack and regulates the power supplied to the motor based on input from the remote control.
Adding On/Off Button
Adding an on/off button was quite a fun task. I chose a spot on the deck where it was easily accessible yet not in the way of my feet. This button connects to the speed controller and allows you to power the skateboard on and off.
Creating the Enclosure for Batteries
Creating an enclosure for the batteries is crucial. I used a sturdy plastic box that was large enough to house the battery pack and other electronics but small enough to fit on the underside of the skateboard deck. The enclosure needs to be secure and durable to protect the electronics from shocks and vibrations while riding.
Protecting the Batteries
Protecting the batteries from damage and moisture was my next priority. I made sure to insulate the battery pack using foam padding and sealed the enclosure with silicone sealant to make it water-resistant. This ensured that even in wet conditions, the batteries remained dry and safe.
Designing the Inside of the Enclosure
Organizing the inside of the enclosure can be likened to a game of Tetris. You want everything to fit snugly without any wasted space. I arranged my components in a way that allowed easy access for maintenance while also keeping the weight balanced across the skateboard deck.
Finalizing the Enclosure
Once satisfied with the organization inside, it was time to finalize the enclosure. I drilled holes in the box for motor wires and other connections, then sealed them with rubber grommets to prevent water ingress. Then I secured the lid with screws, ensuring a tight fit.
Mounting the Enclosure on the Deck
The final step of my DIY electric skateboard build was mounting the enclosure on the e-skateboard deck. I marked out the position on the deck, drilled holes, and then used sturdy bolts and nuts to secure the enclosure. Voila! My electric skateboard was ready for its maiden ride.
With your own DIY electric skateboard assembled, you’re probably curious about how all these components come together to provide a smooth ride. Well, stay tuned because we’re going to delve into the inner workings of an electric skateboard next.
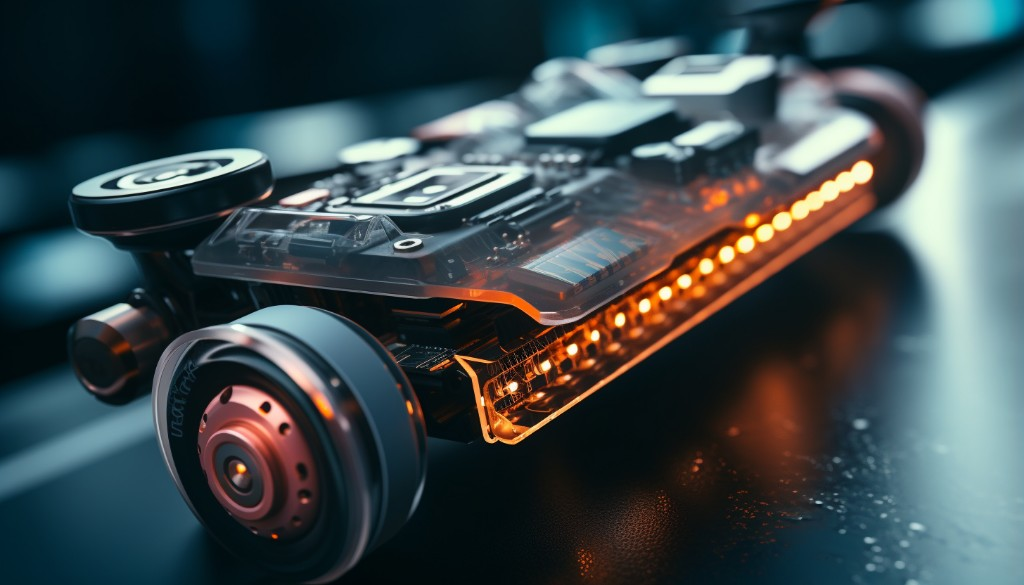
Understanding the Functioning of an Electric Skateboard
Before we get into making your very own e-skateboard, let’s take a moment to understand how an electric skateboard works. It’s like a traditional skateboard, but with a twist – it has an electric motor powered by a battery. This motor propels the board forward, while a handheld remote allows the rider to control the speed and direction.
The heart of an electric skateboard is its motor. This motor is connected to the wheels via a drive system, which can either be belt-driven, hub-driven, or direct-driven. The power from the motor is transferred to the wheels, making the skateboard move.
Then there’s the battery, which powers the motor. This is usually a lithium-ion battery due to its high energy density and long lifespan. The battery is connected to an electronic speed controller (ESC), which modulates the power from the battery to the motor based on input from the remote control.
The remote control is another crucial part of a diy electric skateboard. This is what you use to control the board’s speed and sometimes even its direction. The remote communicates with the ESC via a radio signal, sending commands for acceleration, deceleration, or braking.

Different Types of DIY Electric Skateboards
Now that you understand how an electric skateboard functions, let’s dive into different types of DIY electric skateboards that you can build at home.
Fast Electric Skateboard
If speed is your need, a fast electric skateboard might be just what you’re looking for. You can achieve this by using a powerful motor and a high-voltage battery. However, remember that safety should be your priority. Make sure your board has good brakes and always wear protective gear when riding.
Customizable Electric Skateboard
For those who want a unique ride, a customizable electric skateboard is the way to go. You can pick and choose each part according to your preference. From the deck’s design to the type of wheels, motor power, and even the grip tape – everything can be customized. This allows you to create a board that truly reflects your personality.
Bluetooth Electric Skateboard
Imagine controlling your skateboard with your smartphone. That’s what a Bluetooth electric skateboard offers. You can replace the traditional remote control with a smartphone app. This not only makes controlling the board more convenient but also opens up possibilities for features like tracking your rides or adjusting the board’s settings.
Vibration-Proof Electric Skateboard
Riding on rough terrains can be quite a bumpy experience. A vibration-proof electric skateboard can help smooth out those rides. By using flexible materials for the deck and adding shock absorbers, you can reduce the impact of vibrations. This will make your rides more comfortable, especially on uneven surfaces.

Carbon Fiber Electric Skateboard
If you’re after durability and strength, a carbon fiber electric skateboard is a great choice. Carbon fiber is known for its high strength-to-weight ratio, making it ideal for skateboards. It’s also resistant to wear and tear, ensuring your board lasts for years to come. However, keep in mind that working with carbon fiber can be challenging and requires special tools and skills.
Programming the Electric Skateboard
After you’ve assembled your DIY electric skateboard, programming it is the next critical step. By programming, you’re essentially tweaking the performance characteristics of your e-skateboard to match your riding style and preferences.
You can customize elements like acceleration, braking, and top speed. These adjustments are made via a handheld remote control, which communicates with the skateboard’s electronic speed controller (ESC). The ESC is the brain of your electric skateboard, controlling the flow of power from the battery to the motor based on input from the remote control.
To start, connect the ESC to your computer using a USB cable. You’ll need a special programming software that’s compatible with your ESC. Many ESC manufacturers provide their own software which can be downloaded from their websites. Once you’ve installed the software, you can begin adjusting settings such as motor direction, throttle response, braking power, and more.
Remember to start with moderate settings. Extreme settings can make your board difficult to control and potentially dangerous. After making changes, always save your settings before disconnecting your ESC from your computer.

Tips for Testing Your Electric Skateboard
Once your board is programmed, it’s time for testing. This phase is crucial to ensure everything works as expected and it’s safe to ride.
Before you hop on your board, perform a static test first. This means checking the board while it’s not moving. Use your remote control to manipulate the throttle and brakes while observing the response of the wheels. Check for smooth acceleration and deceleration.
Next, try a slow-speed test ride in a safe, open area free of traffic and obstacles. Start by standing beside the board and using the remote control to slowly accelerate. Observe how the board moves and stops.
Once you’re comfortable, step onto the board for a low-speed ride. Pay attention to how the board responds to your commands from the remote control. Check the stability, acceleration, and braking. Make sure you’re wearing safety gear – a helmet, elbow pads, and knee pads – during these test rides.
Suggestions for Future Improvements
After spending some time with your DIY electric skateboard, you’ll likely start to notice areas where it could be improved.
One common area of improvement is the deck. You may find that a different shape or material could offer a more comfortable ride or better control. Experiment with various deck types until you find one that suits your style.
The wheels are another area for potential upgrades. Larger wheels can increase top speed but may reduce acceleration, while smaller wheels have the opposite effect.
Lastly, consider upgrading the battery for longer ride times. Just remember, a bigger battery means more weight, which could affect maneuverability and speed.
Remember, the beauty of a DIY electric skateboard is that it can evolve with your needs and skills. It’s a project that can provide continuous learning and enjoyment as you tweak and refine your creation.

Tips and Recommendations for Customizing Electric Skateboard
Let’s talk about the art of personalizing your electric skateboard. As a DIY enthusiast, I have found that customization is a journey of discovery that can greatly enhance your e-skateboard experience.
First and foremost, one major area of customization is the board itself. The deck is your canvas, and you can get as creative as you want with the design. From a vibrant color palette to intricate art pieces, painting your board allows you to add a personal touch. It’s also a great way to express your personality and stand out from the crowd.
Another area worth considering is the grip tape. This adhesive layer provides traction between your feet and the board. By replacing the standard grip tape with one that has a unique pattern or color, you can further personalize your electric skateboard.
Next, let’s talk about hardware customization. This is where you can truly tweak the performance of your e-skateboard. For instance, swapping the stock motor wires for higher quality ones can improve energy efficiency and increase speed. Moreover, investing in a powerful hub motor can significantly boost your skateboard’s acceleration and torque.
Also, don’t forget about the remote control. As the main interface between you and your board, it deserves some attention too. Consider adding a skin or a case to it, not only for protection but also to match your style.
Remember, while customizing is fun and exciting, always prioritize safety. Make sure that all modifications adhere to safety standards and don’t compromise the structural integrity of the board.

Closing Thoughts
Building an electric skateboard at home is an engaging and rewarding project that combines the thrill of skateboarding with the satisfaction of DIY craftsmanship. From understanding the essential parts needed for the build, to delving into the detailed process of assembly and programming, this endeavor invites both innovation and problem-solving. A key aspect of this project is recognizing the importance of testing your skateboard and considering future improvements, which will not only ensure your safety but also enhance the performance of your board. The world of DIY electric skateboards is diverse and expansive, with numerous ways to customize your board to fit your style and needs. By embarking on this journey, you’re not just creating a mode of transport; you’re crafting a unique piece of technology that’s a testament to your skills and creativity.
Frequently Asked Questions
How difficult is it to build an electric skateboard at home?
Building an electric skateboard at home can be moderately challenging. It requires some technical knowledge and a bit of hands-on skill. However, with the right tools, materials, and instructions, it’s definitely achievable.
What is the cost of building an electric skateboard at home?
The cost of building an electric skateboard at home can vary depending on the quality of parts you choose. On average, it could range from $200 to $500.
Can I use a regular skateboard to make an electric skateboard?
Yes, you can use a regular skateboard to make an electric skateboard. However, you’ll need additional components like a motor, battery, speed controller, and more.
What is the average speed of a DIY electric skateboard?
The average speed of a DIY electric skateboard largely depends on the power of the motor and weight of the rider. However, most DIY boards can reach speeds between 15 to 25 miles per hour.
How long does the battery of a DIY electric skateboard last?
The battery life of a DIY electric skateboard can vary based on the size and quality of the battery. Typically, most DIY electric skateboards can run for about 10 to 20 miles on a single charge.