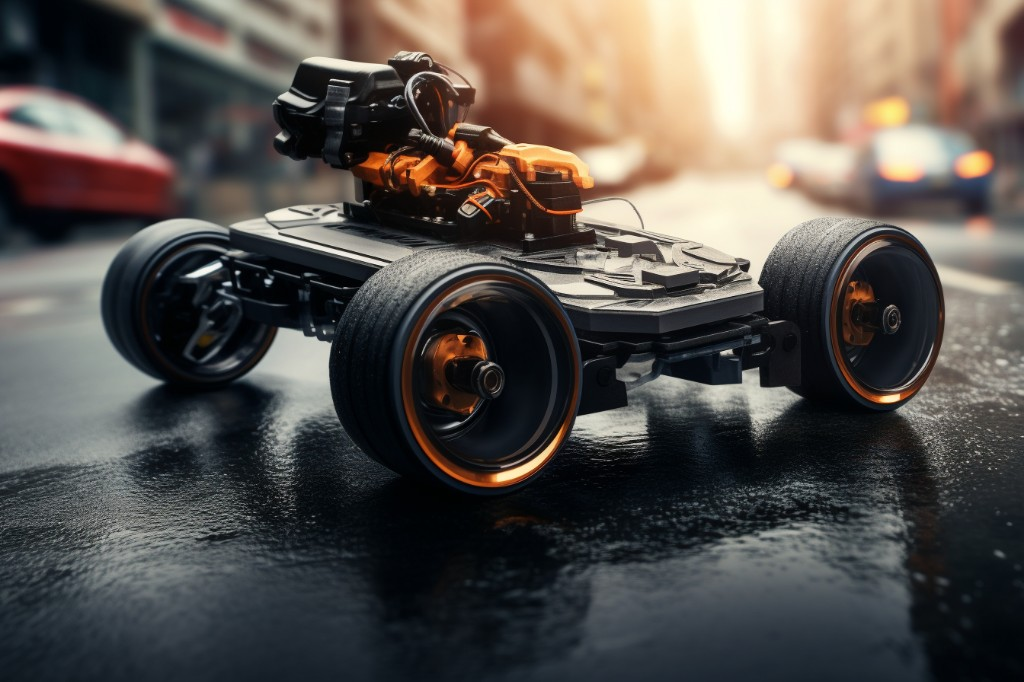
Ever thought about zipping down the street on your very own electric skateboard, but been put off by the price tag? What if you could build one yourself, using a RC car? You’re about to embark on an exciting DIY journey where you’ll not only create your very own mode of transport, but also learn a whole new set of skills. This article will guide you through the thrilling process of transforming a regular skateboard and a RC car into a cool electric ride.
What we’ll cover:
- Gathering Your DIY Tools
- Preparations for Your Build
- Merging RC Car with Skateboard
- 3D Printing for Customization
- Final Steps in Building Your E-Skateboard
- Lessons from Past Builds
- Ensuring a Smooth Ride
- Advanced Electric Skateboard Projects
- Different Styles of Electric Skateboards
- Experimenting with Modifications
So, are you ready to trade in your walking shoes for an exhilarating electric ride? Let’s dive right in and kick-start this electrifying DIY adventure!
Gathering Required Materials
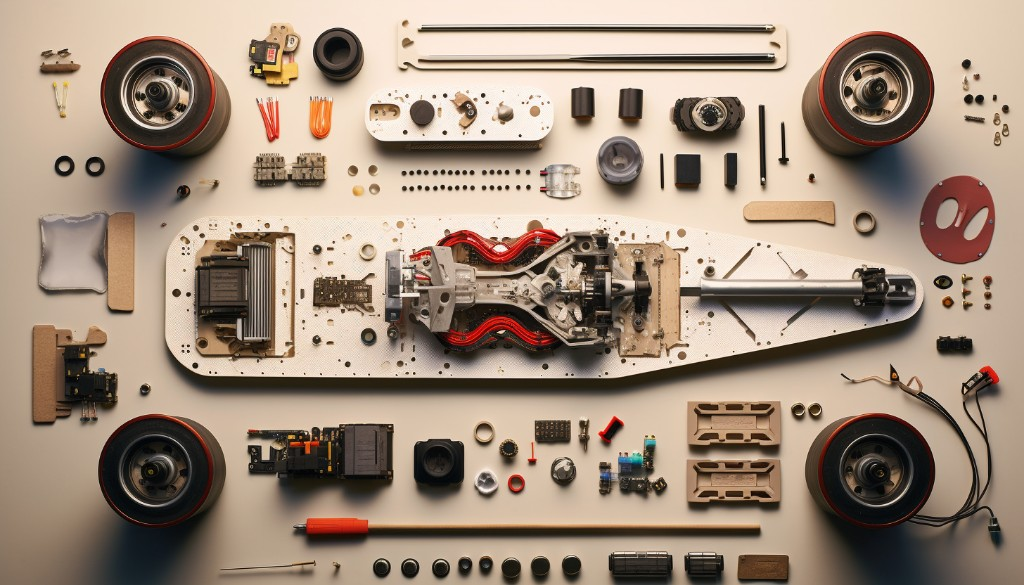
Brace yourself, as the journey towards creating your own electric skateboard using RC car parts is about to kick off. This is the stage where we gather all the necessary materials, which involves hunting down the perfect RC car parts and skateboard components. From wheels to motors and everything in between, we’ll need them all to bring our e-skateboard to life.
Commonly Used Parts for Electric Skateboards
Now, let’s dive into the world of electric skateboard parts. Here’s what you’ll need:
- Motor: This is the heart of your electric skateboard. It’s what propels your board forward, and it’s vital to select one with enough power to move your weight. For a standard build, a brushless motor from a high-end RC car can be a good fit.
- Battery: The battery provides the juice to your motor. Look for a lithium-ion battery that balances weight, capacity, and durability.
- Electronic Speed Controller (ESC): This little device regulates the power from the battery to the motor, controlling your board’s speed and braking. ESCs from RC cars can be adapted for this purpose.
- Remote Control: The remote control allows you to command your board. You can repurpose an RC car controller, as they operate on similar principles.
- Wheels: Skateboard wheels are essential, but you may want to consider larger, softer wheels for a smoother ride at high speeds.
- Deck: The deck is where you stand on the skateboard. It can be any regular skateboard deck; just make sure it’s sturdy enough to handle the added weight of the electronic components.
- Drive System: The drive system connects the motor to the wheels. It can be as simple as a belt and pulley system, which you can source from an RC car.
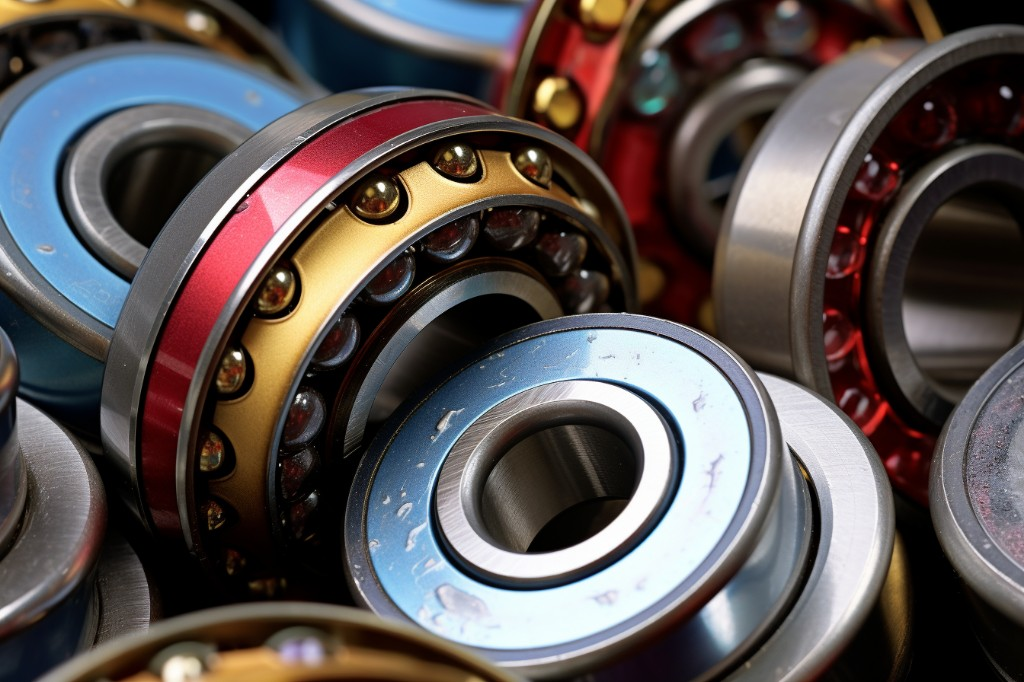
- Bearings: These small devices reduce friction between the wheels and the axles, allowing for smoother rides.
Economical Options for Electric Skateboard Parts
Building an electric skateboard doesn’t have to burn a hole in your pocket. There are several economical options out there, and with a bit of creativity, you can bring your project to life without breaking the bank.
Here are some suggestions:
- Motor and ESC: You can find these in used RC cars on online marketplaces like eBay. Make sure they are in good working condition before purchasing.
- Battery: Look for lithium-ion batteries in old laptops or power tools. They might need some reconditioning, but they can be an affordable option.
- Remote Control: If you don’t have an old RC car controller, you can buy inexpensive ones online.
- Wheels, Deck, and Bearings: Check out local thrift stores or garage sales for used skateboards. You can salvage these parts for a fraction of their original cost.
- Drive System: An old RC car can provide the necessary parts for your drive system. Look for cars with a belt and pulley setup.
Remember, building an electric skateboard with RC car parts is not only about saving money; it’s about recycling and repurposing, reducing waste, and having fun while doing it. So, get ready to roll up your sleeves and start building your dream e-skateboard!
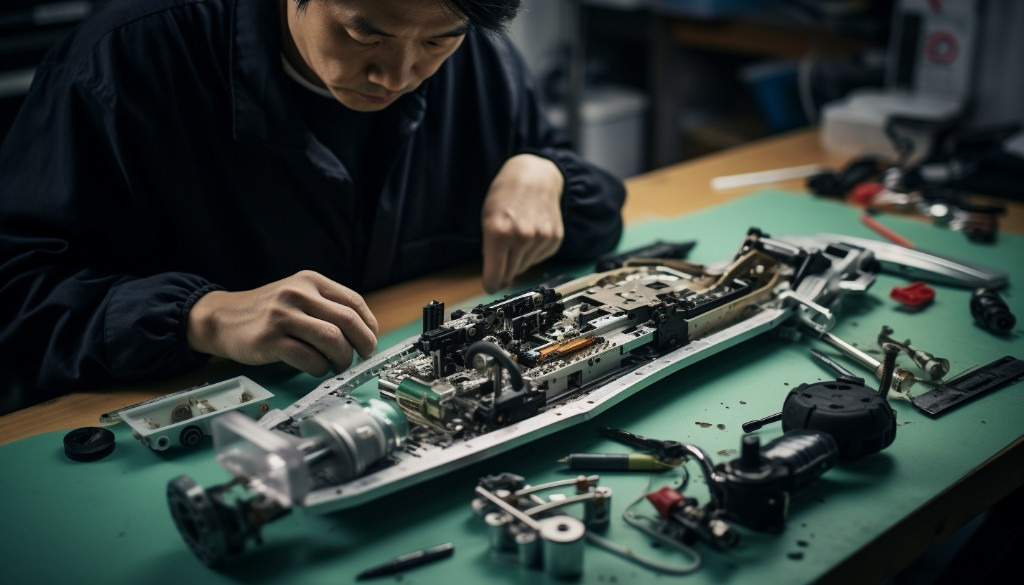
Preparing the RC Car and Skateboard
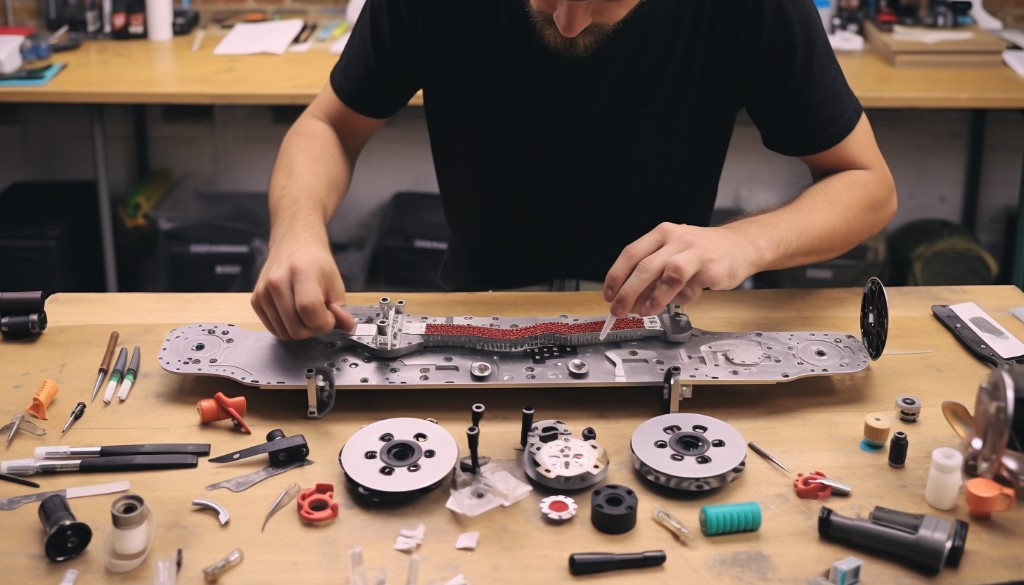
Alright, let’s get our hands dirty! The first step to building your electric skateboard with a RC car conversion involves preparing both the RC car and the skateboard. So, we’ll start with dismantling the RC car and then move on to assembling the skateboard base. This will ensure we have all our parts ready for the big build.

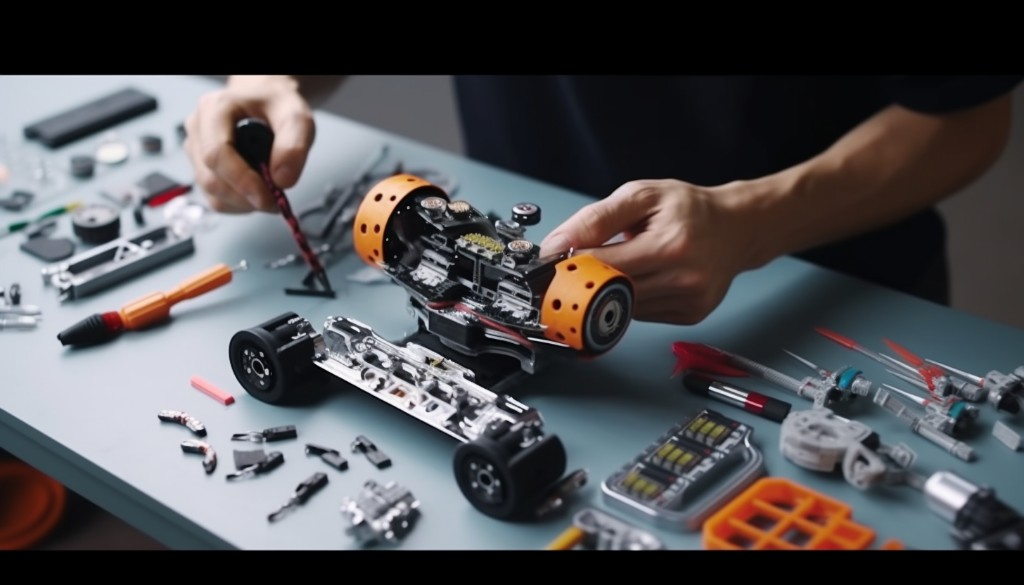
Dismantling the RC Car
Don’t be nervous about dismantling your RC car. It might seem complicated, but it’s just like solving a puzzle backward. You’re just taking apart pieces that were put together. Here’s how you can do it:
- First, remove the body shell. Most RC cars have a body shell that’s easily detachable. You can typically do this by unscrewing a few screws or releasing some clips.
- Once the body shell is removed, you’ll see the internal components of the car. Look for the main components: the motor, battery, receiver, and speed controller. These are what we’ll be needing for our skateboard.
- Carefully remove these components one by one. Always remember to note down how they were connected to each other. This will be helpful when you’re installing these components onto your skateboard.
Remember to handle these parts with care, especially the motor and battery. They are critical to your electric skateboard’s operation and any damage could affect performance.
Assembling the Skateboard Base
Once you’ve got your RC car parts ready, it’s time to prepare your skateboard base. Now, if you’re an avid skater, you might already have an old skateboard lying around that you can repurpose for this project. But if not, no worries — you can easily buy a skateboard deck from any sports store or online.
Here’s how to assemble the base:
- Start with attaching the trucks to the skateboard deck. The trucks are the metal T-shaped pieces that hold the wheels of the skateboard. Align the holes on the trucks with the pre-drilled holes on your skateboard deck and screw them in place.
- Next, attach the wheels to the trucks. Make sure they spin freely without any hindrance. This is crucial for the smooth movement of your electric skateboard.
- Now, your skateboard base is ready. But before we proceed to attaching the RC car parts to it, make sure to give it a test ride. Ensure that it moves smoothly and is stable enough to hold your weight.
It’s a good idea to get comfortable with the skateboard base before moving on to the next steps. After all, this is going to be your ride once it becomes an electric skateboard!
Remember, patience is key during this preparation phase. It might seem like a lot of work, but trust me, it’s going to be worth it once you’re cruising down the street on your very own DIY electric skateboard.
Incorporating the RC Car Elements into the Skateboard
Here’s where the magic really happens in our RC car skateboard build. We’re going to take the parts from our prepped RC car and integrate them into our skateboard, effectively transforming it into a remote-controlled e-skateboard.
Integrating the RC Car Motors into the Skateboard
Now, let’s start with the heart of our project, the RC car’s motor. This is what’s going to propel our board forward, so its integration is key to our building RC car skateboard.
First, we need to identify a suitable spot on the skateboard to mount the motor. Typically, this would be towards the rear of the board, near the back wheels. The exact position will depend on your specific skateboard and RC car motor, but you’ll want it close enough to the wheels that you can connect it via a belt or chain drive.
Next, you’ll want to secure the motor to the board. You can do this using a custom bracket or even heavy-duty zip ties if your motor is light enough. Make sure it’s secure and doesn’t move around when you shake the board.
Then, you’ll need to connect the motor to one of your skateboard’s wheels. The best way to do this is with a belt or chain drive system. This can be as simple as a rubber belt wrapped around the wheel and the motor’s drive shaft or a more complex chain drive like you’d see on a bicycle. The important thing is that when the motor spins, it turns the wheel.
Finally, connect your motor to your RC car’s electronic speed controller (ESC). This will allow you to control the speed of your motor with your RC car’s remote.
Installing the RC Car’s Remote Control System in the Skateboard
With the motor in place, it’s time to install the remote control system. This is what will let you control your new e-skateboard remotely, just like an RC car.
First, you’ll need to mount the receiver on your skateboard. This is the part of the RC car that receives signals from the remote and tells the motor what to do. You’ll want to mount it somewhere secure and relatively protected, as it’s a fairly delicate piece of equipment. Under the board, near the center, is usually a good spot.
Next, connect your receiver to your ESC. This is typically done using a simple cable that plugs into both components. The exact process may vary depending on your specific ESC and receiver, but generally, it’s as simple as plug and play.
Lastly, you’ll need to pair your receiver with your remote. This process will vary depending on your specific RC system, but usually involves pressing a button on both the receiver and remote until they recognize each other.
Once you’ve done all this, you should have a fully functional, remote-controlled e-skateboard! Remember, always test your setup in a safe, open area before taking it out for a real ride. Safety first!
The next steps will involve refining our build and troubleshooting any issues that might arise. But for now, take a moment to admire your work. Building an RC car skateboard isn’t an easy task, but you’ve made it this far, and that’s something to be proud of.
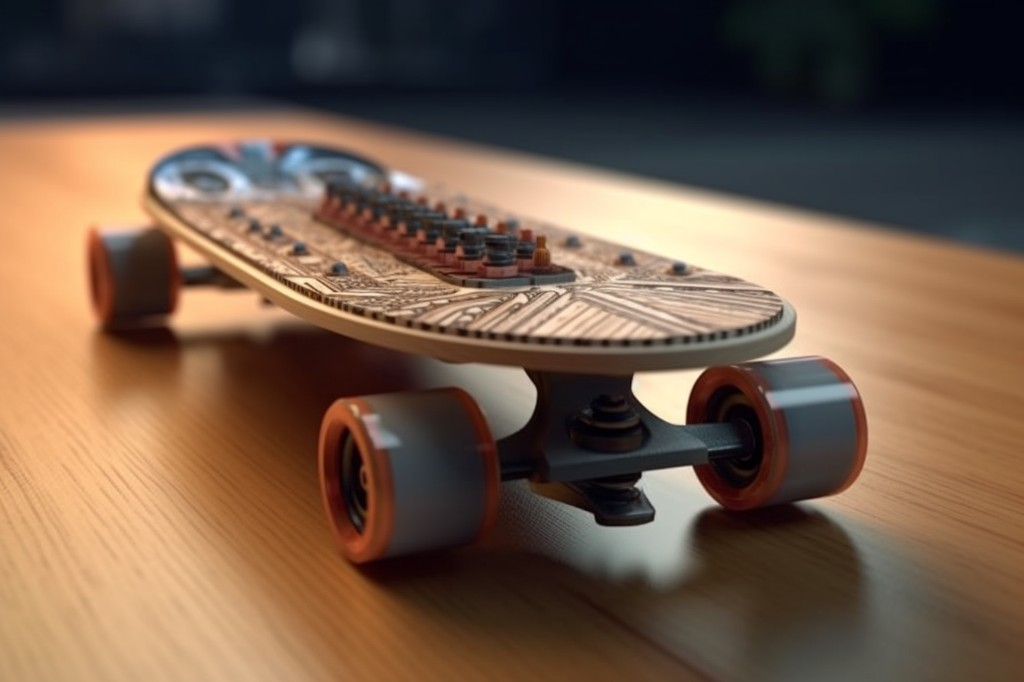
Customizing the Skateboard with 3D Printing
After integrating the RC car elements into the skateboard, it’s time to add a personal touch to your DIY electric skateboard. This can be achieved using 3D printing technology. 3D printing gives you the freedom to design your skateboard deck according to your own unique style, making it stand out from the rest.
Designing the Board with 3D Printing Software
A few years back, I was tinkering around with a piece of software called Fusion 360, which is a cloud-based 3D CAD, CAM, and CAE tool. It was then that I realized how powerful this tool can be for creating custom designs for various projects, including skateboards.
Firstly, you’ll need to install any reliable 3D design software on your computer. There are plenty of free and paid options available online. I personally recommend Fusion 360 for beginners due to its user-friendly interface and abundant learning resources.
Once installed, start a new project and begin designing your skateboard deck. Think about the shape, size, and pattern you want. Remember, the design should not only look cool but also be functional and safe. The length and width of the deck should match your body size and skating style. The nose and tail shape can also impact the board’s performance.
To add a touch of creativity, consider incorporating textures or patterns into your design. You can create these directly in the software or import from other graphic design programs. Just make sure the design won’t interfere with the placement of the RC car elements.

Printing and Attaching the Customized Board
Once you’re satisfied with your design, it’s time to bring it to life using a 3D printer. If you don’t have one at home, check for local maker spaces or 3D printing services in your area.
To prepare your design for printing, export it from the design software in a format compatible with your 3D printer, usually .STL or .OBJ. Then, load this file into the 3D printer’s software to adjust the print settings. For a skateboard deck, I recommend using a strong and durable material like ABS or PETG.
The printing process can take several hours or even days, depending on the complexity of your design and the speed of your printer. Once completed, remove the printed deck from the printer and clean off any support material.
Now comes the exciting part – attaching your customized board to the rest of the skateboard. This process might vary depending on your design and the type of skateboard you’re working with. In general, you’ll need to align the holes on the deck with those on the trucks, then secure them together using bolts and nuts. Don’t forget to install the RC car elements as well.
After everything is set and done, take a step back and admire your masterpiece. A DIY electric skateboard built with an RC car and customized with 3D printing – how cool is that! But remember, the real fun begins when you take it out for a spin. So strap on your helmet, grab the remote control, and hit the streets!
Finalizing the Electric Skateboard
The most rewarding part of this whole project is when all the pieces come together, transforming an ordinary RC car into an electric skateboard. This process is like assembling a puzzle where every piece has its place, and when they’re all in harmony, you get to enjoy the fruits of your labor.
Assembling All Parts Together
Now, let’s roll up our sleeves and get down to business.
- Start by attaching the motor to the motor mount. Make sure it is securely fastened, you wouldn’t want it shaking loose when you’re cruising down the road.
- Next, fasten the motor mount to the skateboard’s truck. Ensure that it is stable and doesn’t wiggle around.
- Now, it’s time to attach the wheel pulley to the wheel itself. Once this is done, connect the motor pulley to the motor shaft.
- Link both pulleys using a belt. Adjust the tension to make sure it’s not too tight or too loose.
- Once the pulleys are connected, secure your speed controller on the deck of your skateboard. The position should be strategic so that it doesn’t interfere with your standing position.
- Connect your motor wires to the speed controller. This is what will allow you to control the speed of your electric skateboard.
- Now comes the fun part – integrating your RC controller with your skateboard. Connect your RC receiver to the speed controller.
- Lastly, attach your battery to the deck, making sure it’s secure and out of your way when you’re riding.
Congratulations! You’ve just assembled all the parts together. But before you hit the road, there’s one last crucial step – testing.
Testing the Functionality of the Electric Skateboard
The final stage in this process is to test the functionality of your newly assembled electric skateboard. You’ve spent all this time and effort building it, so it’s essential to ensure everything works as it should.
- Start by checking the connections. Are all the wires securely attached? Is there anything that’s loose or out of place?
- Next, test the remote control. Does it respond accurately to your commands? Try to increase and decrease the speed using the remote and see if the skateboard responds accordingly.
- Test the brakes next. Safety is paramount, so it’s crucial to make sure the brakes work properly. Start slow and gradually increase your speed as you test the braking system.
- Finally, take your skateboard for a short ride. Start slow and gradually increase your speed. Listen for any unusual sounds, feel for any weird vibrations, and pay attention to how the skateboard responds to your commands.
- If all these checks pass, then you’ve successfully turned an RC car into an electric skateboard! Now, all that’s left is to take it out for a spin and enjoy the thrill of riding your very own DIY electric skateboard. But remember, always prioritize safety when riding. Happy skateboarding!
Exploring Advanced Electric Skateboard Builds
With the basic knowledge of converting a skateboard to RC car, let’s dive into advanced electric skateboard builds. Each style of these builds brings a unique flavor to the table, adding extra power, speed, or versatility to your ride. The RC car skateboard conversion can range from simple to complex depending on your expertise and enthusiasm.

Architecture of a Self-Driving Skate Ramp
Self-driving skate ramps, or autonomous skateboard ramps, are a fascinating concept in the world of advanced electric skateboard builds. They are essentially moving platforms that can navigate themselves around a designated area. The architecture of such a ramp involves several components:
- A motorized base, which is usually an RC car
- A flat surface, usually made of wood or plastic, attached to the top of the RC car
- A set of sensors to detect obstacles and prevent collisions
- A control system, which can be either a remote control or a smartphone app
The combination of these components creates a mobile ramp that can be controlled remotely, adding an extra level of fun and challenge to your skateboarding sessions.
Steering and Ramp Lifting/Lowering Mechanisms
The steering mechanism in an advanced electric skateboard build typically involves a set of servo motors connected to the front wheels. These servos allow you to control the direction of the board with precision, making it possible to navigate tight corners and narrow paths.
The ramp lifting and lowering mechanisms, on the other hand, give you control over the angle of your ride. They usually involve a simple lever system that adjusts the height of the ramp relative to the ground. This allows you to fine-tune your ride for maximum comfort and performance.

Reviewing Different Electric Skateboard Styles
Now that we’ve covered some of the advanced build concepts, let’s take a look at different styles of electric skateboards. The most common types are single motor, dual belt motor off-road, and carbon fiber electric skateboards.
Single Motor Electric Skateboards
Single motor electric skateboards are an excellent option for beginners. They’re simple to build, easy to control, and offer enough power for a smooth ride. The motor is typically mounted on one of the rear wheels, providing direct drive to the board. This design results in a board that is lightweight, efficient, and capable of reaching moderate speeds.
Dual Belt Motor Off-Road Electric Skateboards
If you’re looking for something more rugged, consider a dual belt motor off-road electric skateboard. These beasts are equipped with two powerful motors connected to the wheels via a belt drive system. This design provides extra torque and power, making it possible to tackle rough terrains and steep inclines. The downside is that they’re more complex to build and require more maintenance due to the belt system.
Carbon Fiber Electric Skateboards with Wireless Remote Control
Finally, we have carbon fiber electric skateboards with wireless remote control. These boards are the epitome of high-tech skateboarding. The carbon fiber construction makes them incredibly lightweight yet strong, while the wireless remote control offers unparalleled convenience and control. You can adjust speed, direction, and even brake remotely, making your ride safer and more enjoyable. These boards are more expensive and complex to build but offer the best performance and features among all electric skateboard styles.

Closing Thoughts
In the quest of transforming an RC car into an electric skateboard, we have traversed a journey of creativity and technical know-how. We have explored the thrill of gathering required materials, preparing the RC car and skateboard, and incorporating the RC car elements into the skateboard. The charm of customizing the skateboard with 3D printing, finalizing the electric skateboard and learning from previous builds adds an element of personal touch to this project. The satisfaction of creating a smooth ride, exploring advanced electric skateboard builds and reviewing different styles is incomparable.
Lastly, experimenting with electric skateboard modifications opens up a world of possibilities for the adventurous at heart. This process not only delivers a functional and customized electric skateboard but also a rewarding experience filled with lessons and gratification. Embrace this journey as an opportunity to express creativity, learn new skills and step into the exciting world of DIY electric skateboard builds.
Frequently Asked Questions
Can you build an electric skateboard from an RC car?
Yes, you can build an electric skateboard from an RC car. It involves extracting key components from the RC car and incorporating them into the skateboard design.
What parts do I need to build an electric skateboard?
To build an electric skateboard, you will need an RC car for its motor and remote control system, a skateboard deck, trucks, wheels, a motor mount, a battery, a speed controller, and various tools for assembly.
How can I customize my electric skateboard?
You can customize your electric skateboard in numerous ways. From 3D printing unique components to choosing specific parts that suit your style and performance needs. Experimentation is key to customization.
How does the remote control system from an RC car work with a skateboard?
The remote control system from an RC car works with a skateboard by controlling the motor attached to the skateboard. The transmitter in your hand communicates with the receiver connected to the motor, allowing you to control speed and direction.
Can I use 3D printing to customize my skateboard?
Yes, you can use 3D printing to customize your skateboard. This could include creating unique parts, like custom motor mounts or decorative elements that reflect your personal style.