Have you ever felt the rush of wind on your face as you cruise down a street on a skateboard? Now imagine that thrill amplified with the power of an electric motor. That’s right, today we’re diving right into the electrifying world of DIY electric skateboards.
What we’ll cover
- Gathering Essential Components
- Blueprinting the E-Skateboard Structure
- Mechanic Assembly
- Grasping E-Skateboard Anatomy
- Electronics Assembly
- Drive System Construction
- Electric Component Protection
- Battery Safety
- Electric Skateboard Trials
- Future Upgrades
- Diversifying E-Skateboard Types
Strap on your helmet and brace yourself for an exciting journey into the realm of DIY electric skateboards. Let’s get rolling!
Gathering Required Parts
The task of building your own electric skateboard, or as some like to call it, a ‘DIY electric skateboard’, starts with assembling the necessary parts. There are several key components you will need to gather to create your own electric skateboard motor. These include a battery pack, motor mounts, an electronic speed controller (ESC), and of course, the motor itself. As you assemble these components, it’s important to ensure they are all compatible with each other and meet the requirements for your desired skateboard performance.
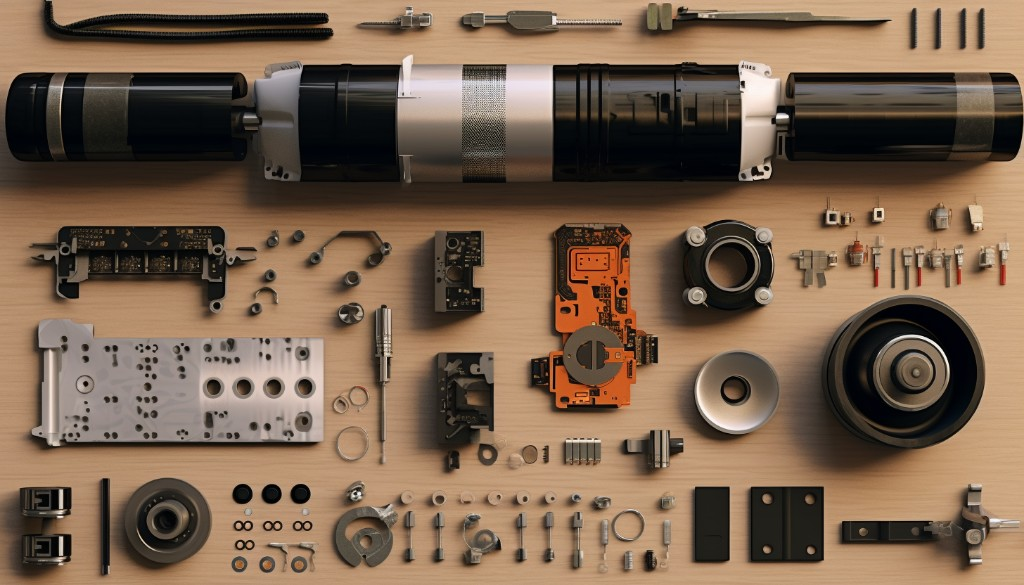
Essential Parts for Electric Skateboard Motor
Let’s take a closer look at the key parts you’ll need for your electric skateboard motor:
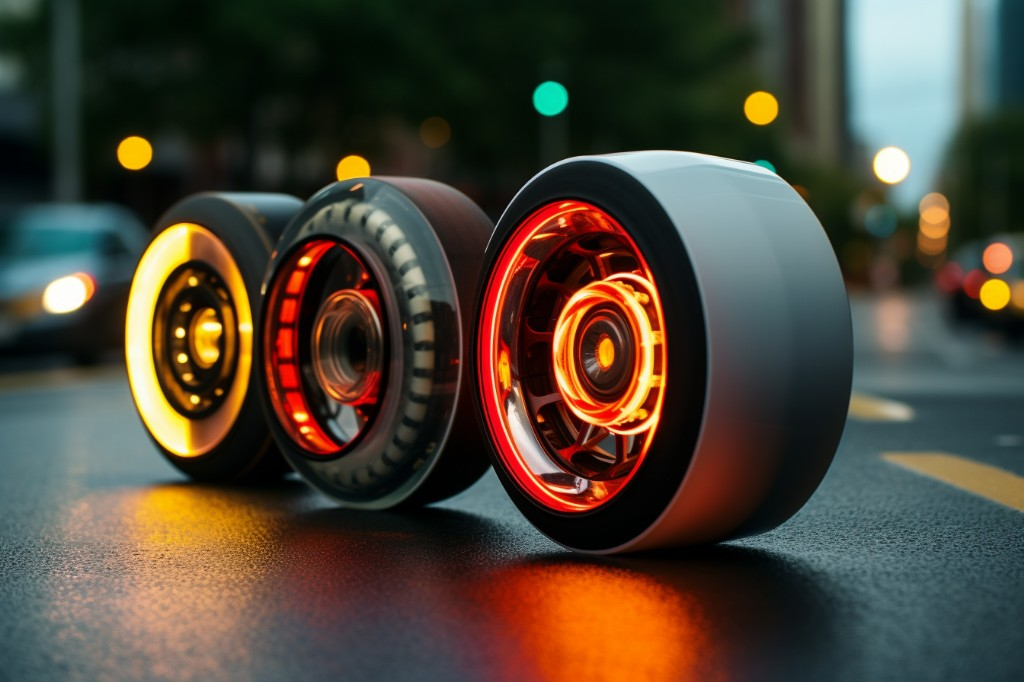
- Motor: The heart of your e-skateboard, this is what will provide the power to move you along. The most common types are the hub motor and the belt-driven motor. Hub motors are typically quieter and require less maintenance, but belt-driven motors offer more torque and better hill climbing ability.
- Battery Pack: This is what will power your motor. You’ll need to consider the voltage and capacity of the battery pack to ensure it matches your motor and provides enough range for your rides.
- Motor Mounts: These are necessary for attaching the motor to the skateboard. It’s important to select sturdy motor mounts that can withstand the vibrations and stresses of riding.
- Electronic Speed Controller (ESC): This controls the speed of your motor based on input from your remote control. Make sure you choose an ESC that is compatible with your motor and battery pack.
Selecting the Right Components
When building your own DIY electric skateboard, choosing the right components is crucial. It can be tempting to go for the cheapest options, but remember, quality and performance often come at a price. Here are a few tips to help you make the right choices:
- Consider Your Needs: Are you building an electric skateboard for leisurely rides around the neighborhood, or do you need something capable of high speeds and steep hills? The intended use of your skateboard will greatly influence the components you choose.
- Research: Spend some time researching different brands and models of motors, battery packs, ESCs, and motor mounts. Look at reviews and ratings, and consider the experiences of others who have built their own electric skateboards.
- Budget: Keep in mind your budget. While it’s important to invest in quality parts, there’s no need to break the bank. There are many affordable components that offer good performance and durability.
When choosing your motor, consider the benefits and drawbacks of different types. For example, hub motors are generally quieter and require less maintenance than belt-driven motors. However, belt-driven motors often offer more power and better hill-climbing ability.
Remember, building your own electric skateboard is a fun and rewarding project. Take your time selecting the right components, and you’ll be well on your way to creating a skateboard that is uniquely yours.
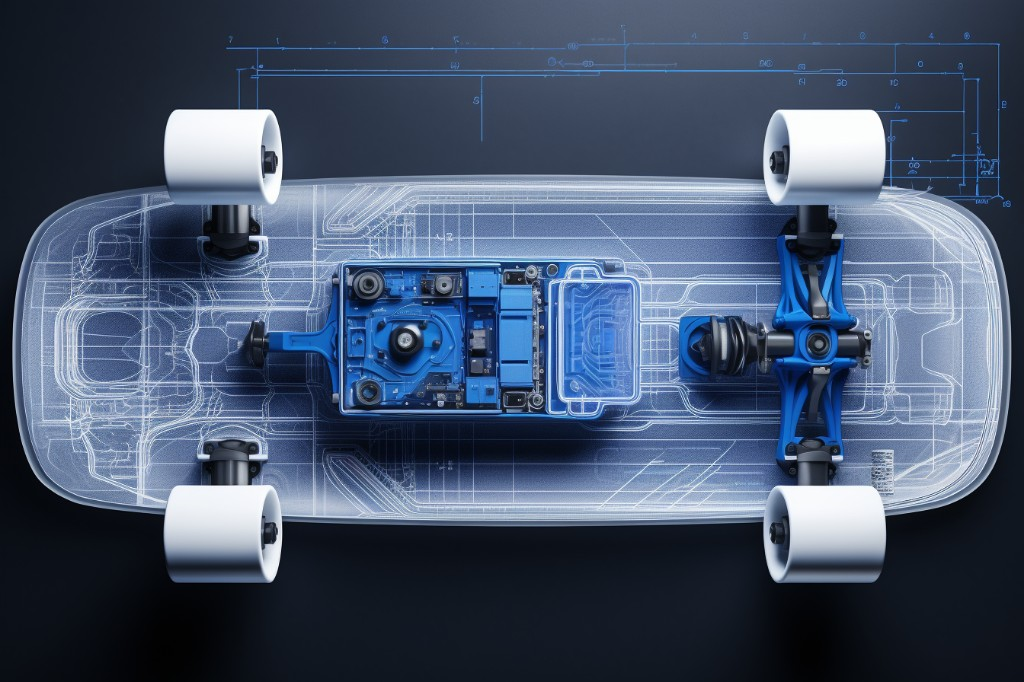
Designing the Electric Skateboard Structure
The first step in building an electric skateboard is designing the structure. This involves deciding on the skateboard deck, wheels, trucks, and motor. These components not only contribute to the aesthetics of your board but also play a significant role in determining its performance. The thrill of riding an e-skateboard is largely influenced by the choices you make during this phase.
Choosing the Deck
The deck is the heart and soul of your electric skateboard. It’s the platform on which you stand, and its design greatly impacts your riding experience. Decks come in a variety of shapes, sizes, and materials, each with their unique advantages and characteristics.
When choosing a skateboard deck, consider factors such as the intended use of your board (cruising, downhill riding, etc.), your body size, and your personal style. For instance, if you’re into fast and aggressive riding, opt for a stiffer deck made from Canadian maple or bamboo. On the other hand, if you prefer a more relaxed and comfortable ride, a flexible deck made from composite materials might be more suitable.
Remember, the deck isn’t just a component; it’s a reflection of your personality on wheels. So take your time to choose a deck that resonates with your spirit and meets the demands of your electric skateboard project.
Fitting Wheels and Trucks
The next step is fitting the wheels and trucks to your skateboard deck. These components are crucial as they affect both the maneuverability and stability of your electric skateboard.
First, you need to attach the trucks to your deck. Trucks are metal components that hold the wheels in place and allow you to steer the board. Ensure that they are tightly secured using motor wires to prevent any wobbling when riding. The size of the trucks should match the width of your deck for optimal performance.
Next, attach the wheels to the trucks. The size and hardness of the wheels will determine the board’s speed and grip on different surfaces. Larger, softer wheels provide a smoother ride and better grip but can make the board slower. Conversely, smaller, harder wheels are faster but offer less grip.
Motor Selection for DIY Electric Skateboard
The motor is the powerhouse of your DIY electric skateboard. It’s what propels you forward and gives you that adrenaline-pumping speed. When selecting a motor, you need to consider factors such as power, efficiency, noise level, and durability.
One popular choice among DIY enthusiasts is the hub motor. A hub motor is integrated into one or both of the rear wheels, providing direct drive with no belts or chains. This design simplifies the setup and reduces maintenance needs, making it ideal for beginners. However, hub motors can lack torque, which may limit performance on hilly terrain.
When connecting your motor, make sure the motor wires are properly insulated to prevent short circuits. The wires should be neatly tucked away to avoid any potential hazards while riding.
In the end, the selection of the motor will depend on your personal preferences and riding conditions. Whether you opt for a hub motor or a belt-driven motor, ensure it delivers the performance you desire for your electric skateboard adventure.
Assembling the Skateboard Mechanical Parts
Diving straight into the heart of our electric skateboard assembly, we’re going to tackle the mechanical parts. The thrill of zipping around on an e-skateboard is an unbeatable feeling. But the satisfaction of knowing you built it yourself? That’s the cherry on top.
Fixing the Trucks and Wheels
The first thing you want to do is fix the trucks and wheels onto your skateboard. It’s like putting shoes on a toddler. They might not be able to run yet, but it’s a vital first step.
You’ll want to place your trucks (the T-shaped metal pieces) on the pre-drilled holes of your electric skateboard. Ensure they are facing the right way – the kingpin and bushings should be facing inward. Once in place, secure them with bolts and nuts.
As for the wheels, if you’ve chosen hub motors for your build, they’ll come as part of the wheel assembly. Simply slide the wheels onto the axles of the trucks and secure them with speed washers and nuts. This integration of hub motors into the wheels makes an electric skateboard sleek and stealthy, as it doesn’t scream “I’m motorized!”
Mounting the Motor
Next up, we need to mount our motor. This step is akin to installing the heart in our electric skateboard. Without it, there’s no ‘go’. Now, where you place your motor will largely depend on the type of motor you’ve chosen.
If you’re using a belt-drive motor, it will need to be mounted on a motor mount that’s attached to one of your trucks. Ensure that the motor wires are pointing towards the rear of your skateboard to prevent any accidental damage. Then, using the screws provided with your motor, secure it to the motor mount.
In contrast, if you’ve opted for hub motors, this step was already taken care of when you attached the wheels. That’s the beauty of hub motors – they’re two birds with one stone.
Pulley Attachment Process
Next on our agenda is the pulley. Think of it as the messenger, transmitting power from the motor to the wheels. Without it, our electric skateboard would be all talk and no action.
For a belt-driven system, you’ll need to attach a motor pulley to your motor shaft and a wheel pulley to one of your wheels. The process is straightforward: slide the motor pulley onto the motor shaft and secure it using a set screw. The wheel pulley, on the other hand, will either bolt onto your wheel or slide into a slot in your wheel.
Once both pulleys are in place, it’s time to connect them with your timing belt. Make sure it’s tensioned correctly – not too loose that it slips, but not so tight that it strains the motor.
Building an electric skateboard from scratch is a rewarding journey, allowing you to truly appreciate the mechanics behind the ride. Remember, assembling the mechanical parts is just one step in this adventure. There are still more pieces to this puzzle, including selecting an optimal battery and understanding the role of BMS and ESC in your e-skateboard. But with every step you take, you’re getting closer to carving up the streets on your very own DIY electric skateboard.
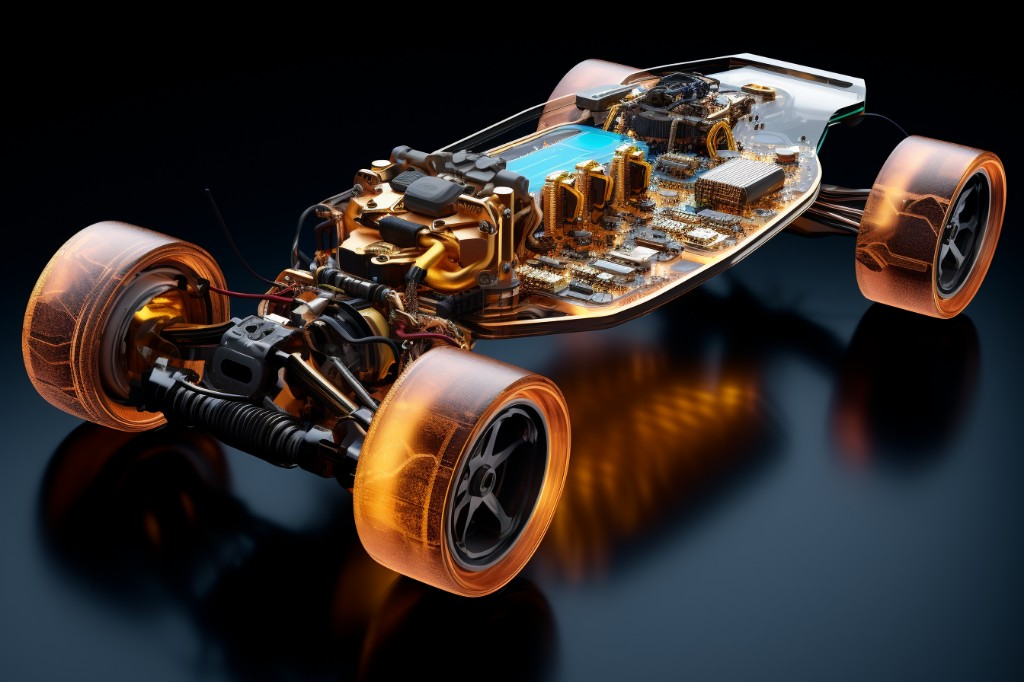
Understanding Electric Skateboard’s Anatomy
Now that we have the mechanical components assembled, it’s time to dive deeper into the heart of our DIY electric skateboard – the electronic components. These are what set apart an electric skateboard from its traditional counterpart. We’ll be focusing on three critical components – the battery, the Battery Management System (BMS), and the Electronic Speed Control (ESC). These are the core components that make your board a fully functioning eboard.
Battery Recommendation for DIY Electric Skateboard
First up is the battery. The choice of battery plays a significant role in determining how far and fast your electric skateboard can go. In my experience, lithium-ion batteries are a solid choice for a DIY electric skateboard. These batteries are compact, lightweight, and have a high energy density, which means they can store more power for their size compared to other types of batteries. When selecting a lithium-ion battery for your e-skateboard, look for one with a high discharge rate and enough capacity to provide the range you want. Remember, the more capacity a battery has, the longer it can power your board.
Role of BMS in Electric Skateboard
The BMS is an essential component that you shouldn’t overlook when building an electric skateboard. This little device manages the way your battery charges and discharges, ensuring it operates within its safe limits. It prevents overcharging, over-discharging, and overheating, which are all things that could damage your battery or even pose a safety risk. In simple terms, the BMS is like the guardian angel of your battery, constantly watching over it to keep it safe and healthy. Without a BMS, you run the risk of damaging your battery or worse, causing it to fail entirely.
Importance of ESC (Electronic Speed Control)
The last key component we’re going to discuss is the ESC. This component is the brain of your electric skateboard. It takes input from your remote control and translates it into power delivery to the motor. When you squeeze the throttle on your remote, the ESC determines how much power to send to the motor based on your input. Likewise, when you apply the brakes, the ESC regulates the motor’s power to slow down the board. The quality and type of ESC you choose can significantly impact your board’s performance and responsiveness, so choose wisely.
As we journey deeper into the world of electric skateboarding, it’s crucial to remember that understanding the anatomy of your eboard is just as important as knowing how to put it together. The more knowledge you have, the better equipped you’ll be to troubleshoot any issues that arise and make informed decisions about upgrades or modifications. In the next section, we’ll get our hands dirty again as we tackle wiring the BMS and adding an on/off button to our DIY electric skateboard.

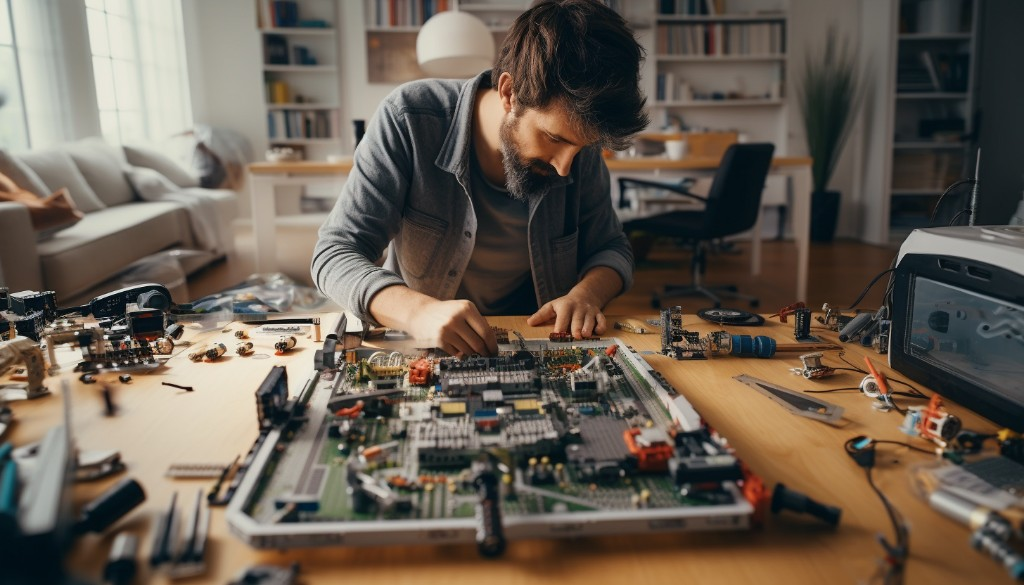
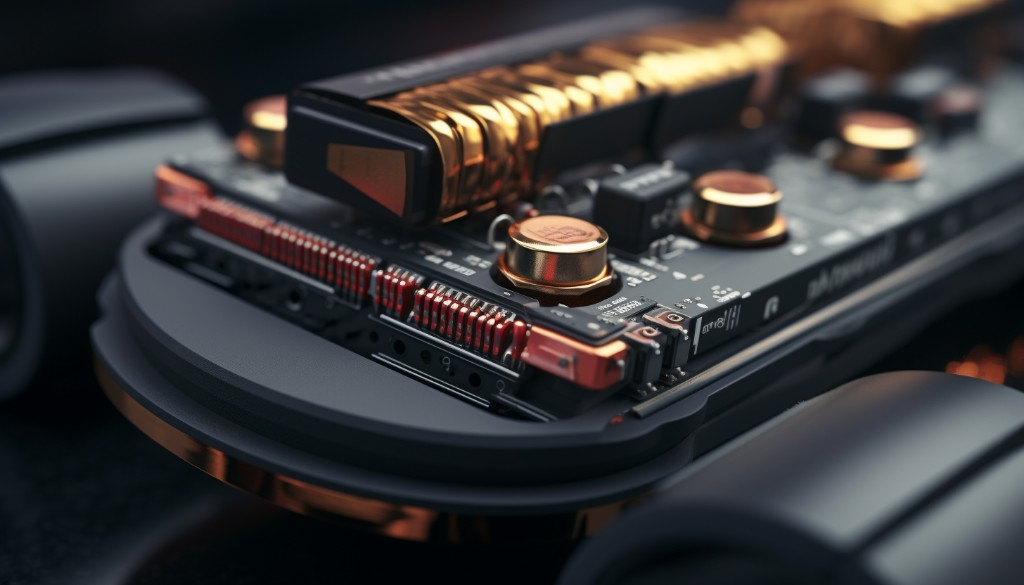
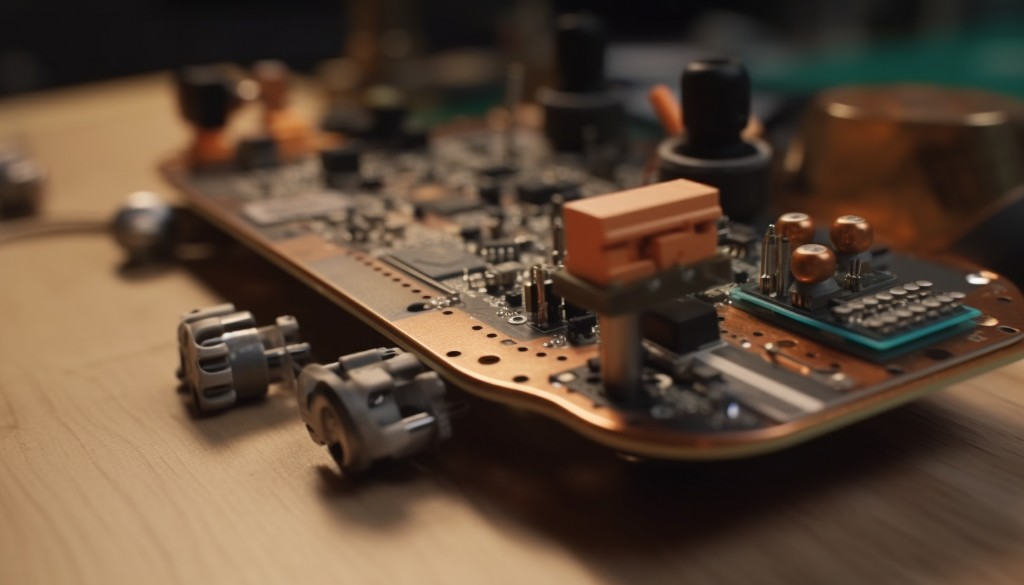
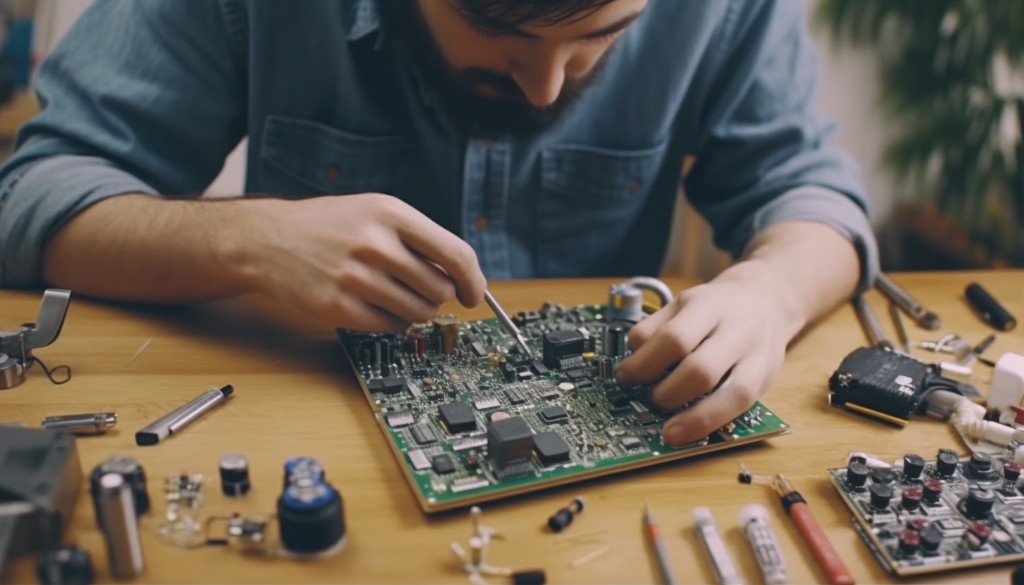
Assembling the Electric Skateboard Electronics
The first step in putting together the electronic parts of an electric skateboard is understanding what those parts are and how they work together. When I built my first electric skateboard, I was a bit daunted by the array of components: the motor controller, the battery management system, the on/off button, and of course, the motor itself. But don’t worry – it’s not as complicated as it seems.
Wiring the BMS
The BMS is an integral part of any electric skateboard. It’s like the brain of the board, controlling the power flow from the battery to the motor. Wiring it up properly is critical to the performance and safety of your skateboard.
- Start by identifying the BMS’s main terminals: B-, P-, and C-. The B- terminal connects to your battery’s negative terminal, P- connects to the negative terminal of your output (such as your motor controller), and C- is for charging.
- Connect the B- terminal on your BMS to the negative terminal on your battery pack. This can be done using a thick wire capable of handling the full current of your battery pack.
- Next, connect the P- terminal on your BMS to the negative input on your motor controller.
- The C- terminal should be connected to the negative terminal of your charging port.
- Lastly, connect your battery pack’s balance wires to the BMS balance wire connector. The order of connection should match with the numbering on your battery cells.
Remember, always double-check your connections before powering up your electric skateboard.
Adding an On/Off Button
The next step is installing an on/off button. This might seem trivial, but trust me, being able to easily power your board on and off is a convenience you’ll appreciate every time you ride.
- Select a suitable location for the on/off button on your skateboard. This should be a place that’s easy to reach but won’t get hit accidentally while you’re riding.
- Once you’ve chosen a location, you’ll need to create a hole for the button. Make sure the hole is the right size for your button.
- Now, connect one wire from the button to the positive terminal on your battery, and the other wire to the positive input on your motor controller.
- Secure the button in the hole you created earlier. Depending on the type of button you’re using, this could involve screwing it in place or gluing it down.
By now, you’ve done most of the heavy lifting in your skateboard DIY project. You’ve wired up the BMS, added an on/off button, and learned a lot about how an electric skateboard works. There’s just one more thing left to do: test everything to make sure it’s working properly.
Before testing, ensure all connections are secure and insulated properly. When you’re sure everything is in order, turn on your board using the new button and see if it powers up. If it does, congratulations! You’ve successfully assembled the electronic components of your electric skateboard.
But remember, building an electric skateboard doesn’t end here. There’s always room for improvement and customization, so don’t be afraid to experiment and make your board truly unique. I remember when I first started my electric skateboard DIY journey, and trust me, it’s a rewarding experience. The feeling of cruising around on something you built yourself is unbeatable.
Closing Thoughts
Building an electric skateboard motor may seem daunting at first, but it is certainly achievable when broken down into manageable steps. Starting with the careful gathering of the required parts, you ensure that you have all the necessary components for a successful build. The design and assembly of the skateboard’s mechanical structure are crucial steps that provide the framework for your electric skateboard. To truly appreciate your creation, understanding the anatomy of an electric skateboard is paramount. It gives you an insight into how each component interacts with the other, providing you with a deeper appreciation of your build. The assembly of the electric skateboard electronics is where the magic happens, turning a regular skateboard into an exciting, electric vehicle. It is here that your dedication and hard work pay off. By following these steps, you are not just building a mode of transportation; you are creating a personalized piece of technology that reflects your skill and creativity. The thrill of riding an electric skateboard that you’ve built yourself is an experience like no other.
Frequently Asked Questions
What are the essential parts for building an electric skateboard motor?
The essential parts for building an electric skateboard motor include the motor itself, a battery, speed controller, motor mount, drive pulley system, belt, and wheels.
How do I select the right components for my DIY electric skateboard?
When selecting components for your DIY electric skateboard, consider factors such as your budget, the terrain you’ll be riding on, and the speed and range you desire. Different components will offer different performance characteristics, so it’s important to choose parts that align with your specific needs.
How do I design and assemble the mechanical parts of an electric skateboard?
Designing and assembling the mechanical parts of an electric skateboard involves creating a structure that can accommodate all components securely. This includes mounting the motor, attaching the drive pulley system to the wheels, and ensuring all parts are aligned correctly for smooth operation.
What is the role of BMS and ESC in an electric skateboard?
The Battery Management System (BMS) and Electronic Speed Controller (ESC) play vital roles in an electric skateboard. The BMS manages the battery’s charging and discharging, while the ESC controls the speed of the motor, based on input from the rider.
How do I assemble the electronic components of an electric skateboard?
Assembling the electronic components of an electric skateboard involves connecting the motor to the ESC, the ESC to the battery, and ensuring all connections are secure. It’s also important to connect the remote control to the ESC so you can control the skateboard’s speed.