Imagine you’re cruising down the street on your electric skateboard, the wind in your hair, the road beneath your wheels… and then your battery dies. Frustrating, right? But what if you could create your own battery, tailored to your specific needs and riding style? In this article, we’ll take a deep dive into the thrilling world of DIY electric skateboard batteries, providing you with the knowledge to construct your own powerhouse.
What we’ll cover:
- Building Your Battery
- Essential Battery Components
- DIY Battery Construction Steps
- Improving Battery Performance
- Battery Testing
- Safety Measures
- Customizing Your Battery
- Troubleshooting Battery Issues
- Enhancing Your E-Skateboarding Experience
Ready to roll? Let’s kickstart this electrifying journey towards ultimate skateboarding freedom!
How to Build an Electric Skateboard Battery
Building your own electric skateboard battery can be a rewarding endeavor. Not only does it offer the thrill of crafting something with your own hands, but it also provides you with a better understanding of how your e-skateboard functions. By creating your own battery pack, you can customize it to meet your specific needs and preferences, ensuring optimal performance and longevity for your electric skateboard.
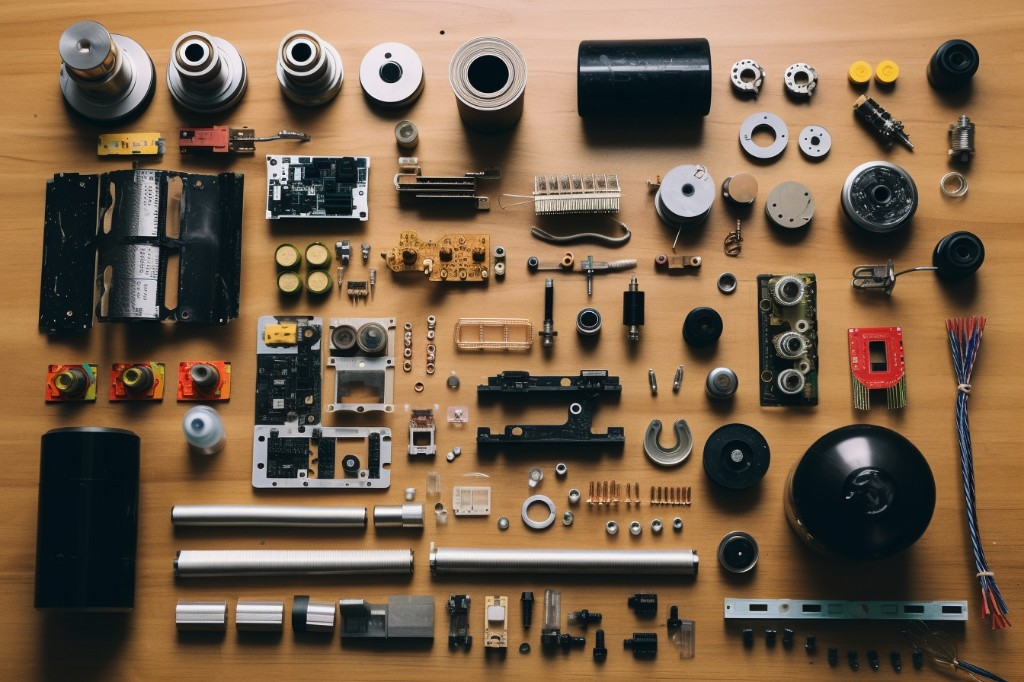
Essential Components for Building a Battery
The first step in creating your skateboard battery involves gathering the necessary components. The key elements include the battery cells, a Battery Management System (BMS), and other materials such as connectors, heat shrink tubing, and a spot welder.

Choice of Battery Type: LiPo, Li-ion, LiFePo4
The type of battery you choose will significantly impact the performance of your board. There are three main types of batteries used in electric skateboards: LiPo (Lithium Polymer), Li-ion (Lithium Ion), and LiFePo4 (Lithium Iron Phosphate).
Each type has its pros and cons. LiPo batteries are lightweight and have a high energy density, but they can be volatile if not handled correctly. Li-ion batteries are more stable, have a high energy density, and a long lifespan. However, they can be expensive. LiFePo4 batteries are known for their stability and long lifespan but have a lower energy density compared to the others.
The choice between these battery types often comes down to personal preference and specific requirements, such as desired speed, range, and budget.
Role of BMS in Battery Construction
A BMS plays a crucial role in maintaining the health and efficiency of the battery pack. This system monitors and manages the battery cells, ensuring they are charged and discharged evenly. This process, known as cell balancing, prolongs the lifespan of the battery pack and helps to prevent potential malfunctions.
Without a BMS, some cells could become overcharged or over-discharged, leading to damage and decreased performance. Therefore, incorporating a BMS in your electric skateboard battery build is a vital step towards ensuring a safe and reliable power source.
Understanding Different Battery Specifications
Before constructing your battery pack, it’s important to understand the specifications of different batteries. The three key specs are voltage, capacity, and discharge rate.
The voltage of a battery indicates the amount of electrical force it can provide, while the capacity (measured in Ampere-hours or Ah) shows how much energy it can store. The discharge rate (often represented as ‘C’) determines how quickly the battery can release its stored energy.
Understanding these specifications will help you choose the right batteries for your skateboard and ensure that your battery pack will provide the desired performance.
Constructing a DIY Electric Skateboard Battery
Now that we’ve covered the essential components and their roles, let’s delve into the step-by-step process of building your own electric skateboard battery pack.
Gathering All Necessary Parts
The first step in the assembly process involves gathering all necessary parts. This includes the chosen battery cells, a BMS, connectors (for connecting the batteries to the BMS and the skateboard), heat shrink tubing (for insulating connections), a spot welder (for connecting the cells together), and soldering tools (for attaching connectors).
Ensure you have all these components at hand before you start, as having to pause mid-assembly to hunt down a missing part can be a real momentum killer. With all your parts assembled, you’re now ready to embark on the exciting journey of building your very own electric skateboard battery pack.
Tips to Improve Battery Performance and Lifespan
The electric skateboard battery is the lifeblood of your board. Just as you’d take care of your heart to stay healthy, it’s vital to maintain your battery pack for the board to perform optimally. Here are some tips to ensure the longevity and efficiency of your electric skateboard battery.
Maintaining Optimal Temperature Conditions
A crucial aspect that often gets overlooked is maintaining optimal temperature conditions for the battery pack. Extreme temperatures, both hot and cold, can negatively affect the performance and lifespan of your battery.
The sweet spot for most batteries lies around room temperature (68-77°F or 20-25°C). Prolonged exposure to high temperatures can cause the cells in the battery pack to degrade faster. Conversely, cold temperatures can decrease the battery’s capacity and ability to deliver power.
So how do you maintain this ideal temperature? The answer lies in effective battery thermal management. When charging your battery, ensure that it’s in a well-ventilated area to avoid overheating. If you’re out riding in hot weather, try to take breaks in shaded areas. In cold weather, consider insulating your battery pack with a thermal wrap.

Regular Usage and Charging
Your electric skateboard battery thrives on regular use. Inactivity can cause the battery’s chemicals to crystallize, leading to decreased capacity and performance over time.
The charging habits of your electric skateboard also play a significant role in maintaining the health of your battery pack. A common misconception is that you should fully discharge a battery before recharging it. This might have been true for older battery technologies, but for modern lithium-ion batteries like those in electric skateboards, it’s actually better to charge them frequently.
So, after a ride, even if your battery isn’t fully drained, plug it in. This keeps the battery’s chemicals active and helps prolong its life. However, avoid overcharging your battery as it can lead to overheating and potential damage. Most modern chargers will automatically stop charging once the battery is full, but it’s always a good idea to keep an eye on it.
Proper Storage Practices
Proper storage practices are just as important for your electric skateboard battery’s health. If you’re not going to use your board for an extended period, there are a few steps you can take to ensure your battery pack stays in good condition.
Firstly, store your battery at a partial charge, ideally around 40-60%. A fully charged or fully discharged battery can lose capacity faster when stored for long periods. Secondly, keep the battery in a cool and dry place. As mentioned before, extreme temperatures can harm the battery. Lastly, consider insulating your battery pack. A thermal wrap can help maintain a stable temperature and protect it from any physical damage.
Remember, the better care you take of your electric skateboard battery, the longer it will last and the better your board will perform. It might seem like a bit of work, but in the long run, these habits can save you from frequent and costly battery replacements.
Testing Your DIY Electric Skateboard Battery
So you’ve just built your electric skateboard battery pack and you’re itching to hit the road. But hold on a minute, there’s a crucial step before you can take that exhilarating first ride. You need to test the battery pack. This ensures it’s safe, operating correctly, and ready to deliver the power you need for an electrifying ride.
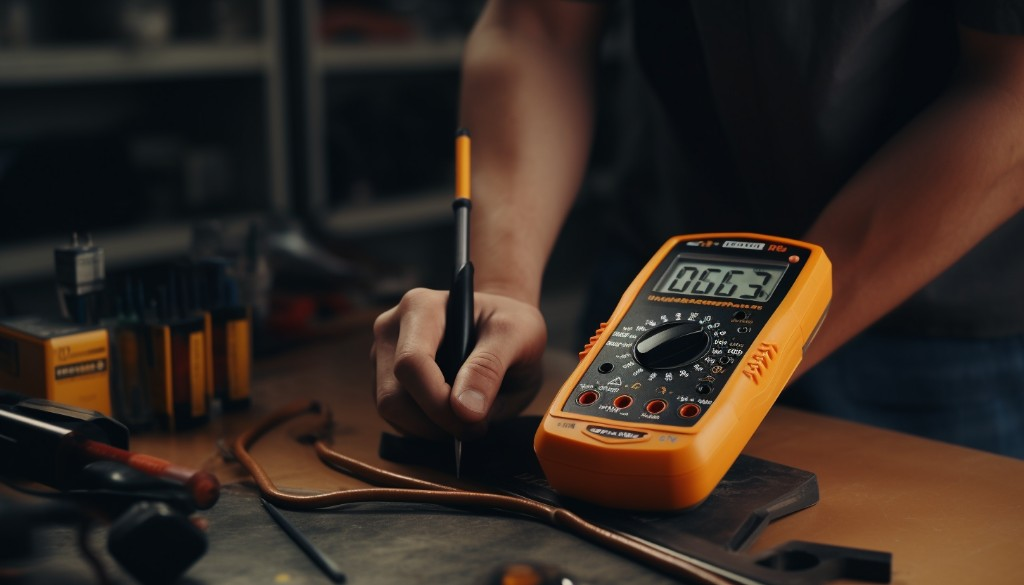
Initial Testing Process
The initial testing of your DIY battery pack is akin to a newborn’s first check-up. It’s vital to ensure everything is working as it should right from the start.
The first thing to check is each battery cell. You need to verify that they’re all outputting the correct voltage. This is important because a single faulty cell can drastically impact the performance of your electric skateboard.
Here’s how to go about it:
- Use a multimeter to measure the voltage of each cell.
- Compare the readings with the manufacturer’s specifications.
- Any cell that deviates from the expected voltage should be replaced.
Next, you’ll want to test the overall voltage rating of your battery pack. This is to make sure that it matches your electric skateboard’s requirements. Too low, and your board won’t have enough power; too high, and you risk damaging your board’s electronic components.
The steps are straightforward:
- Connect the positive lead of your multimeter to the positive terminal of your battery pack.
- Similarly, connect the negative lead to the negative terminal.
- The reading on your multimeter should be within 5% of your battery pack’s stated voltage rating.

Regular Testing for Long-Term Efficiency
Now that your initial tests have been successful, it’s time to think about the long game. Regular testing of your battery pack is like a regular health check-up for us humans. It can spot potential problems early and ensure your electric skateboard continues to perform optimally.
Efficiency is a big factor in an electric skateboard’s performance. A more efficient battery pack will provide a smoother ride, longer distances, and a longer lifespan. Regular testing can help maintain this efficiency. Here are the steps for regular testing:
- Fully charge your battery pack.
- Ride your electric skateboard until the battery is about 50% discharged.
- Measure the voltage of the battery pack with your multimeter.
- Compare the reading with the expected voltage at 50% charge (this information should be available from the manufacturer).
- If the reading is significantly lower than expected, it may indicate that your battery pack’s performance is deteriorating.
Remember, regular testing is not just about ensuring a great ride today, but also preserving the life of your electric skateboard for many rides to come.
So, keep your multimeter handy and make it a habit to test your battery pack regularly. This small effort will pay off big in terms of performance and longevity of your DIY electric skateboard.
Electric Skateboard Battery Safety Measures
As we delve deeper into the realm of electric skateboards, it’s important to remember that safety always comes first. When it comes to handling your skateboard battery, the same rule applies.
Avoiding Overcharging and Depletion
Every e-skateboard enthusiast should be aware of the dangers of overcharging and depletion. Overcharging can cause your battery to heat up, swell, or even burst, while constant depletion can decrease its lifespan.
To avoid these pitfalls, be sure to monitor your battery discharge rate. This refers to how quickly the energy stored in your battery is being used up. If you notice your skateboard battery draining faster than usual under load, it might be time to take a closer look.
To avoid overcharging, always unplug your skateboard battery as soon as it’s fully charged. Don’t leave it plugged in overnight or for extended periods of time. On the flip side, don’t let your battery drain completely either. Try to keep it between 20% and 80% charge for optimal performance and longevity.
Periodic Cleaning and Inspection
The importance of regular cleaning and inspection cannot be overstated when it comes to maintaining your electric skateboard battery. Just like you’d clean your deck and wheels, the battery pack also needs some TLC.
Firstly, make sure your battery is disconnected before you start cleaning. Use a soft cloth to wipe down the exterior of the battery pack, removing any dirt or dust that may have accumulated. Pay special attention to the connectors – a build-up of dirt here could affect the charging process.
Inspection of the battery should go hand in hand with cleaning. Look out for any signs of physical damage such as dents, cracks, or swelling. Also, check for any signs of leakage or corrosion. If you spot any of these red flags, it might be time to consider a battery replacement.
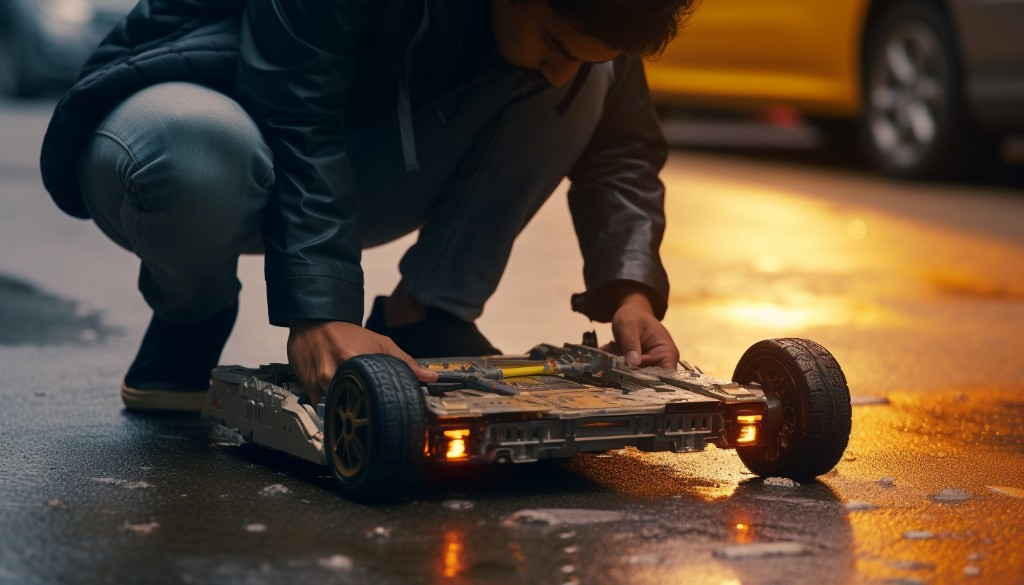
Considerations for Battery Replacement
No battery lasts forever, and your electric skateboard battery is no exception. It’s important to know the signs that it’s time for a replacement, and how to do it safely.
The lifespan of a battery cell can vary depending on usage, but generally, if you notice a significant decrease in your skateboard’s range, or if the battery takes much longer than usual to charge, it might be time for a new one.
When replacing your battery, make sure to follow all safety guidelines. Always disconnect the old battery before removing it, and never try to force a battery into a space that it doesn’t fit. Remember to recycle your old battery responsibly – most electronics stores will have a recycling program for batteries.
In essence, maintaining the safety of your electric skateboard battery boils down to regular monitoring and maintenance. Paying attention to charging habits, keeping the battery clean and inspected, and knowing when to replace it can go a long way in ensuring both the longevity of your battery and your safety while using your electric skateboard.

Closing Thoughts
Building an electric skateboard battery is a rewarding project that involves several important steps and components. Essential elements such as choosing the right battery type, assembling it correctly, and incorporating a Battery Management System play crucial roles in the creation of a functional and efficient skateboard battery.
Furthermore, maintaining and enhancing the battery’s performance and lifespan is just as significant as its initial construction. Safety measures are paramount, not only during the testing phase but also in the regular use of your DIY electric skateboard battery. Indeed, this process merges technical prowess with a sense of accomplishment.
The knowledge gained through this project has broader implications, revealing how the power behind an exhilarating ride can be built with our own hands.
Frequently Asked Questions
What type of battery is best for an electric skateboard?
The best type of battery for an electric skateboard is typically a lithium-ion or lithium-polymer battery. These provide a good balance of weight, power, and range.
How do you assemble a battery pack for an electric skateboard?
To assemble a battery pack for an electric skateboard, you’ll need to connect your chosen cells in series or parallel to achieve your desired voltage and capacity. This should be done using spot welding or soldering.
What is the role of a BMS in a skateboard battery?
A Battery Management System (BMS) in a skateboard battery is responsible for managing the charging and discharging process. It protects the battery cells from getting overcharged or discharged below their safe limit, thereby ensuring the longevity of the battery.
How do you maintain the performance and lifespan of an electric skateboard battery?
To maintain the performance and lifespan of an electric skateboard battery, it’s important to avoid overcharging or fully depleting the battery. Regular use and proper storage can also enhance its longevity.
What safety measures should be considered when using an electric skateboard battery?
When using an electric skateboard battery, safety measures such as using a BMS, monitoring the battery temperature, and not overcharging or fully depleting the battery should be considered. Additionally, the battery should be kept away from flammable materials.