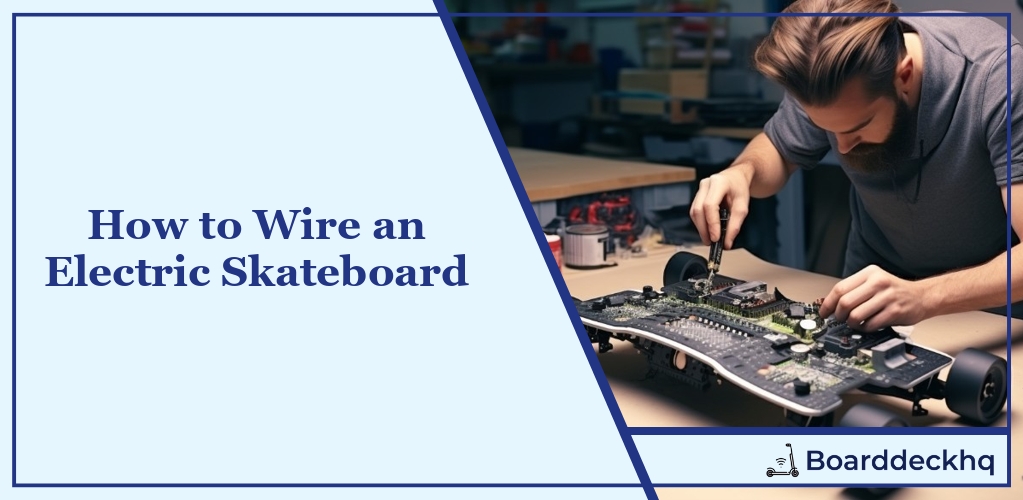
Imagine the wind in your hair, the pavement rushing beneath your feet, and the thrill of speed, all powered by your very own electric skateboard. No longer just a dream, this can be your reality. This guide will take you through the electrifying process of wiring your skateboard, ensuring you have all the essential knowledge at your fingertips. From planning to assembly, troubleshooting to maintenance, we’ve got it all covered. Are you ready to embark on this electrifying journey?
What we’ll cover
- Essential E-Skateboard Components
- Wiring Process Plan
- E-Skateboard Assembly
- Electronics Placement and VESC Programming
- E-Skateboard Testing
- Common Wiring Issues
- E-Skateboard Enhancements
- Safety During Wiring and Assembly
- Electric Skateboard Maintenance
- DIY vs Pre-Wired Skateboards
Let’s dive into the world of electric skateboards and discover why you should be the one holding the wires!
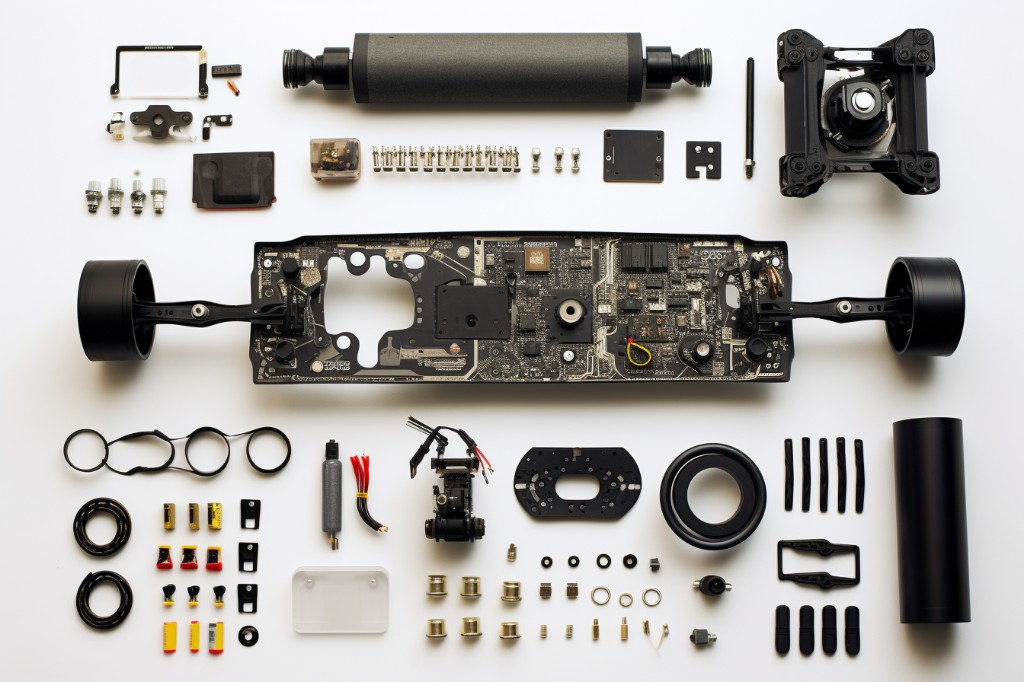
Essential Components for Wiring Electric Skateboard
The heart of any DIY project, including building an electric skateboard, lies in understanding and acquiring the necessary components. It’s like baking a cake — you need all the right ingredients to make sure it turns out perfect.
Motor and Motor Mounts
Think of the electric motor as the heart of your e-skateboard — it’s what gives your board the power to move. A suitable motor for an electric skateboard should be high-torque and designed to handle high voltage. But just having a motor isn’t enough; you also need motor mounts. These crucial pieces of hardware secure the motor to the trucks of your skateboard, ensuring stability and power transmission.
Trucks and Electronics Housing
Skateboard trucks are not just about steering and stability; they also serve as a foundation for the motor mounts and, by extension, the motors themselves. The electronics housing, on the other hand, is like the brain’s protective skull. It safeguards the electronic components — like the speed controller and battery — from external damage and environmental factors.
Wheels and Assembling Tools
The wheels of your electric skateboard should be durable enough to withstand high speeds and rough terrains. And just like how a painter needs brushes, you’ll need assembling tools to put together your DIY e-skateboard. This includes items like screwdrivers, wrenches, and perhaps a drill.
Connectors and Wires
Wires connectors are what link together all the electronic components of your board. They’re like the nerves in a human body, transmitting signals and power from one part to another. High-quality wires ensure efficient energy transmission, minimizing energy loss and maximizing your board’s performance.
Planning the Wiring Process
Now that we’ve covered the components, it’s time to plan the wiring process. Like any complex task, wiring an electric skateboard requires careful planning to ensure a smooth and successful outcome.
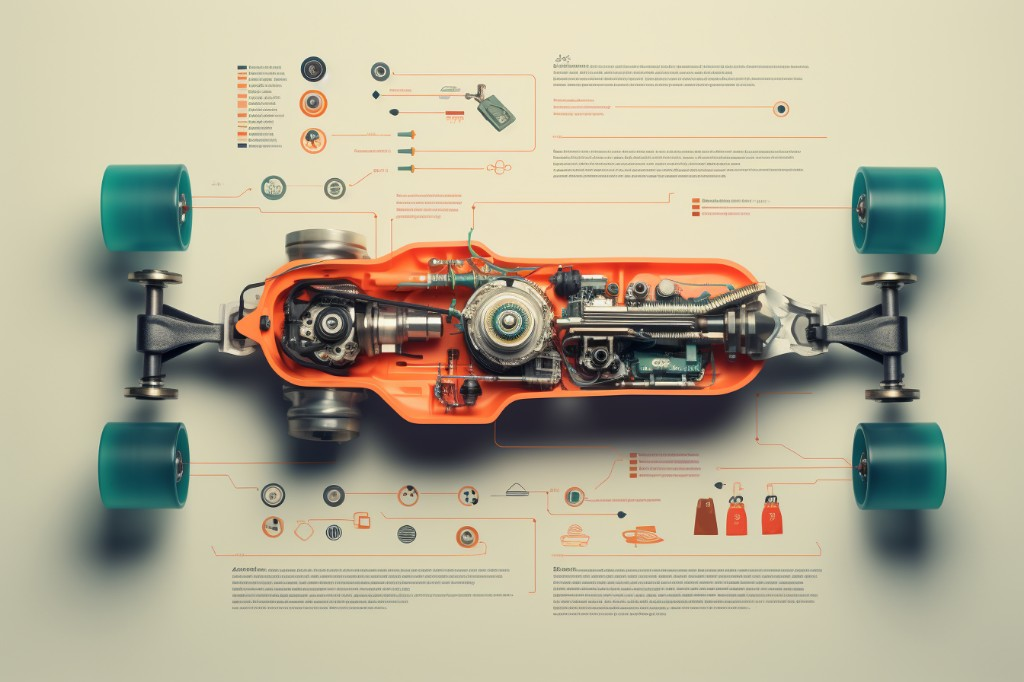
Understanding the Wiring Diagram
A wiring diagram is essentially a map of your e-skateboard’s electrical system. It shows how each component is connected and how power flows through the system. Spend some time studying the diagram until you’re comfortable with it — it’ll be your guiding star during the wiring process.
Gathering Necessary Tools and Supplies
Just as a chef gathers all ingredients before cooking, you should gather all the necessary tools and supplies before you start wiring your DIY electric skateboard. This includes the wires connectors, motor, battery, speed controller, and of course, your trusty assembling tools. Having everything at hand will make the process smoother and more efficient.
So now that we’ve planned everything out, it’s time to get our hands dirty and start assembling our electric skateboard. From installing the trucks and electronics housing to fixing the motor pulley gear and installing wheels, each step is crucial in building a reliable and efficient board. And let’s not forget about extending the wiring and installing connectors — these steps will ensure that power flows efficiently across your board, making for a truly electrifying ride.
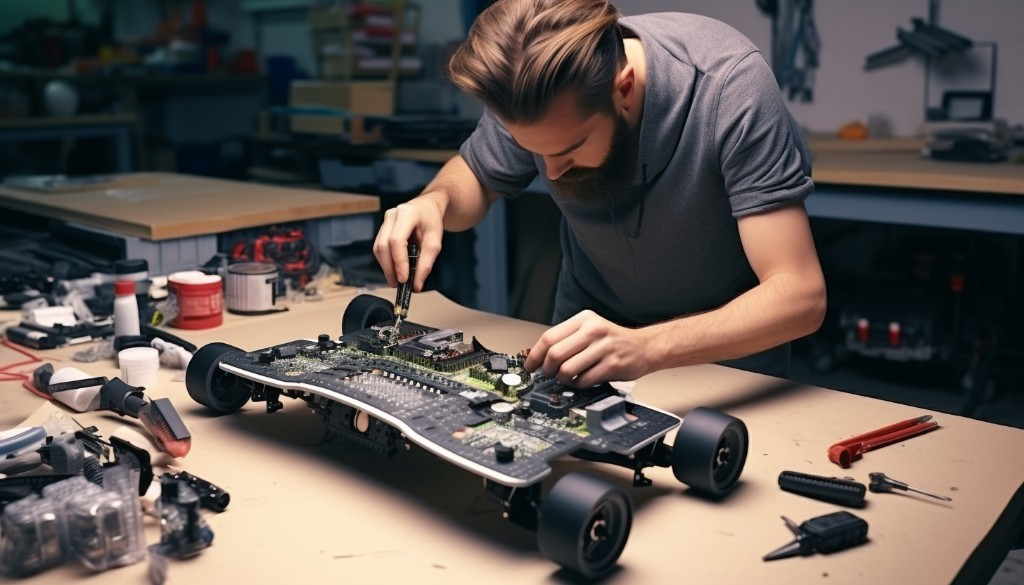
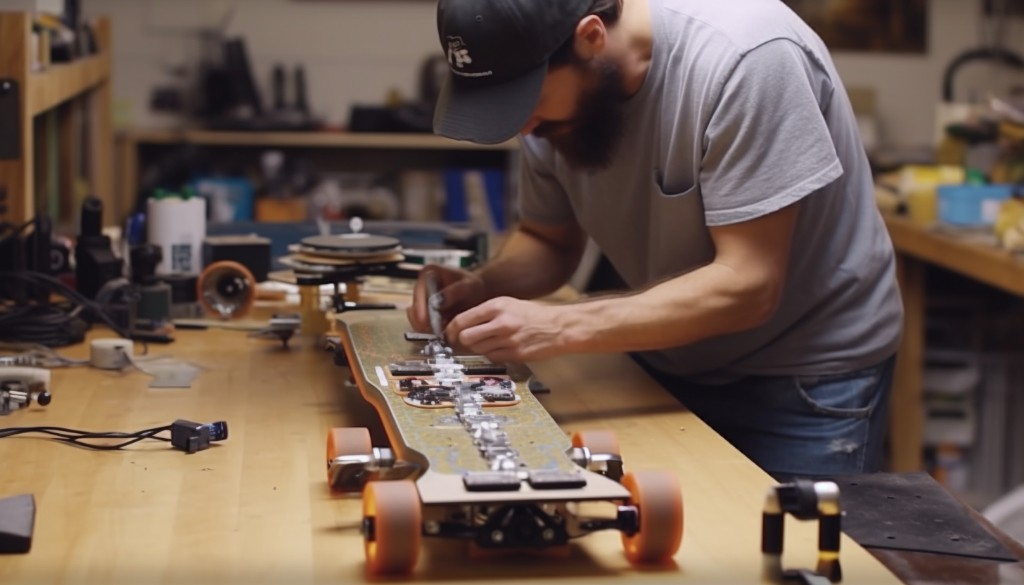
Assembling the Electric Skateboard
Let’s dive into the actual assembling process of a DIY electric skateboard. Imagine you’re in a workshop with all the necessary components laid out neatly in front of you. It’s like a giant jigsaw puzzle waiting to be solved. And, just like with any puzzle, it’s crucial to have the right tools at hand for assembling your board.
Installation of Trucks and Electronics Housing
The first step is to install the trucks on the skateboard deck. It’s as easy as screwing them onto the deck using a screwdriver or power drill. You’ll need to make sure they are firmly secured, as the trucks are what connect the wheels to the deck.
Next, we move onto the electronics housing. This unit will protect your electric skateboard’s wiring and components from dust and damage. To install it, position the housing on the underside of your skateboard deck, ensuring that it’s centrally located for balance. Once it’s in the right spot, use a drill to secure it with screws.
Installation of Motor Mounts and Motors
Now, let’s focus on the motor mounts and motors. Installing motor mounts on your board is a crucial part of the assembly process because they will hold the motors that power your board.
Start by attaching the motor mounts to the trucks. Make sure they are positioned in such a way that they can support the motors without interfering with the movement of the wheels or trucks. Once the mounts are secure, attach the motors to them. This step may require some adjustments to ensure a perfect fit and alignment.
Fixing the Motor Pulley Gear
Once your motors are in place, it’s time to fix the motor pulley gear. This is an essential component as it will transfer power from the motors to the wheels, allowing your skateboard to move.
To install the gear, you’ll need to attach it to the motor shaft. Make sure it’s tightly secured, but not so tight that it restricts the motor’s movement. It’s a delicate balance that might take some fine-tuning.
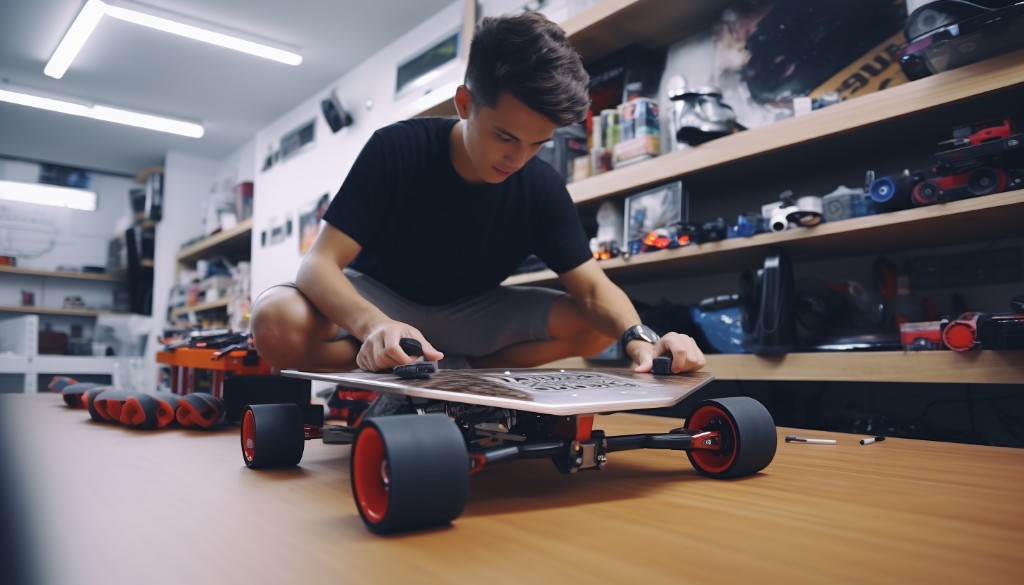
Assembling and Installing Wheels
The next step is assembling and installing the wheels on your DIY electric skateboard. First, insert the bearings into the wheels. Once that’s done, slide the wheels onto the trucks’ axles, then secure them with a nut.
Extending Wiring and Installing Connectors
The final step in assembling your skateboard is extending the wiring and installing the connectors. Start by running the wiring from the motors to the electronics housing. Make sure to neatly organize the wires to avoid tangling or damage.
Next, install connectors at the ends of the wires. These will be used to connect your motors to the electronic speed controller (ESC) inside the housing. Make sure you’ve got a firm connection – we don’t want any unexpected disconnections while cruising down the street!
And there you have it! You’ve successfully assembled your very own electric skateboard. But remember, this is only part of the journey. The next steps involve placing the electronics inside the enclosure and programming the Vedder electronic speed controller (VESC) for optimal performance. It’s like fine-tuning a musical instrument to get that perfect sound – only this time, we’re aiming for a smooth ride!
Placing the Electronics and Programming VESC
Once you have your DIY electric skateboard assembled, the next step is to place the electronics inside the board’s enclosure and program the VESC. This step is crucial as it is the heart of your e-skateboard, controlling the power from the battery to the motor.
Placement of Electronics Inside Enclosure
When it comes to placing the electronics inside the enclosure, there are several factors to consider. You need to make sure that all the components — including the battery, VESC, and receiver — fit snugly inside without being overly cramped. Here are some steps I followed:
- Start by placing the battery in the enclosure first, as it is usually the largest component. Ensure it is positioned in such a way that it doesn’t shift during movement. Some people use Velcro or foam padding for added stability.
- Next, place the VESC near the battery, but not too close to avoid heat issues. Make sure there is enough space for air circulation around the VESC.
- The receiver should be placed at a location where it can easily connect with your remote control. Avoid placing it near large metal objects or the motor wires, as these can interfere with the signal.
- Finally, arrange your wires neatly to prevent them from tangling or getting damaged. Using zip ties or adhesive cable clips can help keep things tidy.
Remember, your goal is to ensure everything fits nicely and securely. A well-organized enclosure will not only look good but also function efficiently.
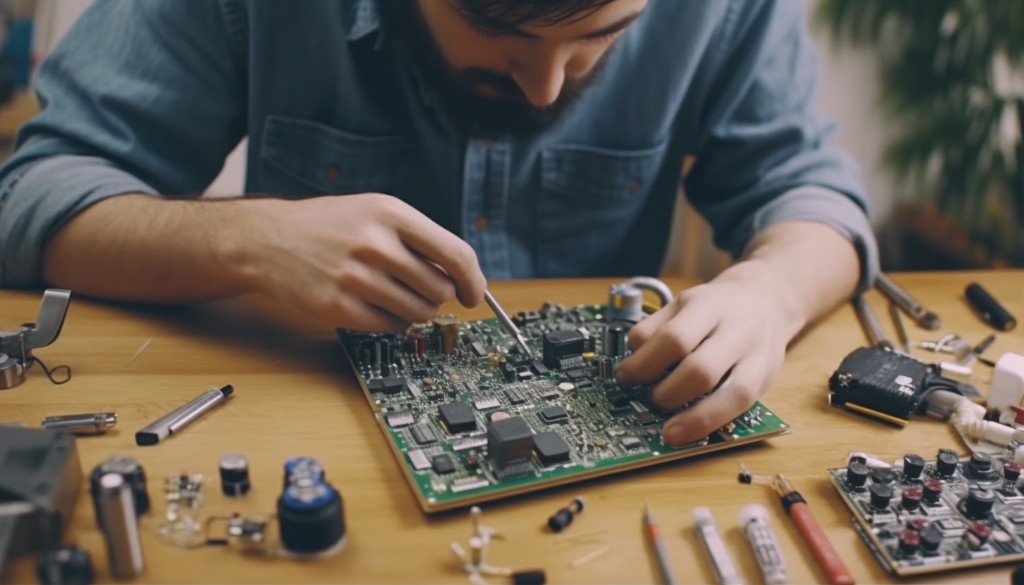
Programming the VESC
Programming the VESC might seem daunting at first, especially if you’ve never done it before. But don’t worry, it’s easier than you think. Here’s a simple guide to get you started:
- First, connect your VESC to your computer using a USB cable. Make sure your VESC is powered off during this step.
- Download and install the VESC Tool software from the official VESC Project website. This software will allow you to configure and program your VESC.
- Once installed, launch the software and select the ‘Autoconnect’ option. If everything is set up correctly, your VESC should be recognized by the software.
- Now it’s time to configure your motor parameters. Go to the ‘Motor Setup’ tab and follow the instructions provided by the software. This step includes running a motor detection test and setting your motor current limits.
- After setting up the motor parameters, you’ll need to set up your input controls (your remote control). Go to the ‘Input Setup’ tab and follow the instructions provided. This step includes calibrating your remote control and setting up your throttle curve.
- Once everything is set up, click on the ‘Write Configuration’ button to save your settings to the VESC.
It’s worth noting that programming your VESC is not a one-size-fits-all process. Depending on your specific setup and riding preferences, you may need to tweak some settings. Don’t be afraid to experiment and find what works best for you.
With your electronics placed and VESC programmed, you’re almost ready to hit the road. But before you do, there are some important checks you should perform. The next section will guide you through pre-testing checks and post-assembly test runs to ensure your electric skateboard is safe and ready for action.
Testing the Electric Skateboard
Once you’ve successfully assembled your DIY electric skateboard and programmed the VESC, the next step is testing. The purpose of testing is to ensure that all components are functioning correctly and that your board is safe to ride.
Pre-Testing Checks
Before you hop on your newly built skateboard, it’s crucial to perform some pre-testing checks. These checks ensure that all your hard work pays off and that the skateboard performs as expected.
- Visual Inspection: Look for any loose wires or components. Ensure that everything is securely mounted and that there are no visible damages or defects.
- Connection Verification: Confirm that all the wiring connections are tight and secure. A loose connection can cause intermittent operation or even damage the electronics.
- Battery Check: Ensure the battery is fully charged and securely mounted. A low battery can give misleading test results, and a loose battery can be dangerous.
- Remote Control Sync: Confirm that the remote control is synced with the skateboard’s receiver. Without proper sync, the board won’t respond to your commands.
- Wheel Spin Test: With the skateboard upside down, gently throttle the remote control to see if the wheels spin freely and evenly.
 Post-Assembly Test Run
After completing the pre-testing checks, it’s time for the exciting part: the post-assembly test run. This is where you get to see your DIY electric skateboard in action for the first time.
- Safety Gear: Before you start, make sure you’re wearing appropriate safety gear, including a helmet, knee pads, and elbow pads.
- Gentle Start: Begin with a gentle start. Gradually increase the throttle on the remote control to see how the skateboard responds. Listen for any unusual noises.
- Steering Test: Test the steering by gently leaning left and right. The skateboard should respond smoothly and predictably.
- Brake Test: While moving at a slow speed, apply the brakes to ensure they’re functioning correctly.
- Speed Test: Gradually increase your speed to see how the skateboard performs at higher velocities. Keep in mind that it’s normal for the skateboard to feel a little wobbly until you get used to it.
- Endurance Test: If all the previous tests are successful, take your skateboard for a longer ride to test its endurance. Keep an eye on the battery level and performance over time.
Remember, the goal of the post-assembly test run is not just to have fun (although that’s a big part of it), but also to identify any potential issues that need to be addressed.
The next section of this guide will dive into troubleshooting common wiring issues, identifying these problems, and providing solutions to get your e-skateboard back on track should you encounter any bumps along the way. With this knowledge at your fingertips, you’ll be well-equipped to tackle any challenges that come your way during your DIY electric skateboard journey.

Closing Thoughts
Wiring an electric skateboard involves several critical steps, each demanding a certain level of understanding and attention to detail. Planning the wiring process and assembling the skateboard are foundational steps that pave the way for placing the electronics and programming the VESC. The excitement that comes from seeing your DIY electric skateboard spring to life during testing is indeed unparalleled. However, it’s essential to be prepared for potential wiring issues that may arise, requiring adept troubleshooting skills. The knowledge and experience gained in building and maintaining your own electric skateboard not only offer a sense of accomplishment but also foster a deeper appreciation for the engineering marvel that an electric skateboard truly is.
Frequently Asked Questions
What are the necessary components for wiring an electric skateboard?
The essential components for wiring an electric skateboard include a battery, motor, electronic speed controller (ESC), remote control, motor mount, and wires.
How do you assemble an electric skateboard?
Assembling an electric skateboard involves attaching the motor to the motor mount, connecting the motor to the ESC, attaching the battery to the ESC, connecting the ESC to the remote control, and finally mounting all these components onto the skateboard deck.
How do you place the electronics and program the VESC?
The electronics are typically placed in a casing attached to the underside of the skateboard deck. The VESC (Voltage Electronic Speed Controller) can be programmed using software available online, which allows you to customize various settings such as speed limits and acceleration curves.
How do you test a DIY electric skateboard?
Testing a DIY electric skateboard involves checking all connections, ensuring the remote control is paired with the ESC, and then safely trying out the board at low speeds initially. Always remember to wear protective gear during testing.
How do you troubleshoot common wiring issues in a DIY electric skateboard?
Common wiring issues in a DIY electric skateboard can often be traced back to loose or disconnected wires. Regularly inspecting all connections and ensuring they are secure is crucial. Other common issues might include problems with the battery or ESC, which may require replacement or repair.