Have you ever dreamt of gliding through the streets on your very own custom-built electric skateboard, constructed from a bike? We are here to tell you, not only is it possible, but we’ll guide you on how to turn that dream into reality! This isn’t just another DIY project, it’s a journey into the world of innovation and creativity, where bicycles and skateboards converge to form an eco-friendly mode of transportation.
What we’ll cover:
- Basics of Electric Skateboards & Bikes
- Essential Tools & Materials
- Pre-Build Preparations
- Drive Train Construction
- Electric Skateboard Assembly
- Safety Measures & Protection
- Final Steps of the Build
- Post-Build Maintenance & Care
- Potential Modifications & Customizations
With your helmet on and the wind in your hair, it’s time to embark on this exhilarating journey of building your very own electric skateboard from a bike. Let’s roll!
Understanding the Basics of Electric Skateboards and Bikes
When you’re building something as complex as an electric skateboard using a bike, it’s important to first understand the nuts and bolts of both these machines. Let’s break down the basic components and functionalities of electric skateboards and bikes, as they are at the heart of this DIY project.
Essential Components of an Electric Skateboard
An electric skateboard is simply a regular skateboard that’s been augmented with a few extra parts. The most obvious of these are the motor and the battery, which provide the power to move the board. Here’s a quick rundown:
- Deck: This is the flat board that you stand on. It’s usually made of wood or composite material.
- Trucks: These are the metal parts that attach the wheels to the deck and allow for steering.
- Wheels: Typically larger and softer than traditional skateboard wheels, these are designed to handle higher speeds and offer smoother rides.
- Motor: This is what makes an electric skateboard electric. The motor provides the power needed to move the board.
- Battery: The energy source for the motor, typically rechargeable lithium-ion batteries are used.
- Electronic Speed Controllers (ESCs): These are what allow you to control the speed of your electric skateboard. They connect to the motor and adjust its speed based on input from a remote control.
In essence, when you step onto an electric skateboard, you’re standing on a carefully balanced blend of technology and design.
Essential Components of a Bike
A bike, on the other hand, has its own set of unique components. While we’re specifically looking at converting a regular bike into an e-bike for this project, understanding its basic parts is equally important:
- Frame: The backbone of the bike, this is what holds everything together.
- Wheels: Composed of a rim, spokes, and a hub, which houses the axle, around which the wheel rotates.
- Gears: These adjust the bike’s speed by changing the amount of force needed to turn the pedals.
- Handlebars: Used for steering and housing the gear and brake controls.
In the context of our project, we’ll primarily be focusing on the frame and wheels of the bike, as they’ll form the foundation of our electric skateboard.
Functionality of an Electric Skateboard
The beauty of an electric skateboard lies in its simplicity. At its core, it operates much like a traditional skateboard – you stand on it and it moves. However, instead of propelling yourself forward with your foot, you use a handheld remote control.
This remote sends signals to the ESCs, which then adjust the speed of the motor. The motor, in turn, spins the wheels and propels the board forward. The speed at which you move can be controlled by simply adjusting the input on the remote.
If you’re more of a visual learner, there are plenty of helpful videos on YouTube that show electric skateboards in action. Seeing one in motion really helps to understand how all these components work together to provide a smooth ride.
By understanding these basics, we’re setting a solid groundwork for our DIY project. It’s important to know your tools before you start building. Now that we’ve covered this, let’s move onto the actual process of building your very own e-skateboard using a bike.
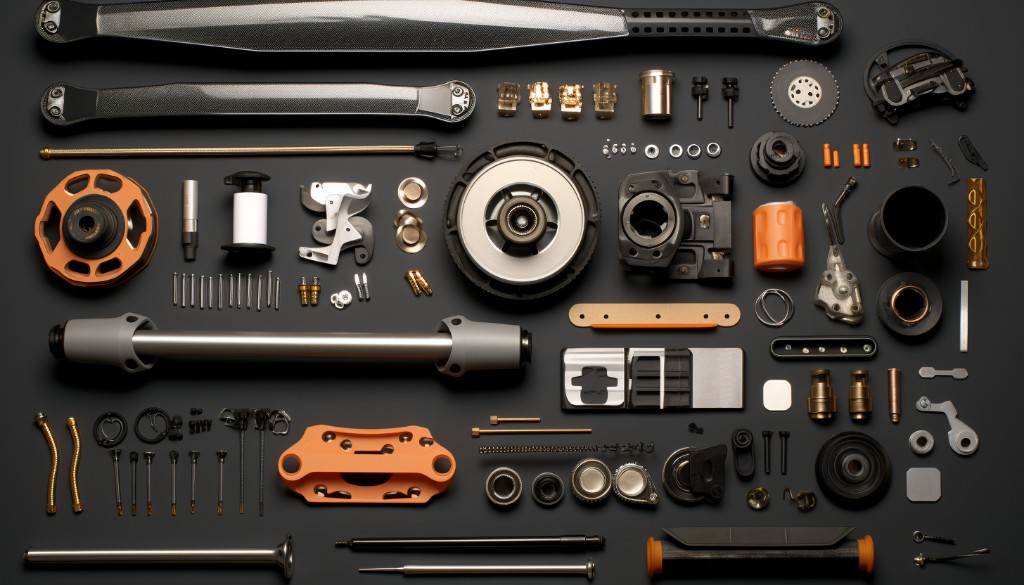
Necessary Tools and Materials
Embarking on a DIY electric skateboard project can feel like you’re about to scale a mountain, but rest assured, it’s not as daunting as it seems. The most important thing is to gather all the necessary tools and materials before you start. Imagine the frustration of reaching a crucial step in your build only to realize you’re missing a key tool or part! To avoid that scenario, let’s take a look at the things you’ll need.
Required Parts from a Bike
As we are repurposing parts from a bike to build our skateboard, the wheels are our prime concern. Bike wheels are sturdy, durable, and designed to handle a fair amount of weight, making them perfect for our project. Plus, the grip pattern on bike tires will provide excellent traction on your electric skateboard, allowing for a smoother ride.
Required Parts for an Electric Skateboard
Now let’s discuss the components that will turn your regular skateboard into an electrifying ride. You’ll need an electric skateboard motor and a battery pack to power it. A speed controller is also necessary to regulate the motor’s speed, and you’ll need a remote control to operate it.
But wait, there’s more! Don’t forget the skateboard deck. This will be the base where all the magic happens. For the undercarriage, you’ll need trucks (the part that attaches the wheels to the deck), bushings (rubber-like rings that provide cushioning), and bearings (which reduce friction between the wheel and axle).
To secure everything in place, you’ll also need hardware like bolts and screws. And of course, don’t forget about safety equipment such as helmets and pads. After all, what’s the fun in a DIY electric skateboard if you can’t enjoy it safely?
Additional Tools Needed
Aside from the parts, there are a number of tools that will be instrumental in this project. A set of screwdrivers of various sizes will be needed for fastening parts together. You’ll also need wrenches to tighten or loosen nuts and bolts.
A soldering iron and solder wire will come in handy when connecting electrical components, while wire strippers and cutters will assist in preparing your wires. Heat shrink tubing is also useful for insulating and protecting your soldered connections.
If you need to cut or shape your deck, a saw and sandpaper will be required. Finally, a multimeter will be useful for testing your electrical connections and ensuring everything is working as it should.
This might seem like a long list, but remember, building an electric skateboard from scratch is a bit like assembling a jigsaw puzzle. Each piece plays a vital role in the overall picture. So, gather your tools, roll up your sleeves, and let’s get ready to embark on this electrifying DIY journey.
Preparations for the Build
Venturing into a DIY electric project can be a thrilling endeavor. For the build electric enthusiasts, it’s more than just a pastime — it’s a creative exploration. The transformation of a bike and a skateboard deck into an e-skateboard is no small feat, but with the right preparations, it’s certainly achievable.
Choosing the Right Bike for Conversion
Not all bikes are created equal — some are better suited for this electrifying transformation than others. You need a sturdy, reliable base that can withstand the additional weight and power of an electric motor.
First off, consider the bike’s frame material. Steel or aluminum are both great choices due to their durability and resilience. Next, take a look at the size of the bike. It should be large enough to comfortably accommodate your skateboard deck.
The type of bike also matters. Mountain bikes, for instance, come with robust tires that can handle rough terrain, making them ideal candidates for an e-skateboard conversion.
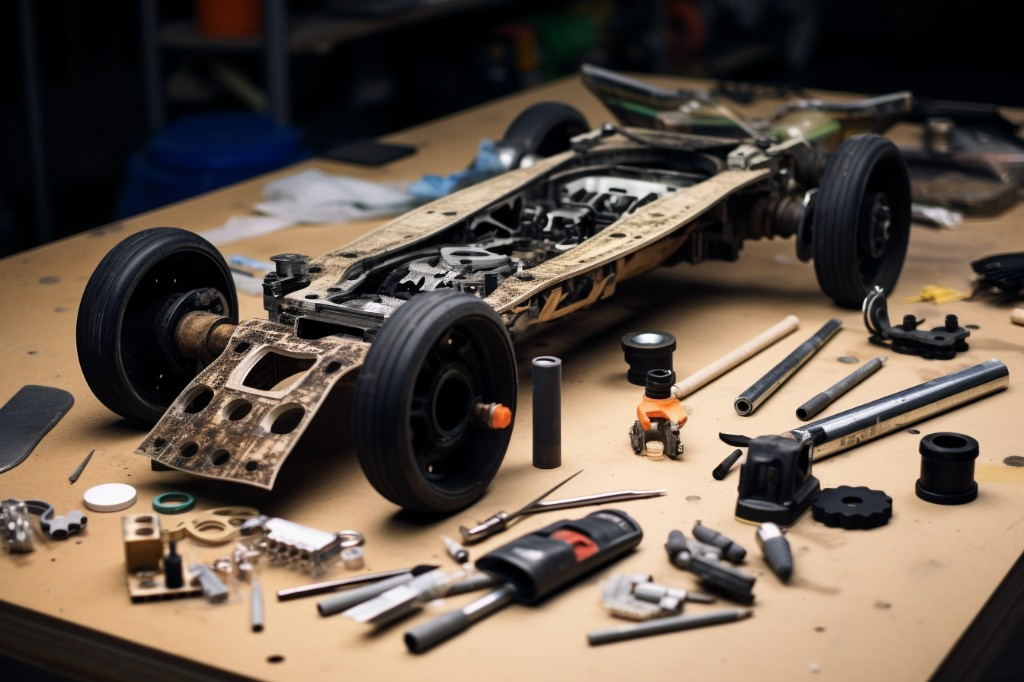
Disassembling the Bike
Now comes the fun part: taking apart the bike. This might seem daunting at first, but once you get started, you’ll find it’s quite straightforward.
Start by removing the bike chain. Use a chain breaker tool to push out one of the links and then simply lift off the chain. Next, remove the bike’s pedals by using a wrench to loosen and remove the pedal spindle.
The wheels come off next. Loosen the bolts on either side of the wheel with a wrench and gently slide out the wheel. Repeat this process for both front and rear wheels.
Finally, remove the handlebars and seat from the frame. For these, you’ll typically need an Allen wrench to loosen the bolts and lift off each component. Remember to keep all removed parts in a safe place — you’ll need them later!
Preparing the Skateboard Deck
The next step in this electric skateboard project is to prepare the skateboard deck. This is where your skateboard electric dreams start to take shape!
Begin by removing any grip tape from the deck. You can do this by heating it with a hairdryer to loosen the adhesive, then peeling it off slowly. Once the grip tape is removed, use sandpaper to smooth out any rough spots on the deck.
Next, drill holes where you’ll be attaching the bike wheels to the deck. The positioning of these holes will depend on the size of your bike wheels and the length of your skateboard deck.
Finally, give your deck a thorough clean with a damp cloth to remove any dust or debris. Now, your skateboard deck is ready for its transformation into an awesome e-skateboard!
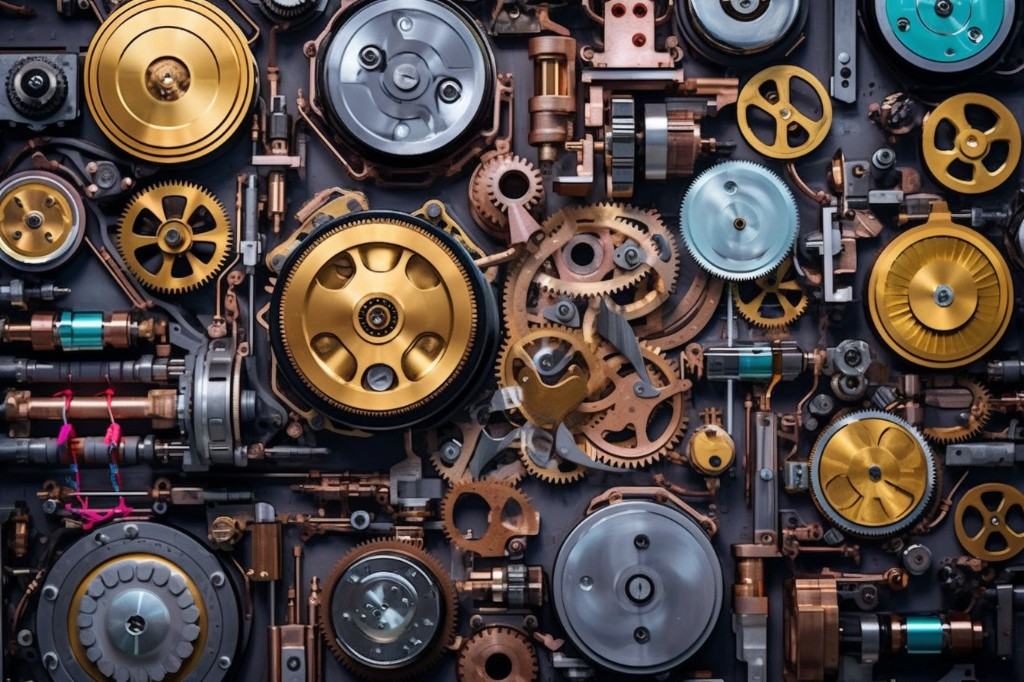
Constructing the Drive Train
Diving into the exciting process of creating your own DIY electric skateboard, it’s time to get our hands dirty by constructing the drive train. This critical part of your board is the beating heart of your ride, connecting your motor to your wheels and propelling you forward.
Selecting the Right Motor
Choosing the right motor for your electric skateboard is akin to picking the right engine for a car. It’s all about balance — you need power for speed and torque for climbing hills, but you also need efficiency for battery life. Consider the wattage of the motor, as higher wattage translates to more power. However, don’t forget to factor in your weight and the terrain you’ll be riding on. If you’re on the heavier side or planning to tackle steep hills, opt for a motor with higher torque.
Setting up the Motor Mounts
Motor mounts are like the foundation of a house — they need to be strong and stable. Start by choosing a mount that fits both your motor and your skateboard trucks. Then, attach the mount securely to your trucks. Make sure the fit is snug and tight. The last thing you want is a wobbly motor when you’re cruising down the street!
Attaching Pulley to the Wheel
Now, it’s time to marry your wheels with the drive train. The process involves attaching a pulley to the wheel. Begin by aligning the pulley with the wheel’s core and use screws to secure it. Remember to check that the pulley aligns well with the belt and motor pulley. Misalignment could lead to premature wear or even damage to your wheels or belt.
Belt Drive vs Hub Motors
When building electric skateboards, a common debate arises – belt drive or hub motors? It’s like the age-old question of chocolate or vanilla, each with their own merits. Belt drives offer more torque and are generally better for climbing hills. They also provide the option to change wheels, allowing for customization. On the other hand, hub motors are quieter and require less maintenance. They also offer a smoother ride but may lack the punchy acceleration of a belt drive.
So, in choosing between the two, consider your personal needs and preferences. Are you after a maintenance-free ride or do you crave the thrill of raw power and acceleration? Your answer will guide you in your build electric skateboard journey. Remember, there’s no right or wrong choice here, just the one that best suits your riding style and environment.
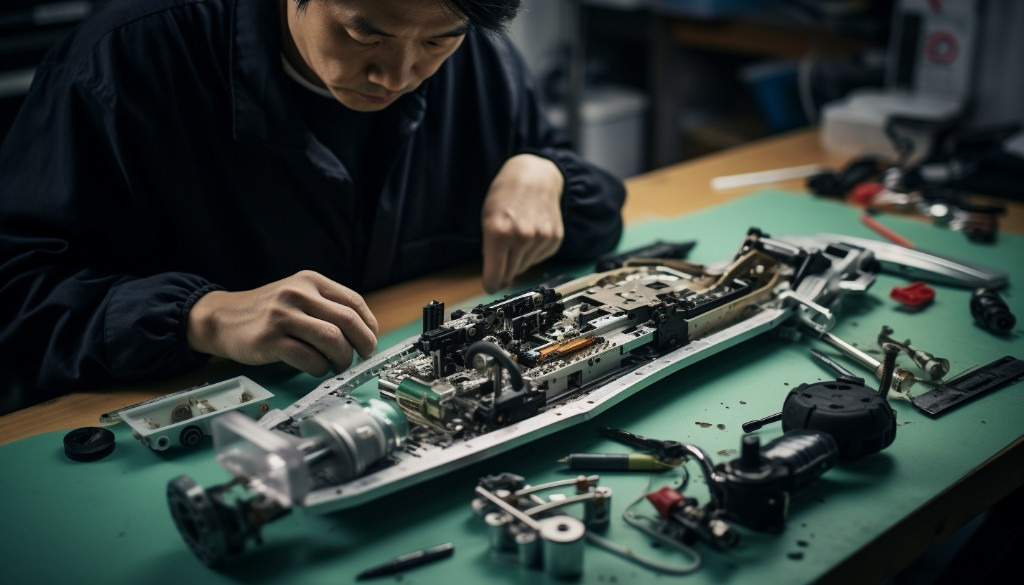
Assembling the Electric Skateboard
Now that we have our drive train ready, let’s dive into assembling our electric skateboard. The excitement of seeing your creation come to life is just around the corner!
Putting Together the Wheels and Trucks
Our first task in assembling the skateboard electric involves getting the wheels and trucks in place. Begin by fitting the bearings into the wheels. It’s like fitting a glove; snug and secure. Once you’ve got the bearings in, you can mount your wheels onto the trucks. These are the metallic, T-shaped pieces that will be attached to the underside of your skateboard deck. Don’t forget to tighten them properly; we don’t want any loose wheels while cruising down the street!
Assembling the Electronics
Next up is piecing together the electronics. Start by mounting your electronic speed controller (ESC) on the deck. The ESC is what controls the speed of your motor, so make sure it’s secure! Following this, connect your receiver to the ESC. This small device is crucial as it receives signals from your remote control and communicates with the ESC. The connection between these two components is much like a conversation, where one says “speed up,” and the other responds.
Installing the Motor and ESCs
With your electronics assembled, it’s time to install the motor and ESCs. Connect your motor to your drive train. Make sure it fits perfectly and aligns well with your belt and pulleys. This part is a bit like fitting puzzle pieces together — each piece must fit perfectly for the whole picture to come together.
Next, connect your motor to the ESCs. These little guys control the motor’s speed, so it’s important to get them wired correctly. Think of the ESCs as the brain of your electric skateboard, telling the motor when to speed up, slow down, or stop.
Setting Up the Battery and Wiring
Finally, we arrive at setting up the battery and wiring. Mount your battery onto the deck, ensuring it is secure. A loose battery can lead to poor performance or, worse, damage to your board. Next, connect the battery to the ESCs. This is where the magic happens, where power from your battery transforms into speed on your e-skateboard.
For the wiring, make sure all wires are neatly tucked away and secured. Loose or dangling wires can be a safety hazard and potentially damage your components. It’s a bit like arranging spaghetti on a plate; you want it neat, not messy and all over the place.
By now, you should have a fully assembled electric skateboard! It’s a thrill to see your hard work pay off, isn’t it? Now that you’ve mastered this process, you can tweak and modify your board to your heart’s content.
Ensuring Safety and Protection
Once you have assembled your electric skateboard, it’s time to focus on ensuring safety and protection. Remember, an e-skateboard is not just a fun gadget, but a vehicle that needs proper safety measures in place to ensure a smooth and safe ride.
Cases & Protection for Skateboard Components
To keep your board’s components safe, you’ll need to invest in high-quality cases and protection. Just like you’d protect your phone with a case, the same principle applies to the skateboard’s components.
- Deck Protection: Use grip tape on the surface of the deck to provide a non-slip surface. This not only protects the deck from scratches and dings but also ensures your feet stay firmly planted while riding.
- Motor Case: A sturdy motor case will protect the motor from damage due to rocks, debris, or water. Look for a case that is both durable and lightweight.
- Battery Case: A battery case is crucial as it protects the battery from external impacts and weather conditions. Choose a waterproof and shock-resistant case for maximum protection.
Adapting Bike Safety Measures for Skateboard
When it comes to safety measures, we can borrow some ideas from our two-wheeled friends, bikes.
- Lights: Just like bikes, skateboards should have front and rear lights for visibility during night rides.
- Helmet: Always wear a helmet when riding your e-skateboard. It’s the single most effective safety measure you can take.
- Pads: Knee and elbow pads are also recommended, especially for beginners.
Finalizing the Build
With safety measures in place, it’s time to finalize your build. This stage involves testing the board, tweaking its configuration, and getting it ready for a smooth ride.

Testing the Electric Skateboard
Before you start cruising around, it’s crucial to test your electric skateboard thoroughly. This will help you identify any issues and ensure the board operates as expected.
- Battery Test: Make sure the battery is fully charged and holding charge properly.
- Motor Test: Check if the motor is running smoothly and delivering enough power.
- Brake Test: Test the brakes in a controlled environment to ensure they are responsive and reliable.
Tweaking the Configuration
Every skateboarder has their own unique riding style and preferences. Therefore, it’s important to tweak the board’s configuration to suit your needs.
- Adjusting the Trucks: Loosen or tighten the trucks based on how much control or flexibility you prefer while turning.
- Motor Settings: Adjust the motor settings to get the desired speed and torque.
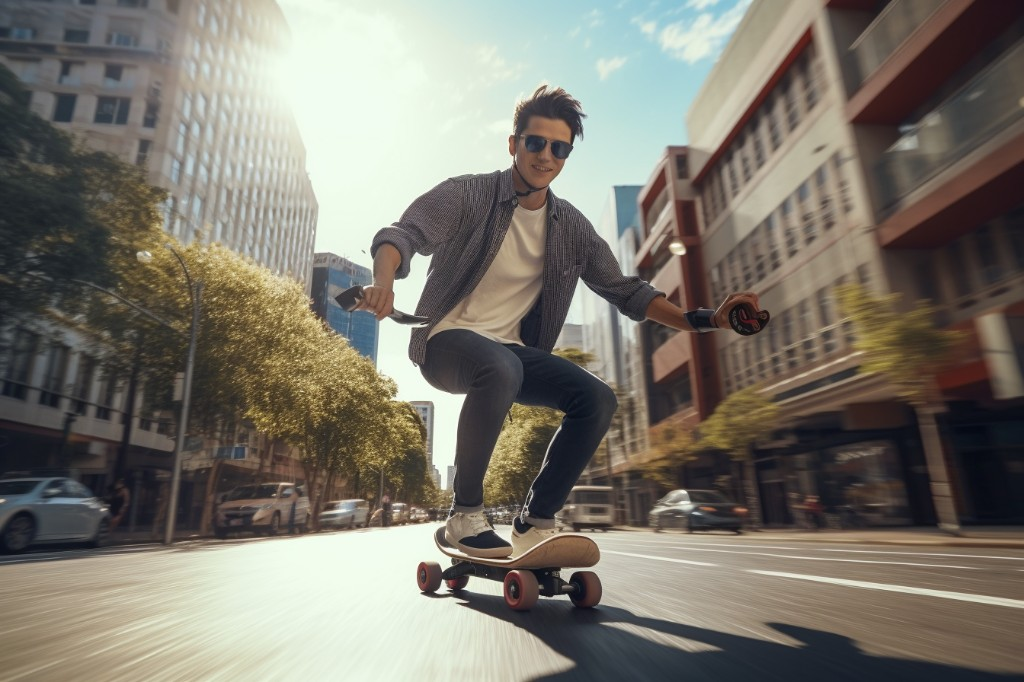
Tips for a Smooth Ride
Finally, here are a few tips to ensure a smooth ride on your DIY electric skateboard:
- Practice: Spend time getting used to the feel of the board. Start with slow speeds and gradually increase as you gain confidence.
- Maintenance: Regularly check and maintain all components of your skateboard to ensure it remains in top condition.
- Safety First: Always prioritize safety. Wear protective gear and obey local traffic rules. Happy riding!
Maintenance and Care
Building an electric skateboard using a bike is an exciting project, but the work doesn’t stop once you’ve completed the assembly. Keeping your e-skateboard in top shape is essential, and that’s where maintenance and care come into play.

Regular Inspection and Upkeep
Just like any mechanical device, your e-skateboard needs regular inspection. You don’t want to be halfway through a thrilling ride only to have a wheel come off because you didn’t check the bolts. Here’s a simple routine I follow:
- Clean the deck and wheels after every ride.
- Check the bolts and screws regularly.
- Inspect the motor and battery compartment for any signs of damage or wear.
- Ensure the brake system is functioning correctly.
Changing Parts When Necessary
There’s no exact timeline for when parts need changing; it largely depends on how frequently you use your board and how you ride it. However, here are some general rules of thumb:
- Wheels should be replaced when they show signs of significant wear.
- Bearings should be changed if they become noisy or aren’t spinning smoothly.
- The motor should be replaced if it starts making unusual sounds or loses power.
- Always replace any part that appears damaged or worn out.
Ensuring Longevity of Your Electric Skateboard
Want your board to last? Then there are some additional steps you can take. Keep it away from water as much as possible; while most e-skateboards can handle a little rain, prolonged exposure to moisture can cause problems. Always store your board in a dry, cool place. Avoid overcharging the battery as it can shorten its lifespan. Lastly, try not to ride it too hard all the time; just like a car, a board will last longer if it’s not always being pushed to its limits.
Possible Modifications and Customizations
After you’ve built your e-skateboard and gotten the hang of maintaining it, you might start thinking about modifications. Customizing your board not only makes it uniquely yours but can also improve its performance.
Advantages of Dual or Single Motor
Your initial build probably has a single motor, which is a great starting point. But consider upgrading to a dual motor setup. It offers more power, better acceleration, and improved handling, especially on hills. However, it does come with a higher price tag and uses more battery power.
Exploring Different Battery Options
The battery is the heart of your e-skateboard. While most boards come with a standard lithium-ion battery, you might want to explore other options like LiFePO4 or Lithium Polymer. These can offer longer life spans and better performance, but they do come with a higher upfront cost.
Customizing the Skateboard Deck
A deck is not just a platform to stand on; it’s a canvas for your creativity. You can paint it, apply decals, or even create a custom grip tape design. Make sure whatever modifications you make don’t interfere with the functionality of the board.
Upgrading the Wheels and Trucks
The right wheels can make a huge difference in your ride. Soft wheels offer better grip and smoother rides on rough surfaces while hard wheels are better for smooth pavements and high speeds. Trucks also play a vital role in how your board handles. Experimenting with different bushing setups can drastically change how your board feels and responds to your movements.

Closing Thoughts
In the process of understanding the basics of electric skateboards and bikes, we have learned that with the necessary tools and materials, converting a bike into an electric skateboard is not as daunting as it might initially seem. The preparations for the build, constructing the drive train, and assembling the electric skateboard are all steps that require careful attention to detail, but they also open up a world of creativity and customization. Ensuring safety and protection throughout the process is paramount. In finalizing the build, you will have not only built a functional electric skateboard but also gained invaluable skills and knowledge. Remember that maintenance and care are integral to the longevity of your skateboard, and don’t be afraid to explore possible modifications and customizations. The beauty of building your own electric skateboard is that it’s a reflection of your personality and innovation.
Frequently Asked Questions
How can I convert my bike into an electric skateboard?
Converting a bike into an electric skateboard involves several steps, starting with understanding the basics of electric skateboards and bikes. You will need specific tools and materials for the build, including a bike, skateboard deck, electric motor, and battery. The process involves preparing for the build, constructing the drive train, assembling the skateboard, ensuring safety measures are in place, and finally, testing your new electric skateboard.
What are the necessary tools and materials for this DIY project?
The necessary tools and materials for this DIY project include a bike, skateboard deck, electric motor, battery, drive belt, bearings, pulleys, and a controller. You’ll also need basic tools like wrenches, screwdrivers, and a drill.
How do I assemble the drive train for an electric skateboard?
Assembling the drive train involves attaching the motor to the skateboard deck using a bracket or mount. The motor pulley is then connected to the wheel pulley using a drive belt which will transfer power from the motor to the wheels.
How do I ensure safety and protection while riding the electric skateboard?
Safety and protection while riding the electric skateboard can be ensured by wearing appropriate protective gear, including a helmet, knee pads, and elbow pads. It’s also important to perform regular maintenance checks on your skateboard to ensure all components are working properly.
Can I customize my electric skateboard after building it from a bike?
Yes, you can customize your electric skateboard after building it from a bike. Customizations can include adding lights, modifying the deck design, or even upgrading the motor for more speed. The possibilities are only limited by your creativity and technical skills.